Excel's built-in way to insert images is the Insert tab's Pictures command, and it is genuinely the right tool for a small number of images - a logo in a report header, a single chart screenshot, a handful of photos on a summary sheet. Follow the steps below and you will have any picture placed and positioned within a minute or two.
The moment the count climbs into the dozens or hundreds - a supplier catalog, an inventory sheet, an ID badge directory - the same manual steps repeated that many times become the actual bottleneck in the job, which is where a batch insertion tool takes over.
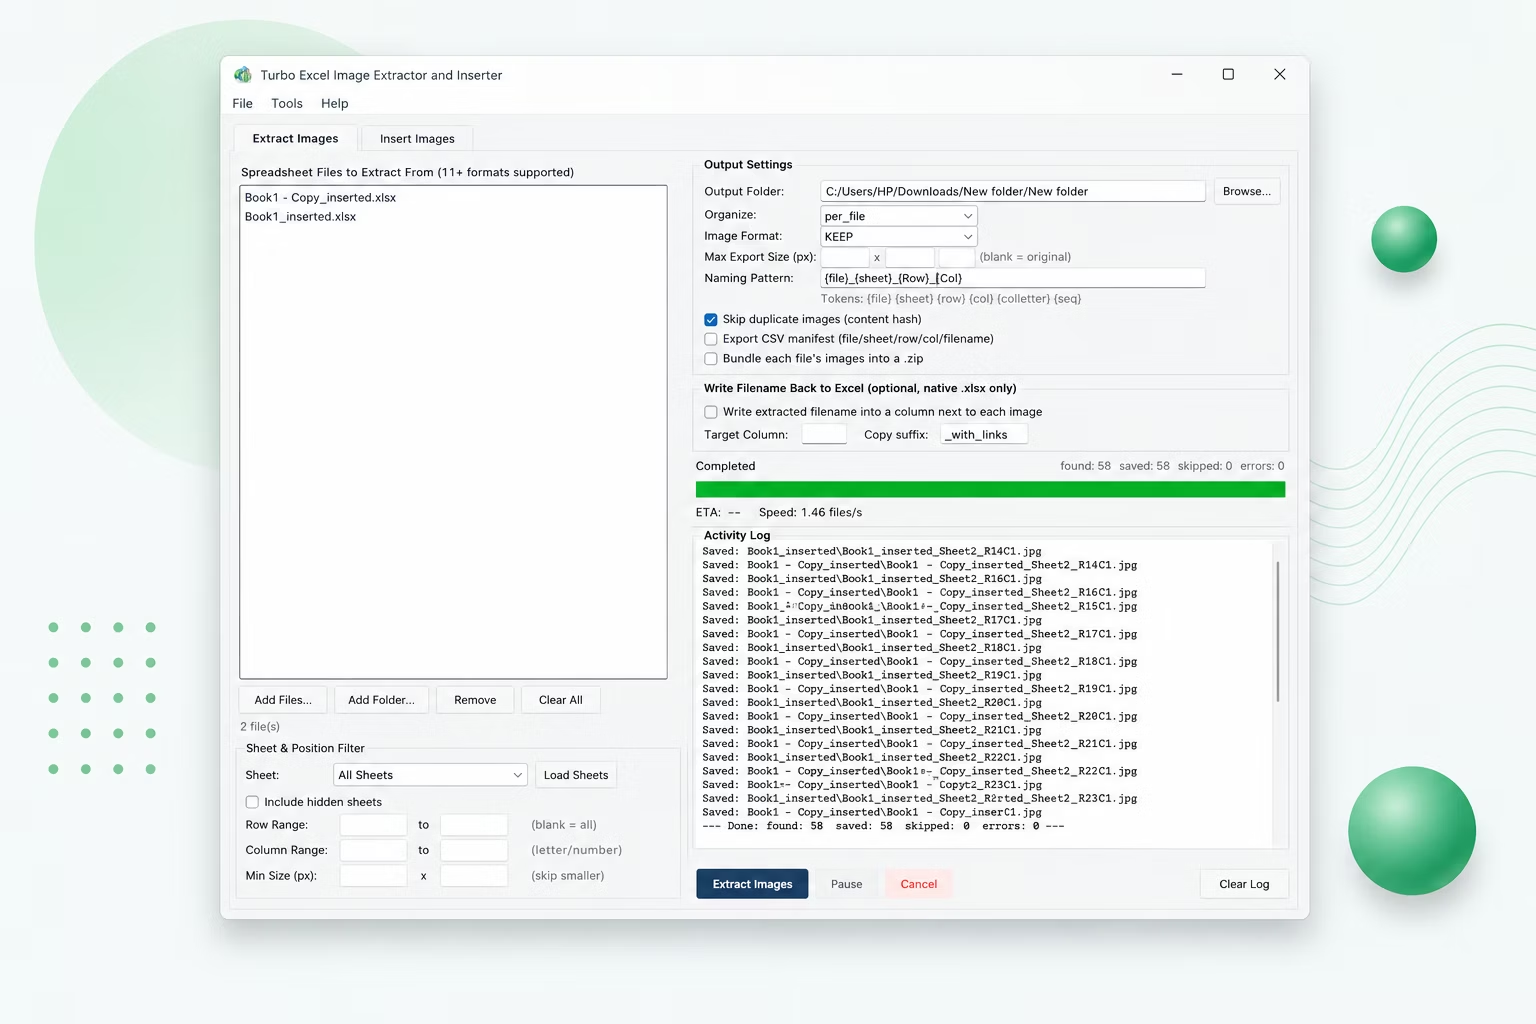
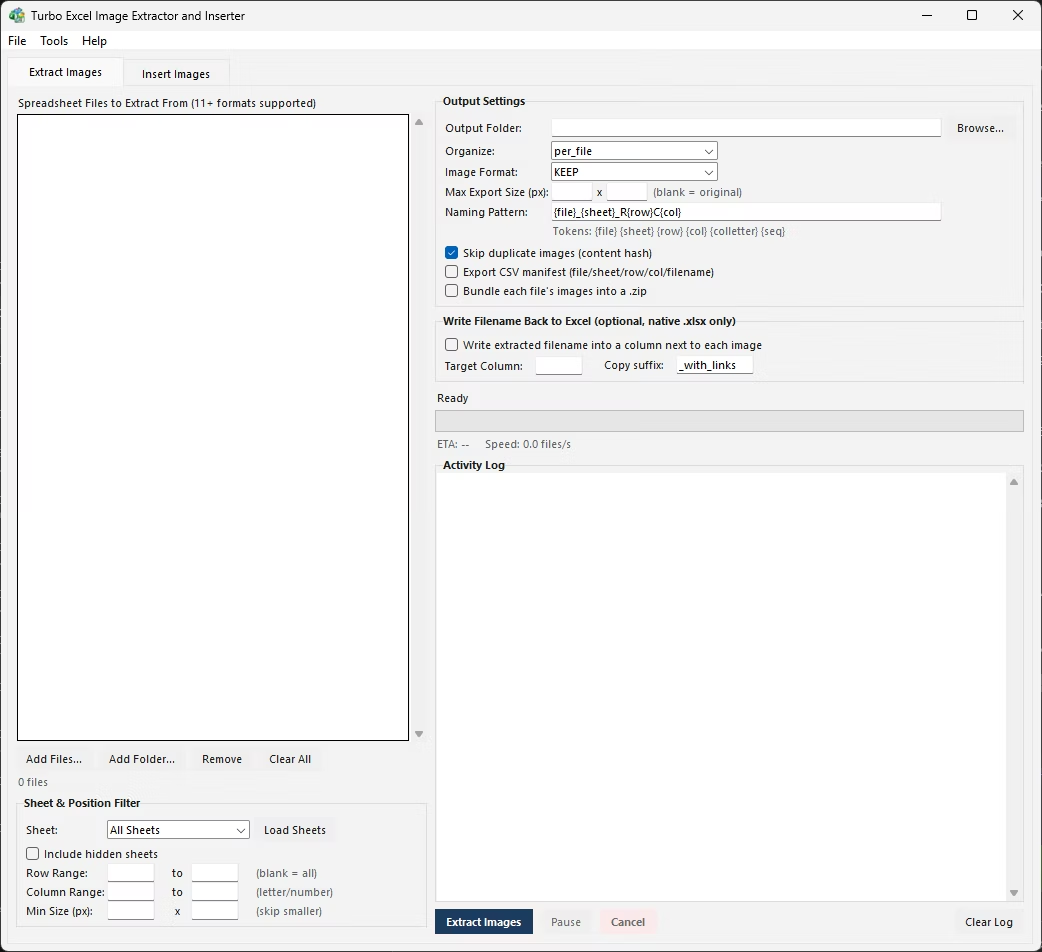
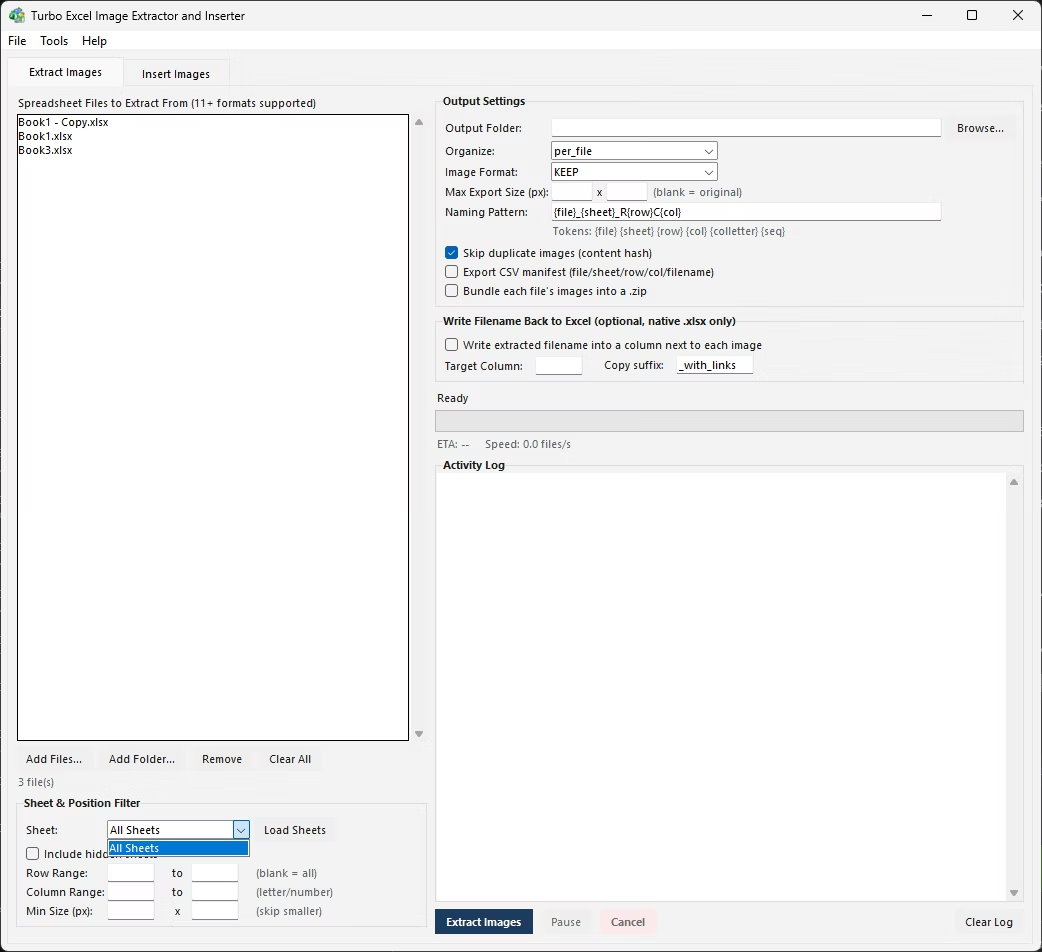
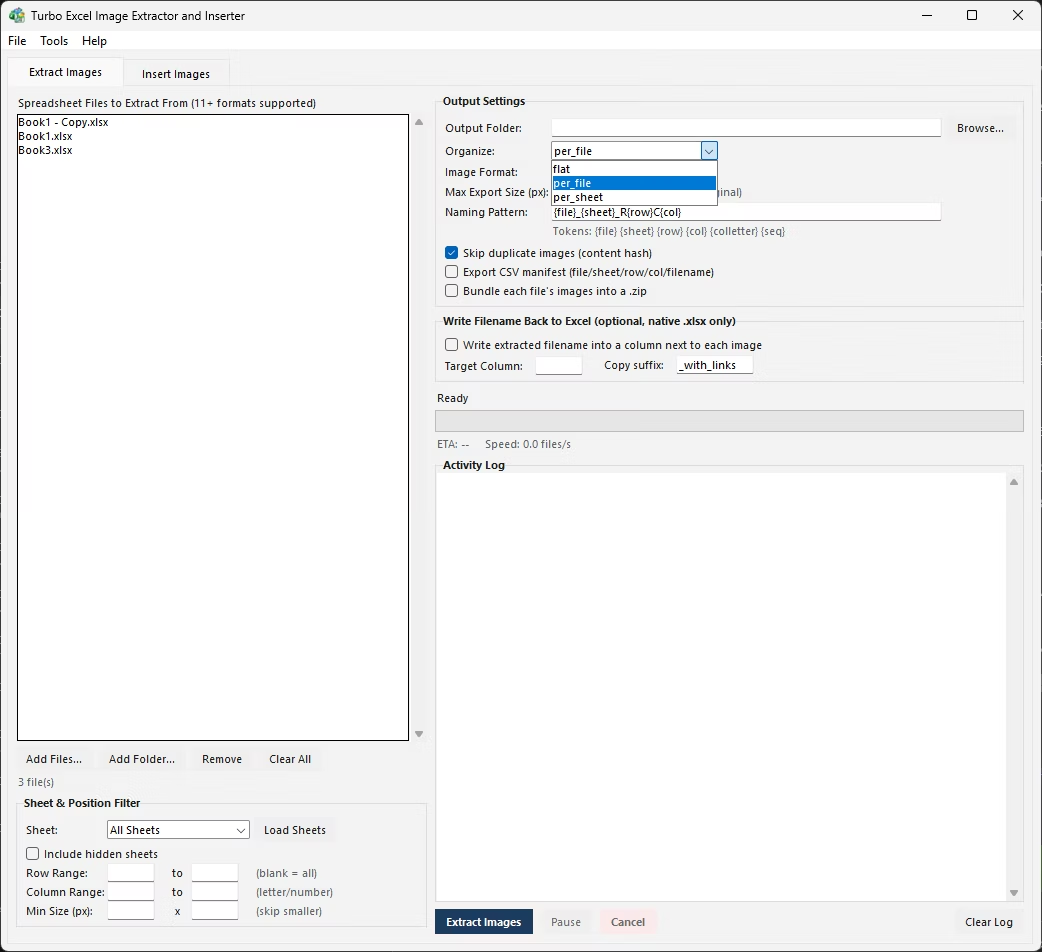
Clicking Insert > Pictures opens a source menu - This Device for a local file, or an online picture source depending on your Microsoft 365 setup. Choosing a local file places it on the active sheet, usually floating somewhere near the center of the visible area rather than inside any specific cell, since Excel images are anchored objects that sit above the grid.
From there, resizing means dragging a corner handle while watching the cell boundaries, and positioning means dragging the image body until it lines up with the cell you want. A final but easy-to-skip step is right-clicking the image, opening Format Picture, and setting Move and size with cells under Properties, so the image stays attached to its row if you later sort or filter the sheet.
- Click the cell where you want the image, or close to where it should end up.
- Open the Insert tab on the ribbon and click Pictures.
- Choose This Device (or another available source) and select your image file.
- Click Insert to place the picture on the sheet.
- Drag a corner handle to resize the image, and drag its body to position it over the target cell.
- Right-click the image, open Format Picture, and set Move and size with cells so it stays anchored correctly.
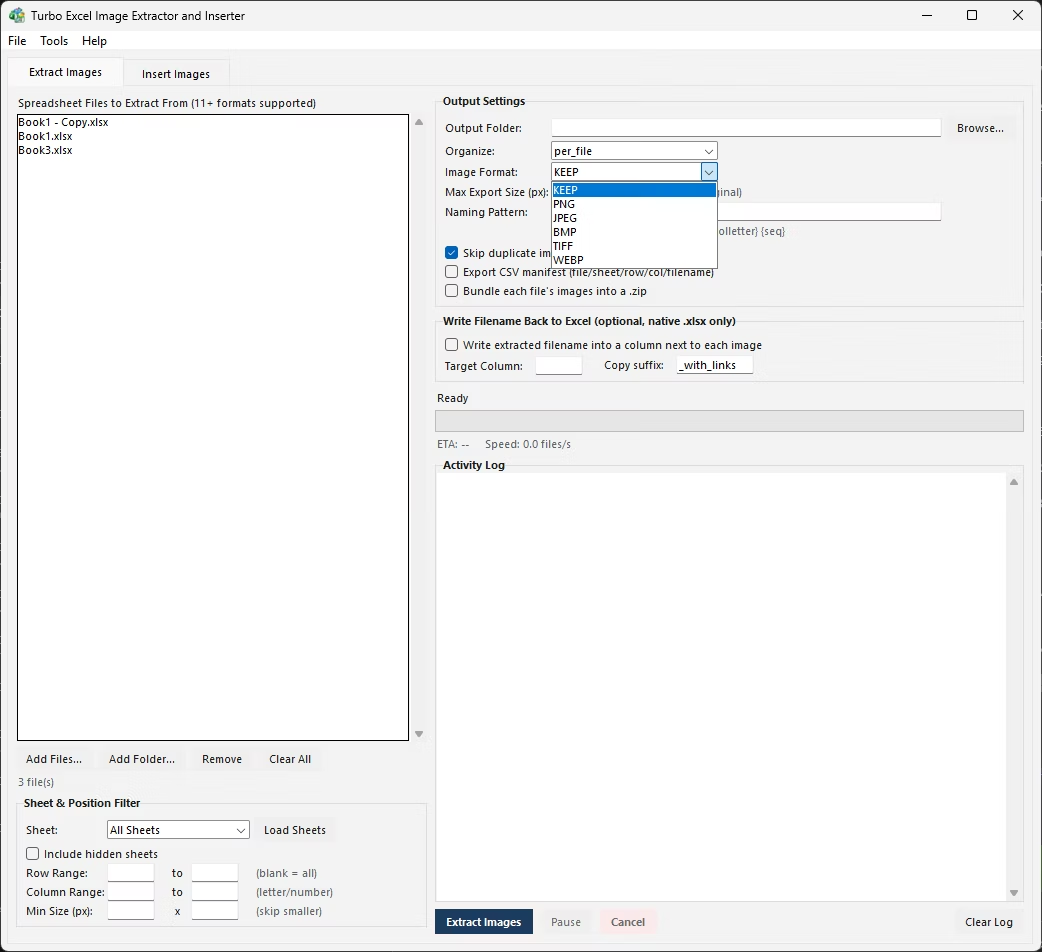
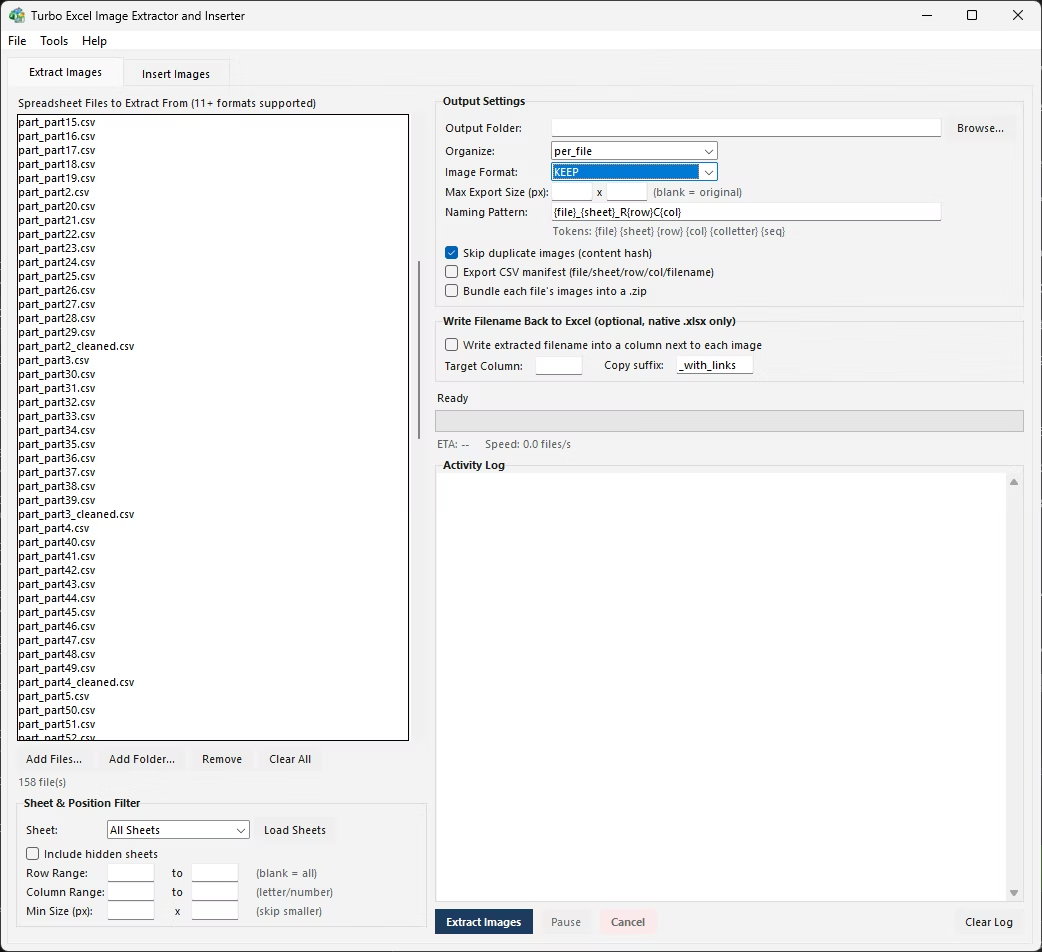
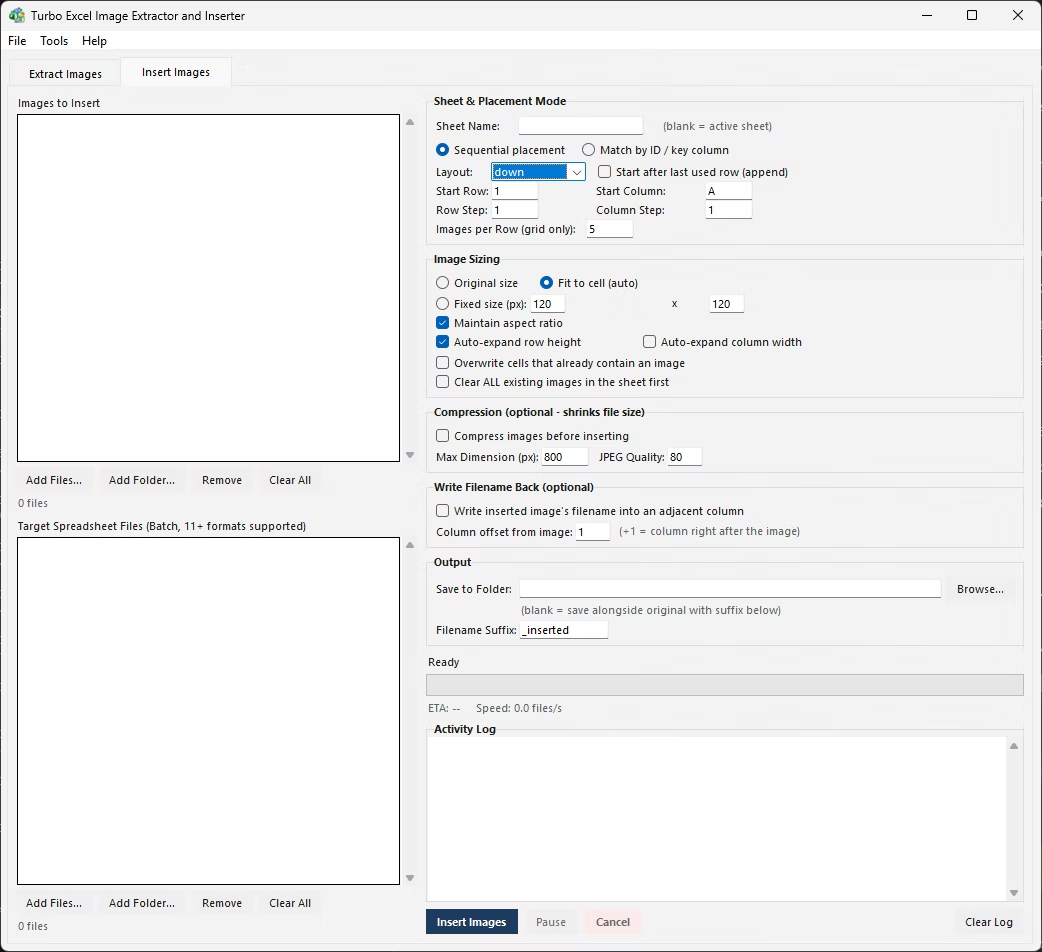
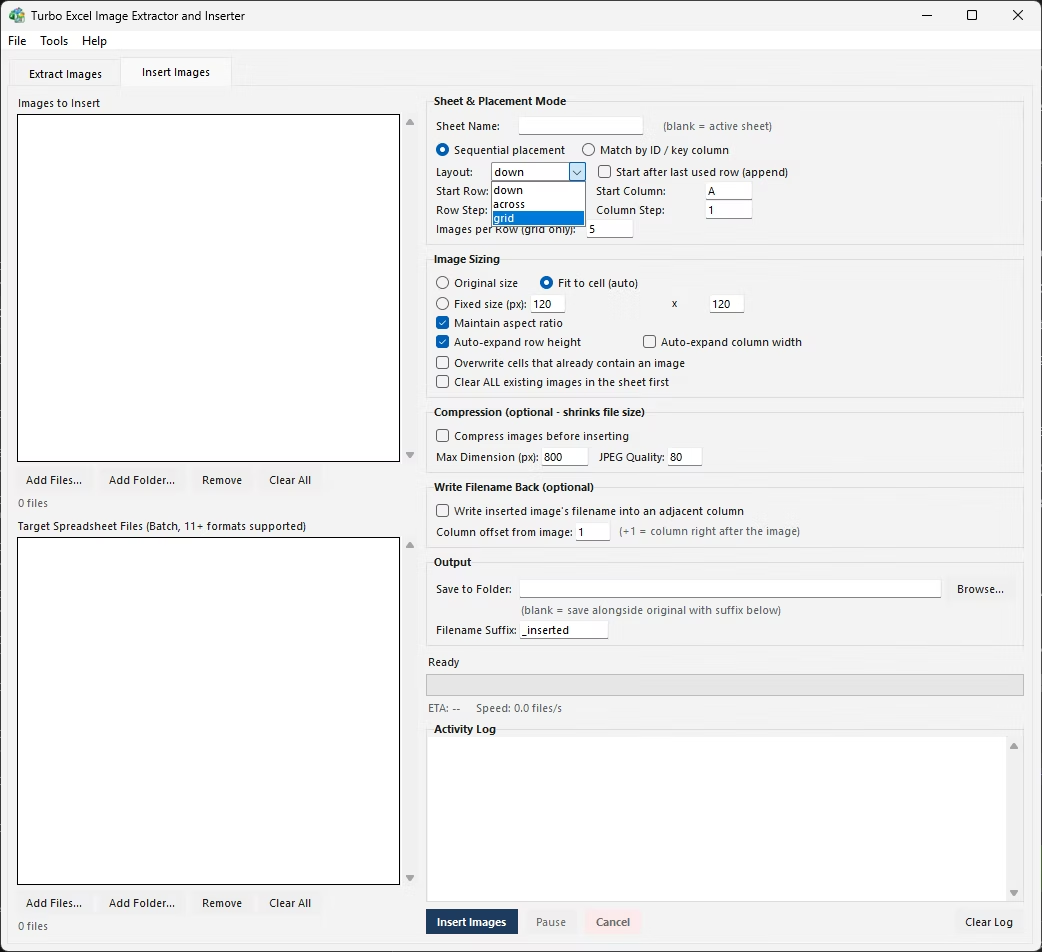
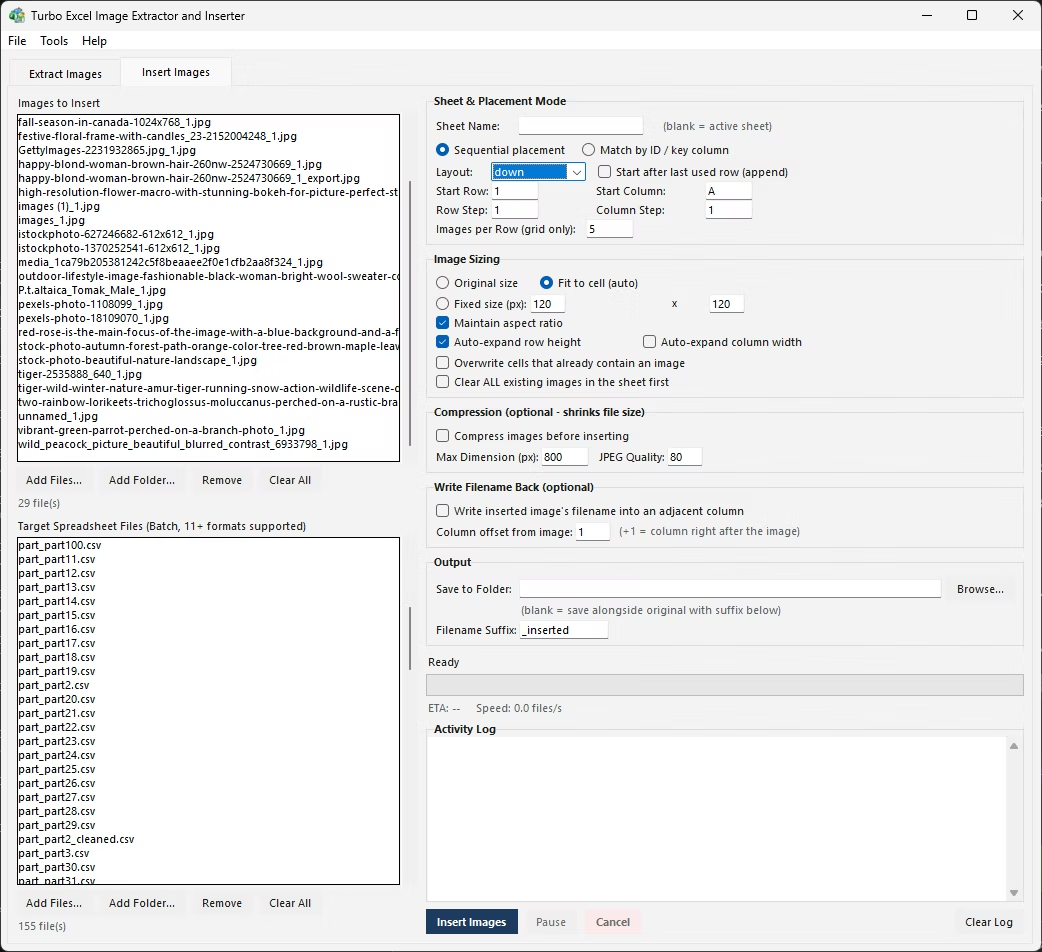
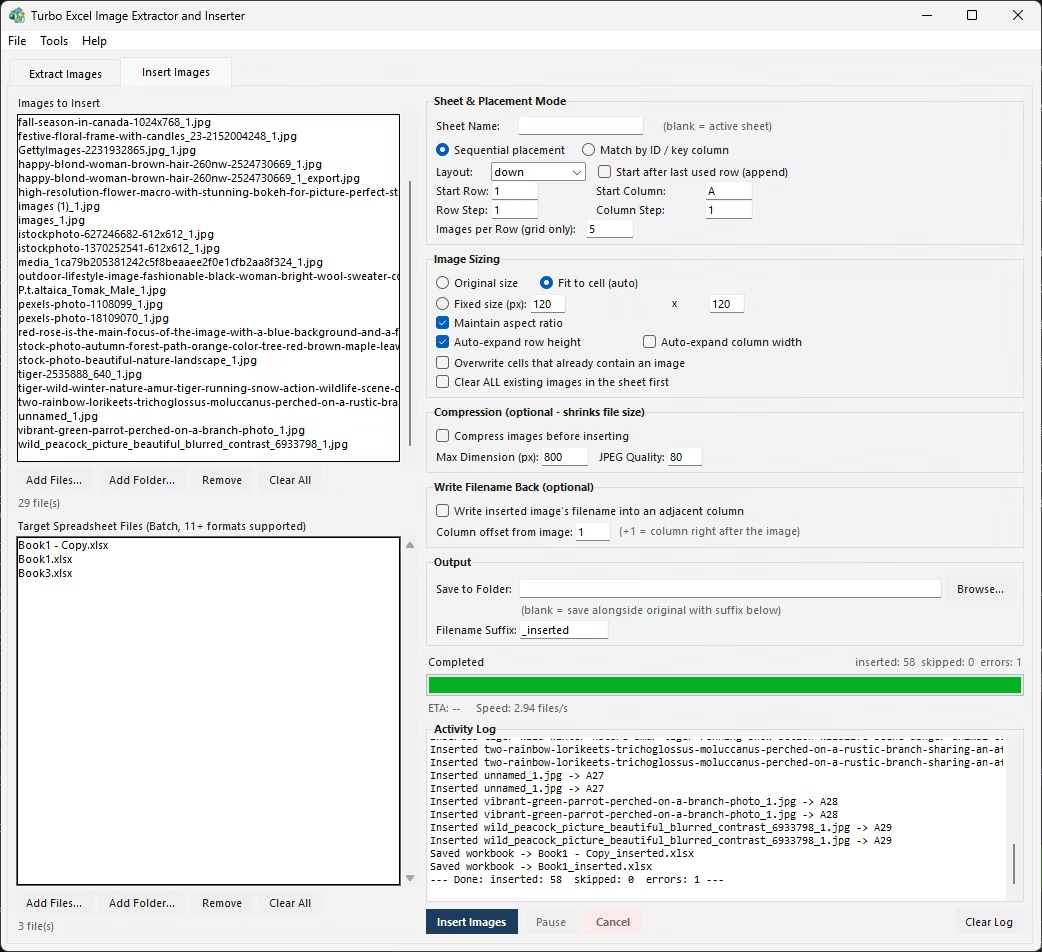
Turbo Excel Image Extractor and Inserter's Insert Images tab automates every step above across an entire folder of images and an entire folder of target spreadsheets at once. Add your images to one queue and your target file or files to a second queue, choose a target sheet name (or leave it blank to use each file's active sheet), and pick a placement mode - Sequential for a straightforward list or grid layout, or Match to have each image placed automatically into the row whose key column value matches its filename.
Sizing, existing-image handling, optional compression, and optional filename write-back are all set once and applied to the entire batch, and the same anchoring behavior Excel's own Move and size with cells property provides is set automatically for every inserted image - no manual right-click steps required.
The most frequent mistake is skipping the Move and size with cells step - it's easy to insert and position an image, move on to the next one, and forget the anchoring setting entirely, only to discover much later that images didn't follow their rows after a sort. Checking this setting on every image, every time, is tedious enough that it's often skipped under time pressure.
A second common issue is inconsistent sizing across a batch done by eye - one image ends up slightly larger than its neighbors simply because the corner-drag stopped a few pixels off from the last one, which becomes visually obvious once dozens of images sit next to each other in a finished sheet.
- Two queues: images to insert, and target spreadsheet files
- Sequential and Match placement modes cover both simple and data-matched layouts
- Sizing, anchoring, and existing-image handling set once, applied to every image
- Optional compression shrinks file size after a large insert batch
- Optional filename write-back logs which image went where
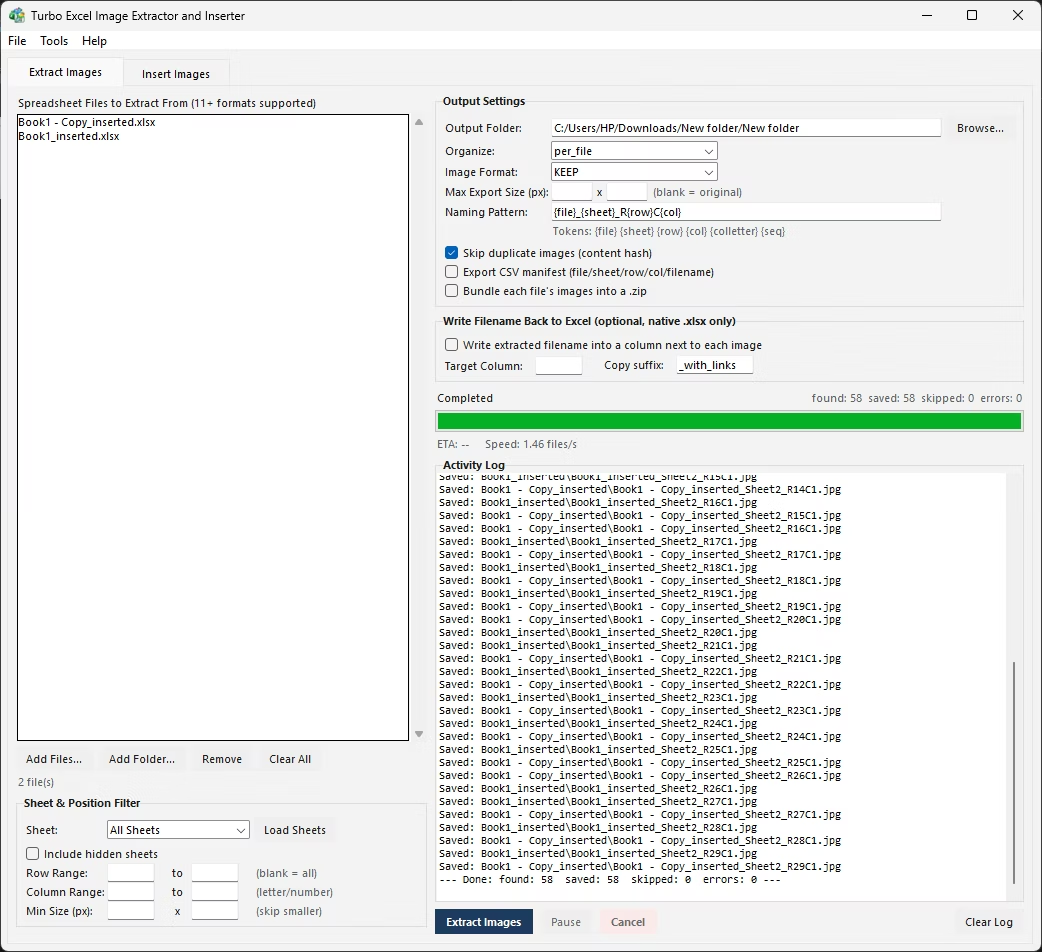
- Same live progress, pause, and cancel controls as extraction
Where does Excel place an image when I use Insert > Pictures?
It places the image as a floating object, usually near the center of the visible sheet area, rather than inside a specific cell - you then drag it into position yourself.
Why does Move and size with cells matter?
Without it, an inserted image can stay in a fixed screen position rather than following its row when the sheet is sorted or filtered, so setting this property correctly is important for images meant to represent specific data rows.
Can images be matched to specific rows automatically when inserting in bulk?
Yes, Match mode reads a key column and compares each cell's value to each image's filename, inserting every image into the row it matches without any manual dragging or positioning.
Is there a way to see which image was inserted into which row afterward?
Yes, an optional filename write-back setting logs which image file went into which row as part of the insertion, giving you a record after a large batch run.
Ready to handle images in bulk, offline, with full privacy?