Inserting images into a spreadsheet is rarely just about the placement step - it also involves deciding where the finished file should be saved, whether the added images will bloat the file size, and how to keep the original spreadsheet safe in case something needs to be redone. These decisions matter as much as getting each picture into the right cell.
Excel's Insert Pictures command handles placement and nothing else - saving, file size, and backup are left entirely to whatever you do with File > Save afterward, with no dedicated controls for any of it in the insertion workflow itself.
A workbook with a large number of inserted images, especially at high resolution, can grow substantially in file size - sometimes enough to cause slow opening, saving, or emailing. Excel has a built-in compression option under File > Options > Advanced for reducing image resolution on save, but it applies broadly to the whole file rather than being something you control at insertion time.
Where the finished file ends up also matters: overwriting the original spreadsheet risks losing the clean, image-free version if something needs correcting later, while saving to a new file means managing two versions and remembering which is current.
- Make a backup copy of the spreadsheet before inserting any images, in case changes need to be undone.
- Insert and position each image as usual through the Insert tab.
- Once finished, use File > Save As to save the result under a new filename if you want to preserve the original.
- If file size is a concern, go to File > Options > Advanced and adjust the Image Size and Quality compression setting, then save again.
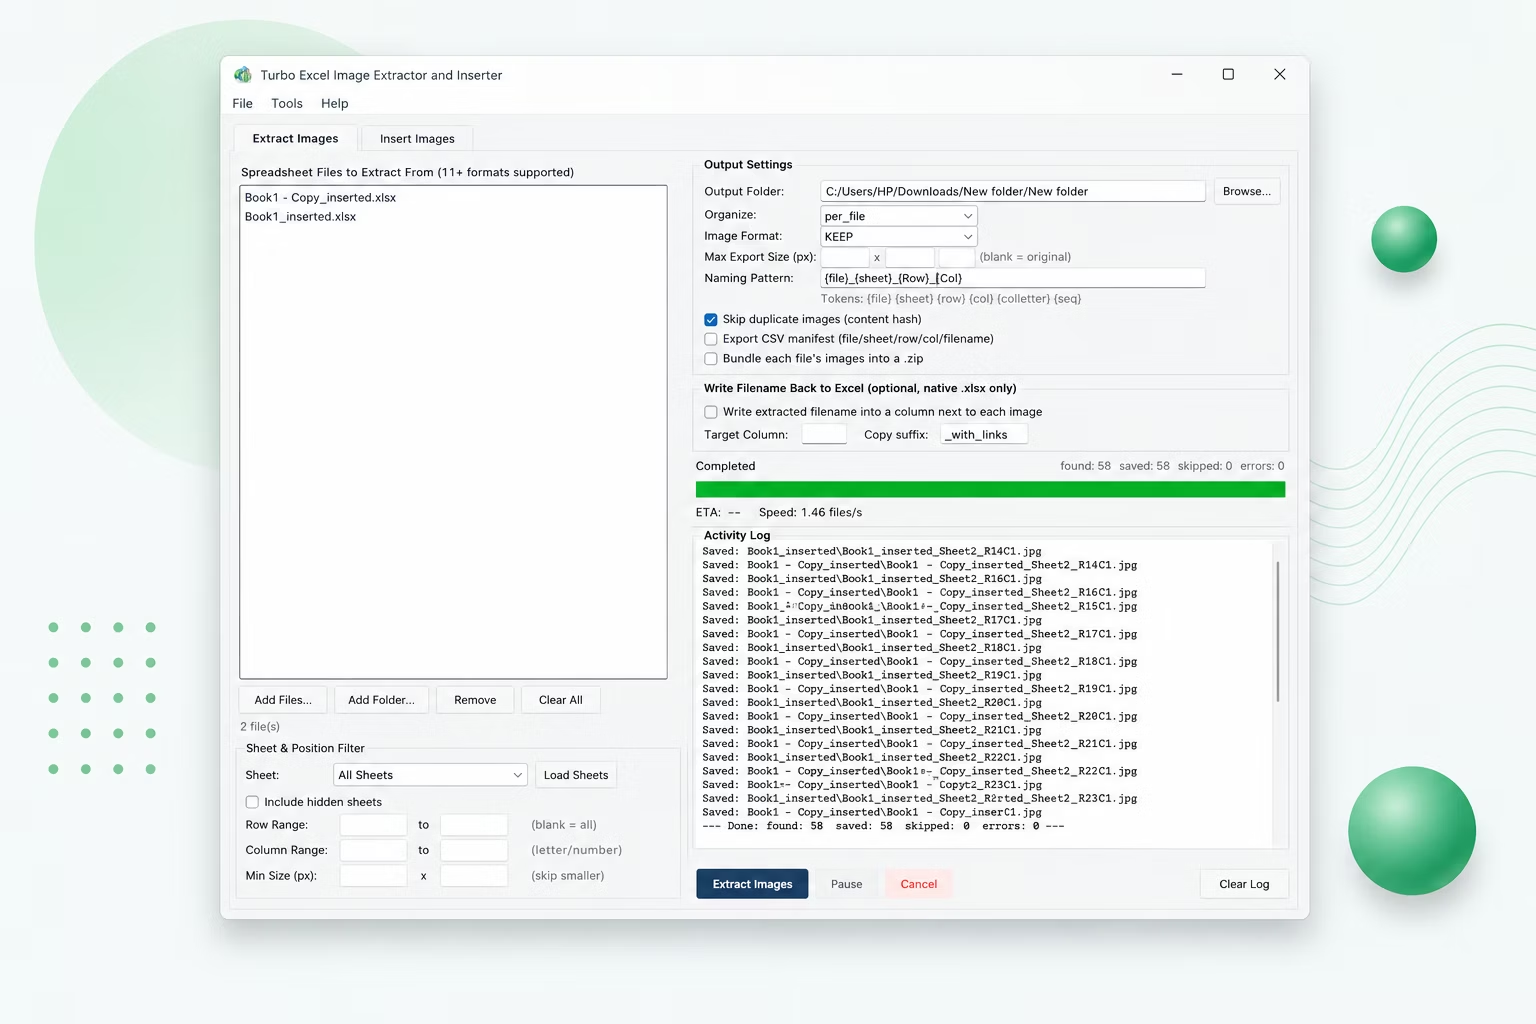
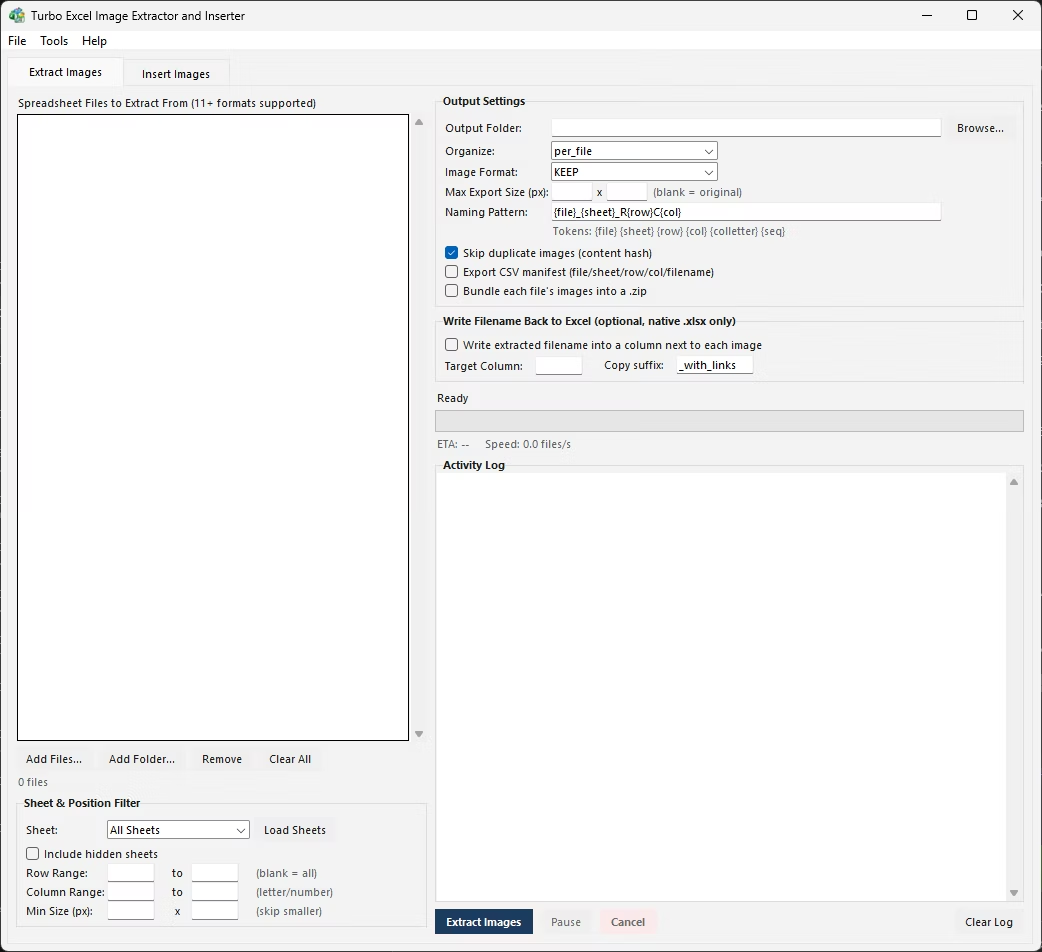
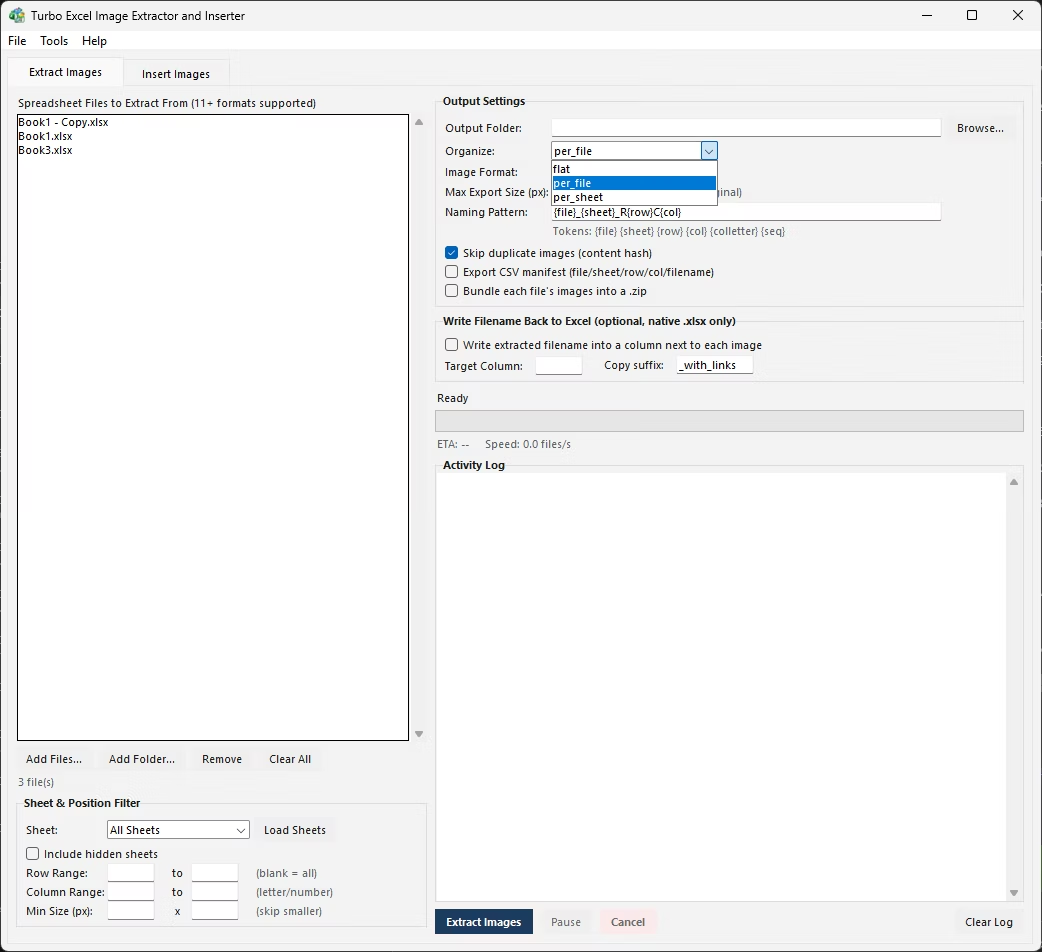
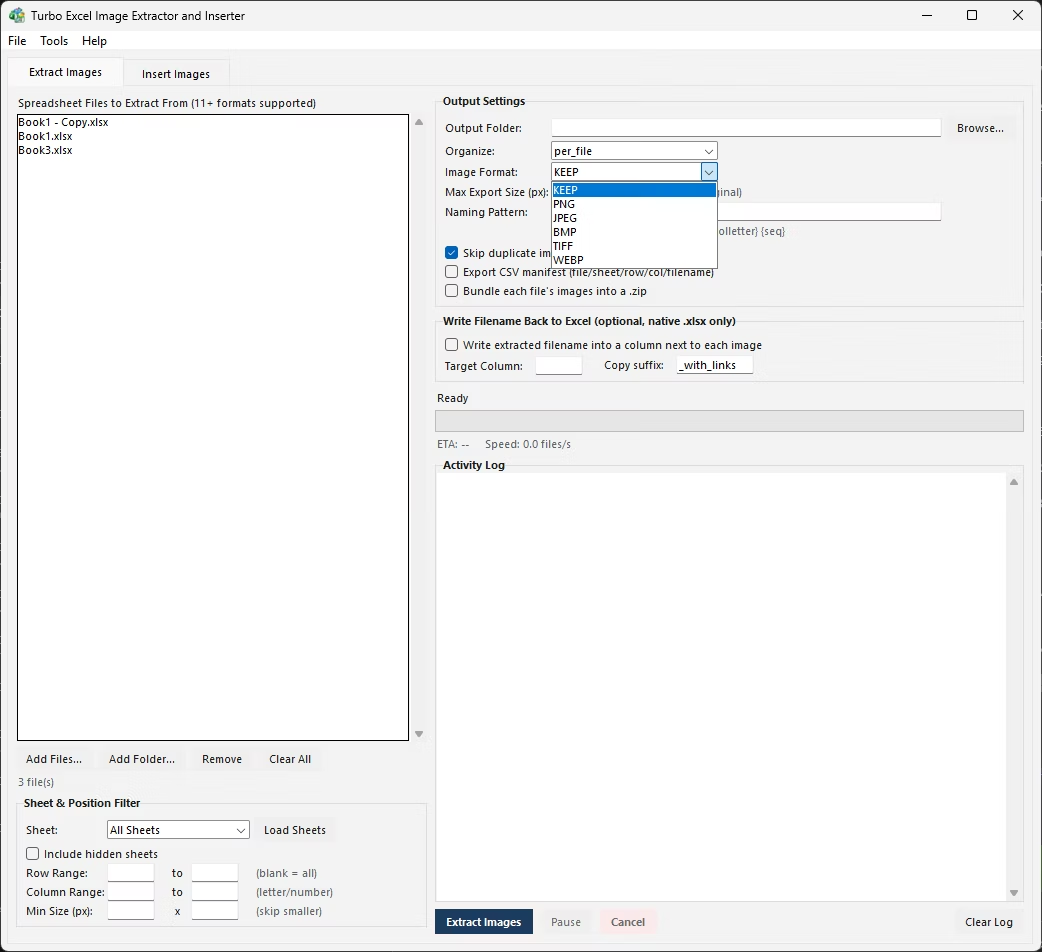
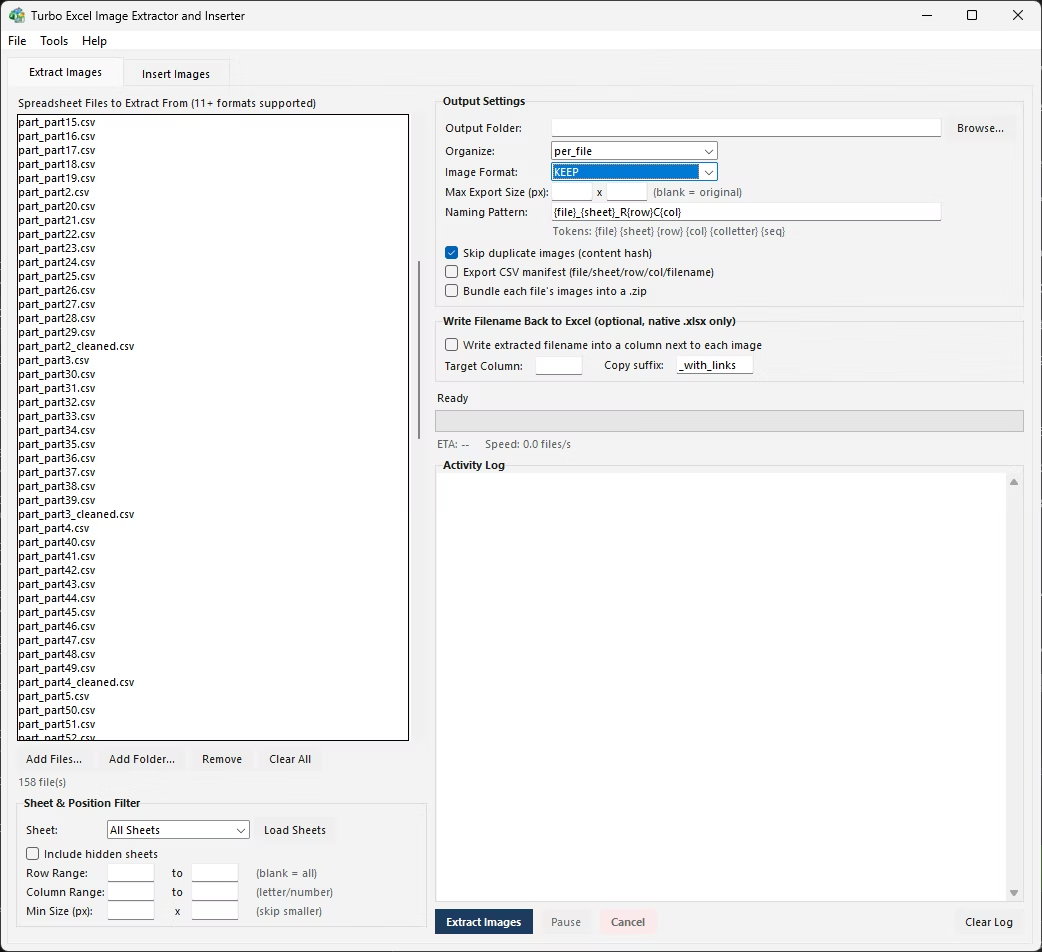
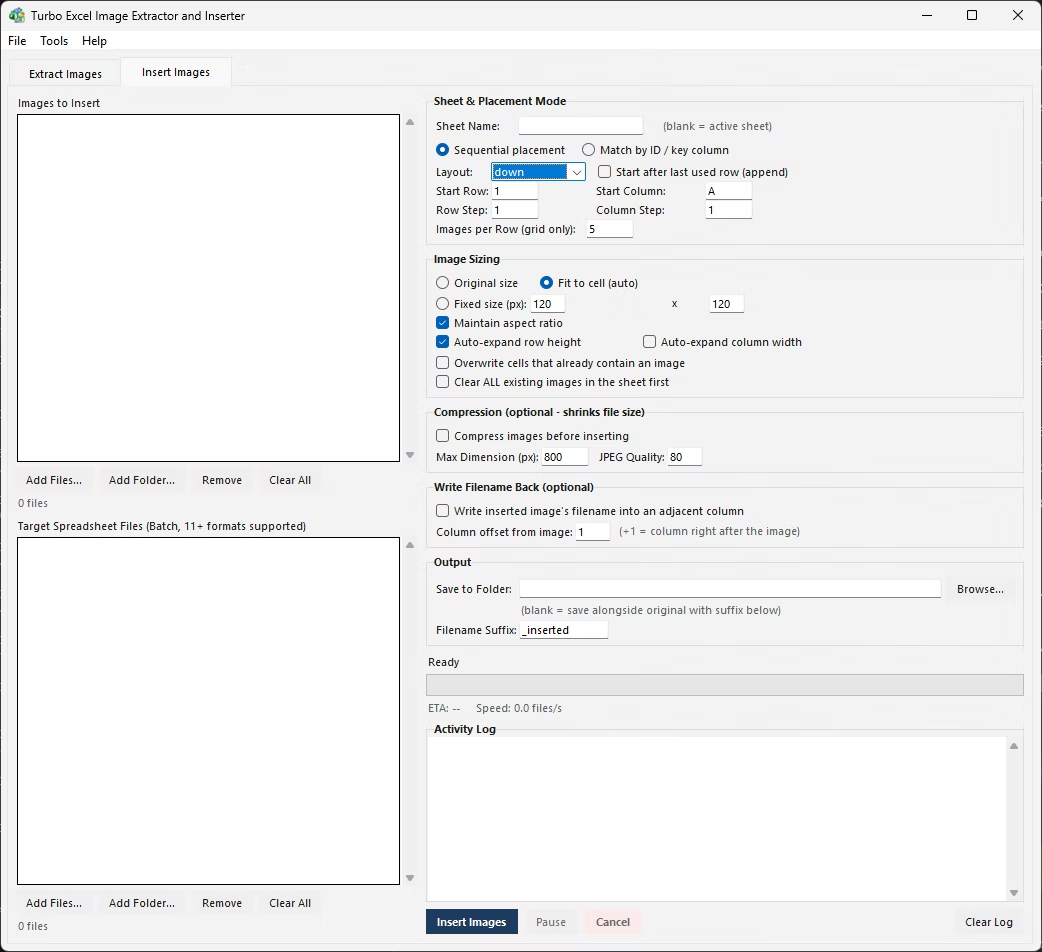
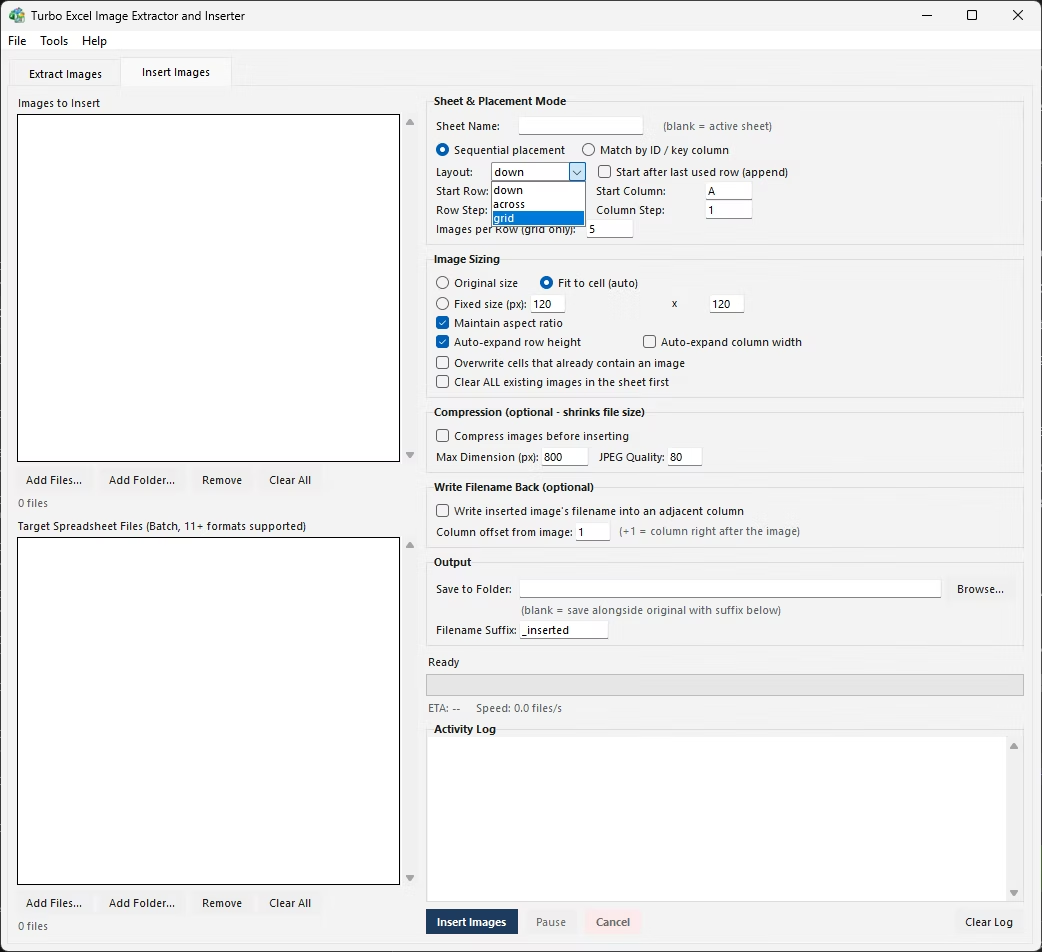
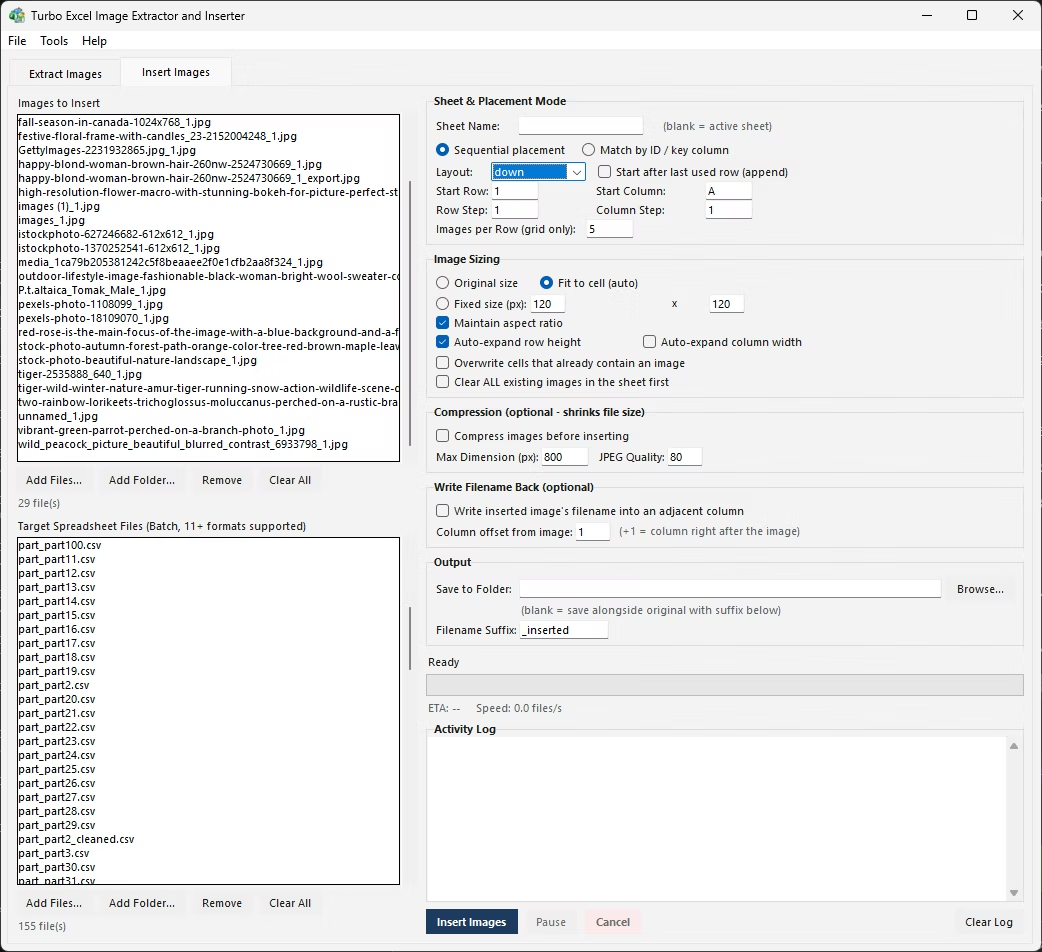
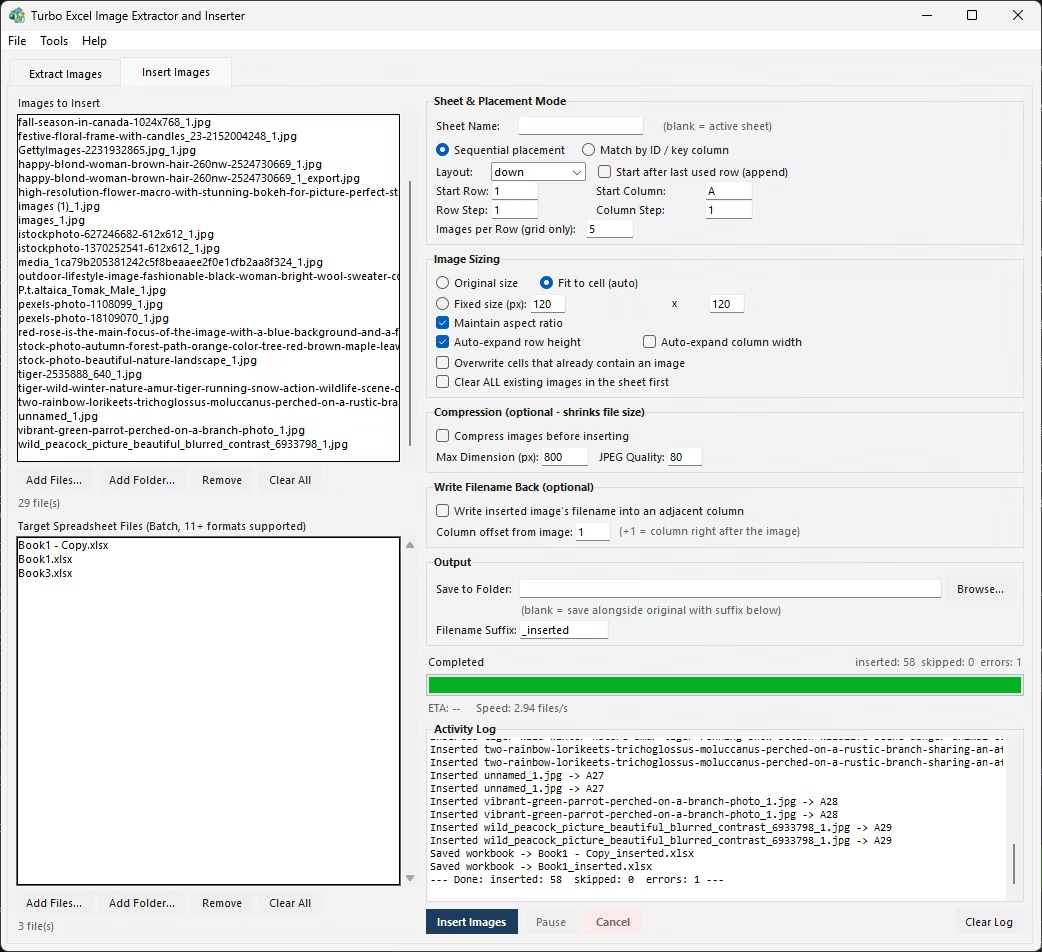
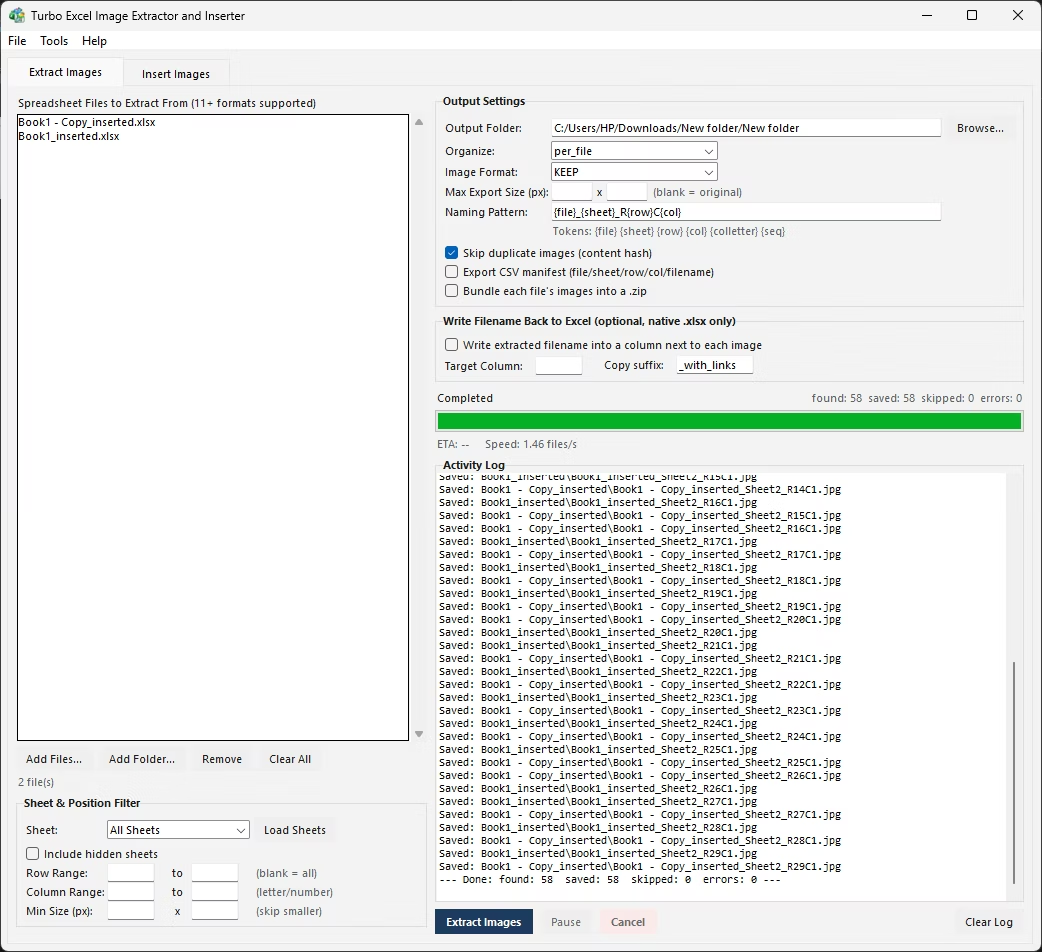
Turbo Excel Image Extractor and Inserter's Insert Images tab includes output handling as a core setting rather than an afterthought: choose to save results to a separate output folder, keeping every original spreadsheet completely untouched, or save alongside the originals with a filename suffix if you want the new version sitting right next to the source file for easy comparison.
An optional compression setting can be enabled to shrink the resulting file size after a large insert batch, useful when many high-resolution images are being added and the finished workbook needs to stay manageable for emailing or shared storage. Both settings apply across the whole batch, so a folder of a hundred target spreadsheets is handled with the same output and compression rules in one run.
Whenever a batch process touches many files at once, protecting the originals matters more than it would for a single manual edit, simply because a mistake affects every file in the batch rather than just one. Saving to a separate output folder by default, rather than overwriting in place, is the safer habit even when you're confident the settings are correct.
This becomes especially important when experimenting with sizing or placement settings for the first time - running a test batch against a separate output folder, checking the results look right, and only then deciding whether to apply the same settings more broadly, costs almost nothing and avoids any risk to files you can't easily reconstruct if something doesn't come out as expected.
The filename-suffix option offers a middle ground for smaller jobs - the new version sits right next to the original with a clear naming difference, so both are easy to find and compare without needing a separate folder structure to manage for a handful of files. For larger recurring batches, though, a dedicated output folder tends to stay easier to manage over time than a growing pile of suffixed files sitting alongside originals.
- Save to a separate output folder, leaving originals completely untouched
- Or save alongside originals with a filename suffix for easy comparison
- Optional compression shrinks file size after inserting images
- Settings apply consistently across an entire batch of target files
- Originals are never modified in place unless you choose that option
- Combined with sizing and placement settings for a complete workflow
Will inserting images through the batch tool overwrite my original spreadsheets?
Not unless you choose that option - saving to a separate output folder keeps every original file completely untouched, while the alongside-originals-with-suffix option creates a new file next to the source rather than replacing it.
Can file size be reduced automatically after inserting many images?
Yes, an optional compression setting can be enabled to shrink the resulting file size once images have been inserted, useful for keeping large batches manageable.
Does Excel have its own way to compress images after insertion?
Yes, under File > Options > Advanced there's an Image Size and Quality setting that reduces resolution on save, but it applies broadly to the whole file rather than being a per-batch insertion setting.
Can output settings be applied to a whole folder of target spreadsheets at once?
Yes, the output folder, filename suffix, and compression settings all apply uniformly across every target file loaded into the batch.
Ready to handle images in bulk, offline, with full privacy?