Once images are extracted from a workbook, how they are organized on disk determines whether they are actually usable afterward. A single flat folder works fine for a handful of pictures from one file. A folder holding the combined output of fifty workbooks, each with several sheets, is close to unusable unless there is some structure to it - and that structure has to be decided before extraction happens, not fixed up manually afterward.
Excel has no concept of a destination folder strategy at all - Save as Picture simply asks where to put one file at a time, leaving every organizational decision, and every folder you create, entirely up to you.
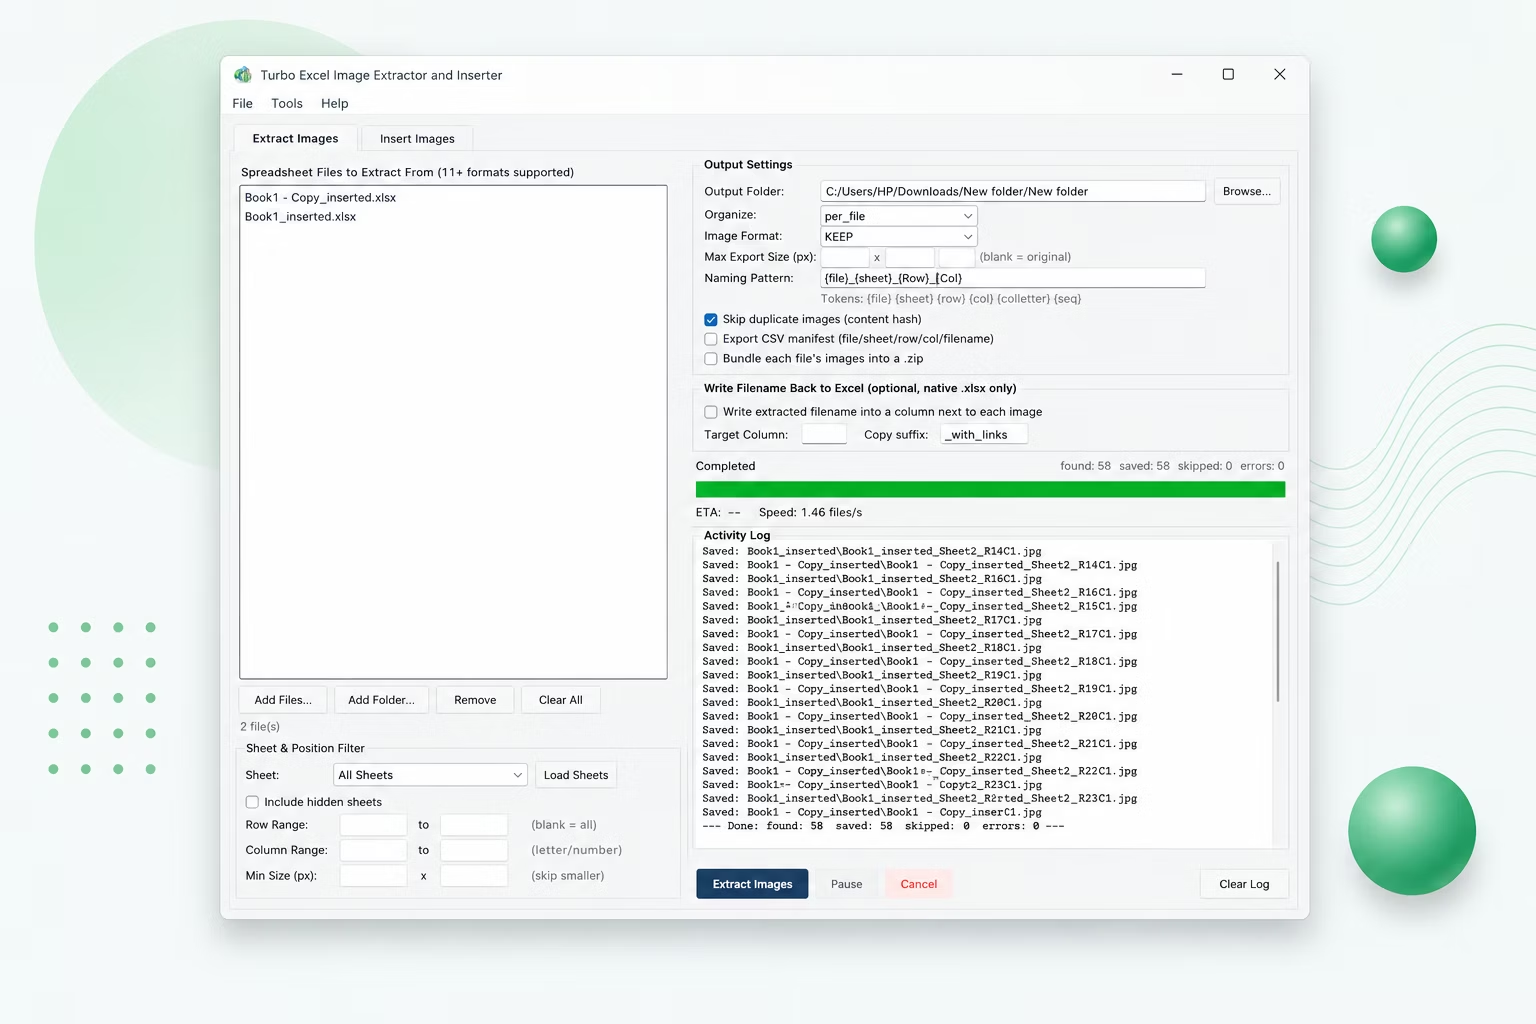
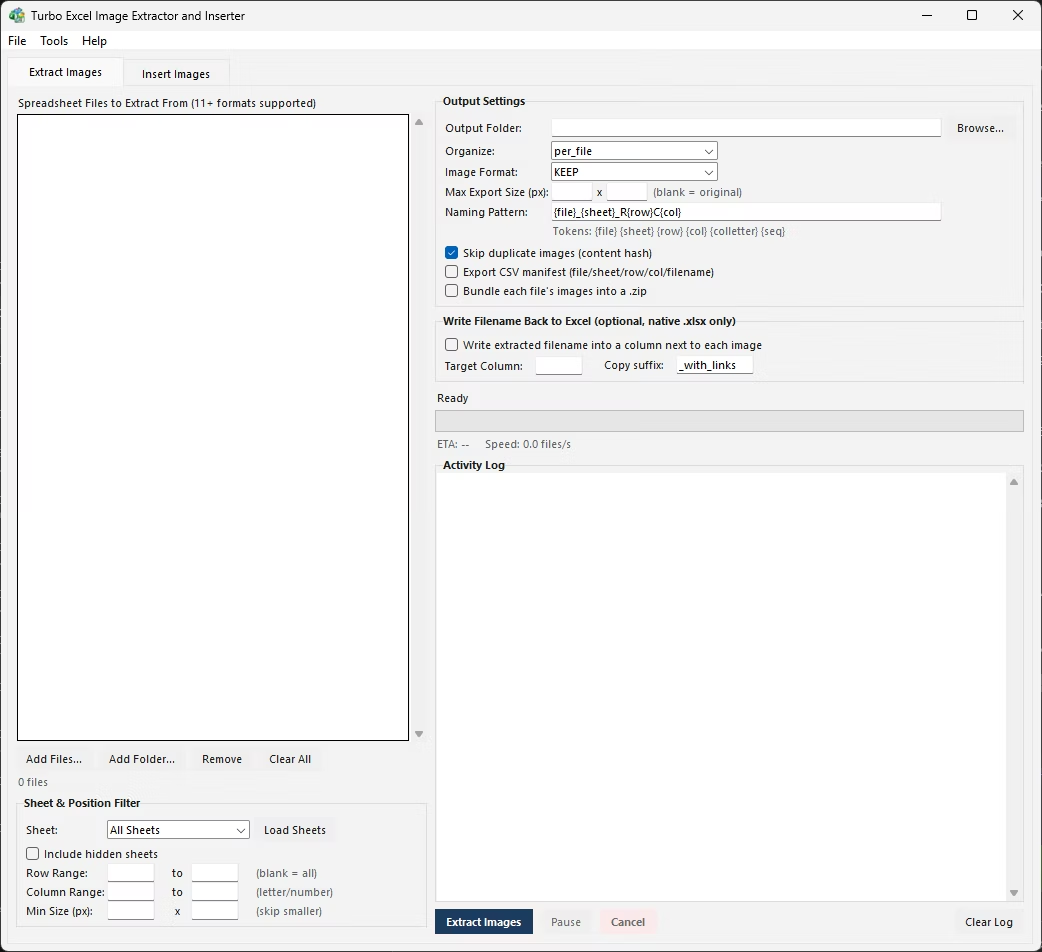
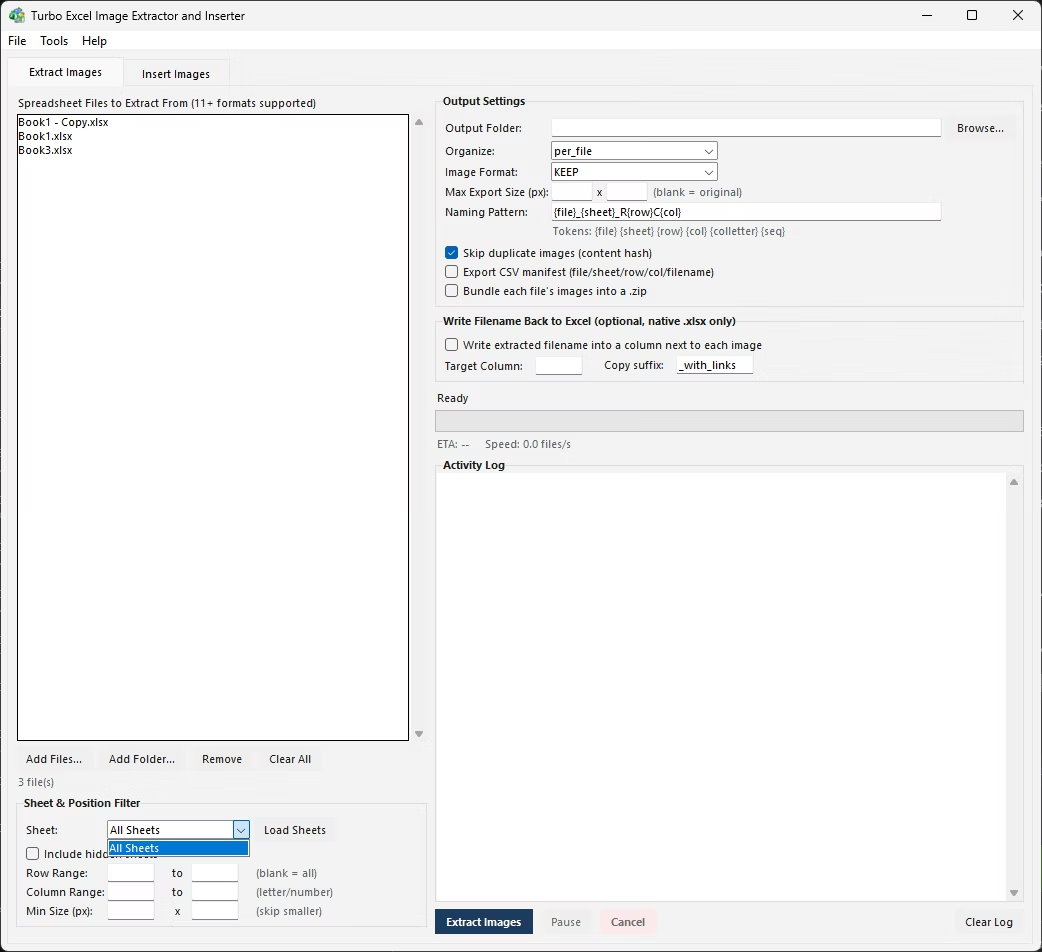
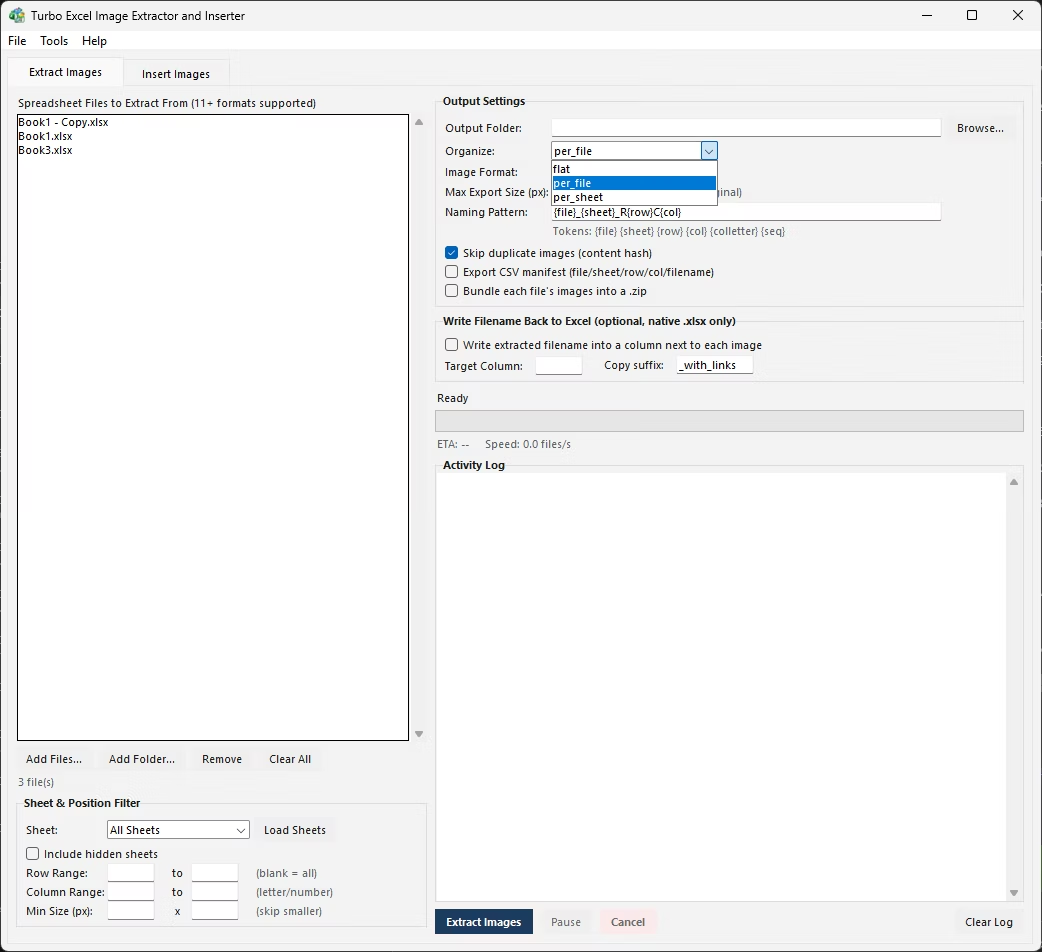
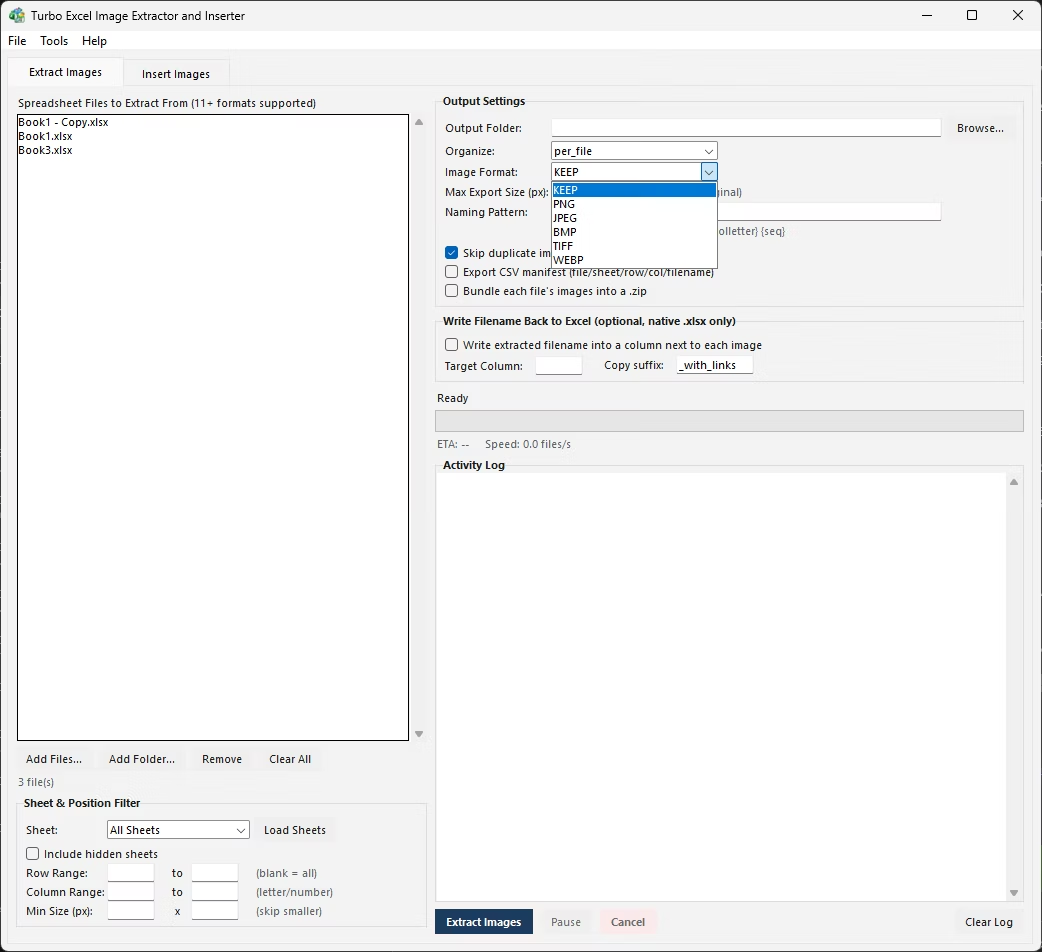
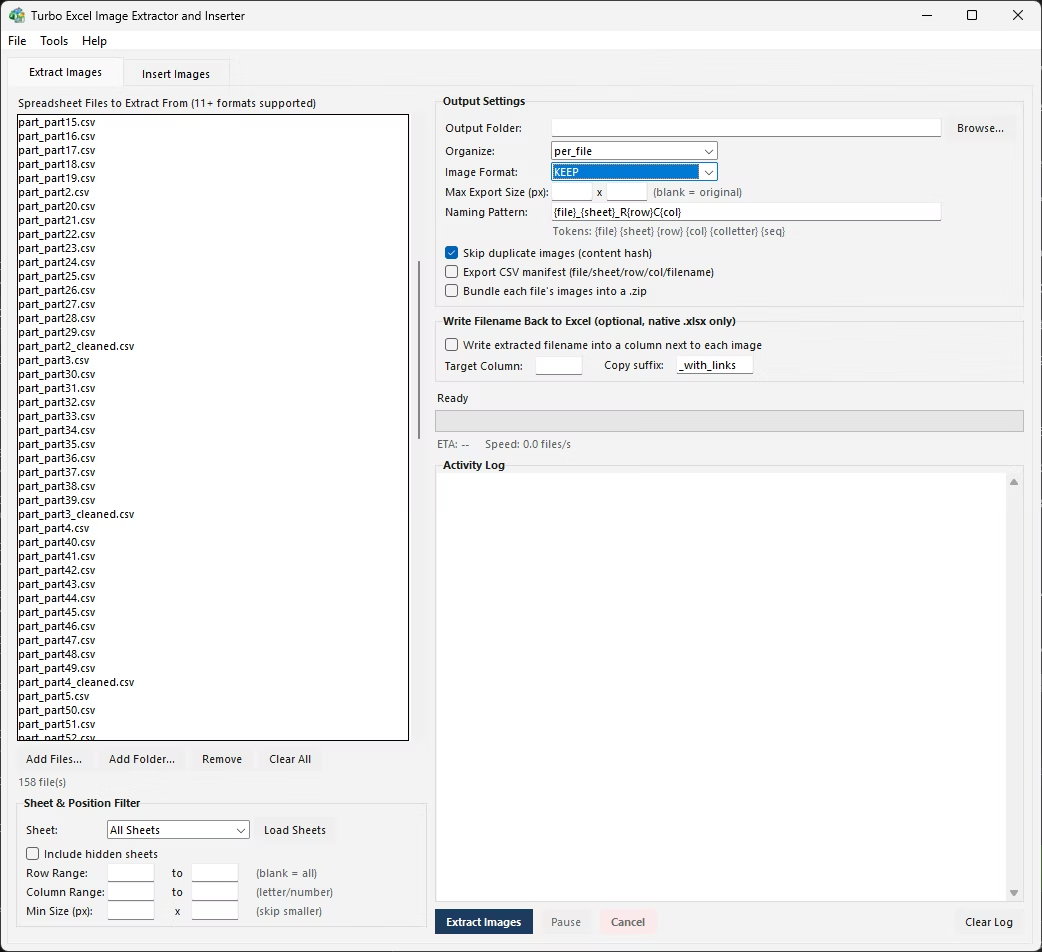
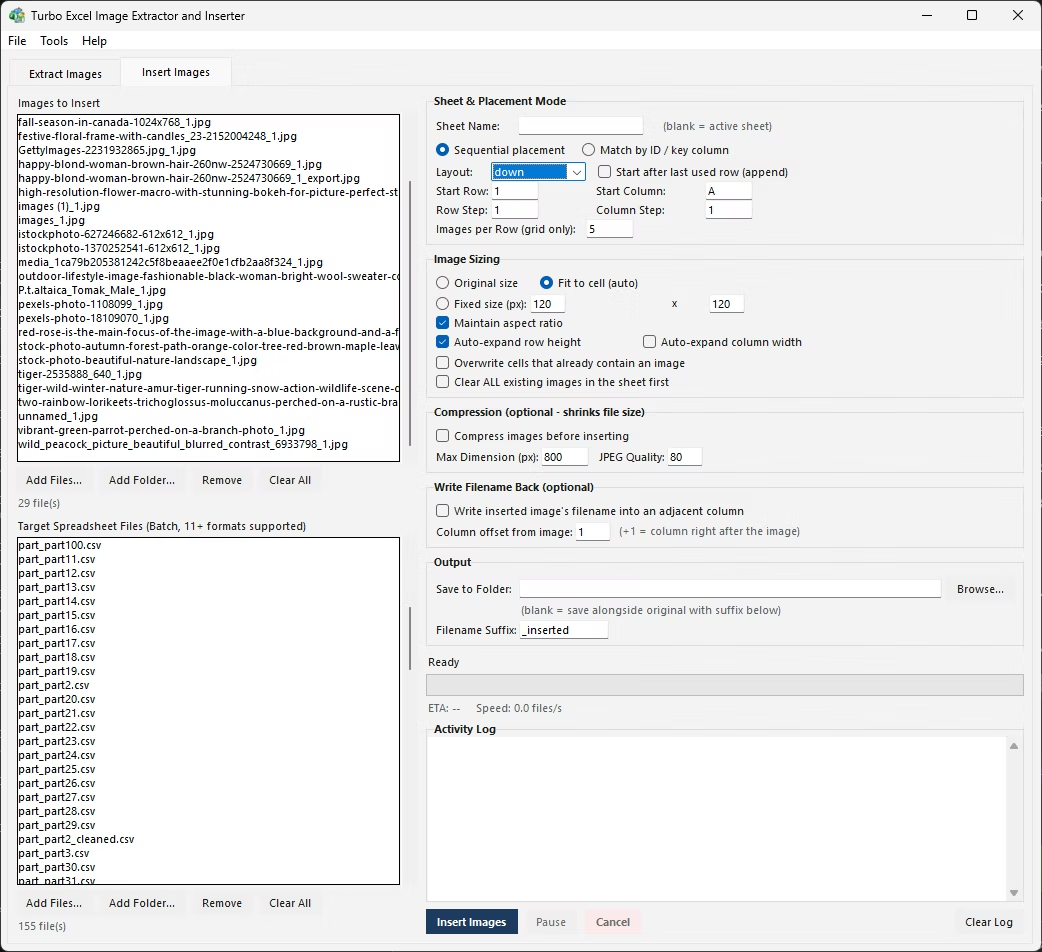
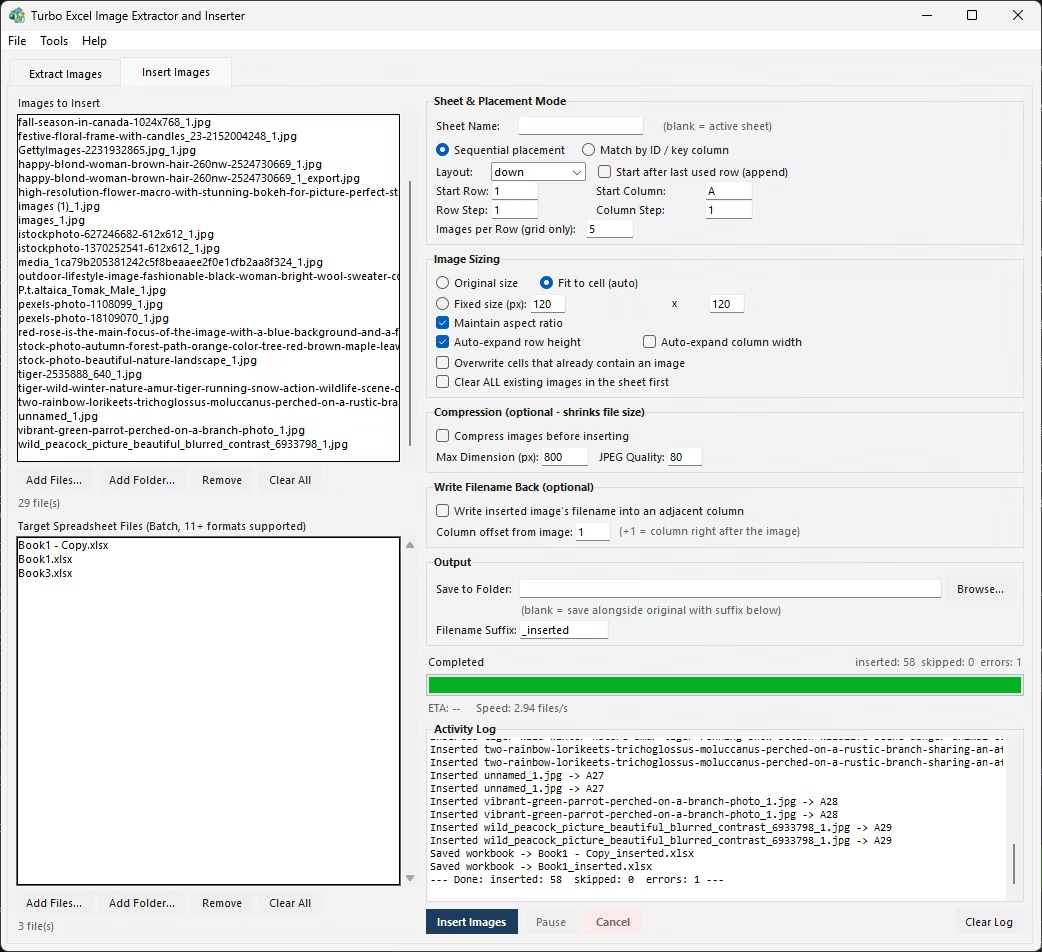
Flat output puts every extracted image into one single folder, which is simplest when the naming pattern alone is enough to tell images apart - useful for smaller batches or when everything is headed into the same downstream process anyway.
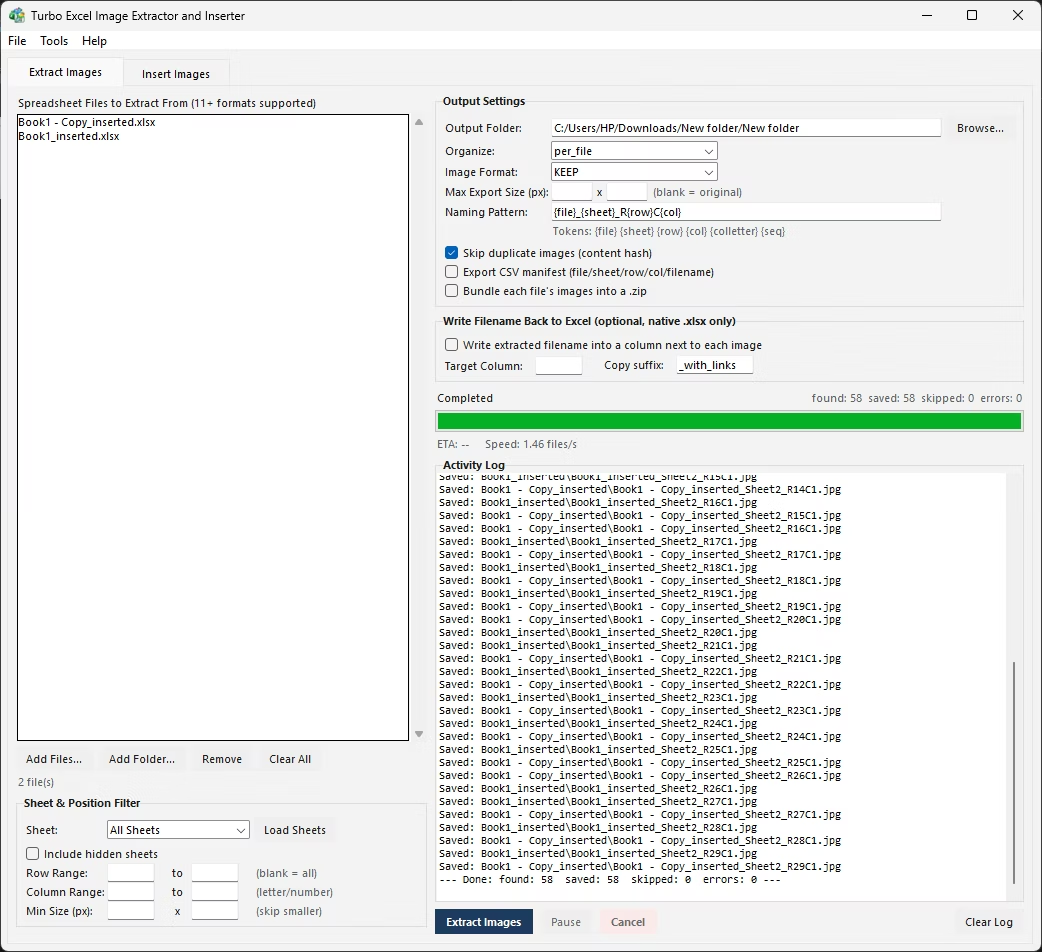
Per File output creates one subfolder for every source workbook, keeping each file's images grouped together without mixing them with pictures from other workbooks - a natural fit when you are processing a folder of separate reports or catalogs that need to stay distinct.
Per Sheet output goes a level deeper, creating a subfolder for every sheet within every workbook - the right choice when different sheets in the same file hold genuinely different categories of image, like Products versus Logos versus Team Photos.
- Decide on a folder structure in advance - flat, one folder per file, or one folder per sheet.
- Create the folders you will need before you start saving images.
- Right-click each image, choose Save as Picture, and navigate to the correct folder each time.
- Repeat for every image, staying careful to pick the right folder as you move between sheets or files.
The Extract Images tab includes flat, per-file, and per-sheet output modes built directly into the extraction settings - pick the one that fits your workflow once, and every image in the batch is routed into the correct folder automatically as it is saved, with no manual folder creation or navigation required.
Two more options round out the folder-management side: an optional CSV manifest records the source file, sheet, row, column, cell reference, saved filename, and pixel dimensions for every image extracted - a complete audit trail regardless of which folder mode you chose - and an optional setting bundles every image extracted from a given source file into its own ZIP archive in the output folder, useful when you need to hand a client or colleague one file per source workbook instead of a loose folder of pictures.
Flat output tends to work best when images are headed straight into another automated process that reads filenames to sort things out anyway - a script or import tool that doesn't care about folder structure, only filenames. Per File suits situations where each source workbook represents a distinct, separate deliverable, like individual client reports that should never have their images mixed together.
Per Sheet is worth the extra folder depth specifically when different sheets in the same file hold genuinely different categories of content - a workbook that mixes product photos with internal team photos, for instance, where keeping those categories apart on disk matters more than keeping everything from one file grouped together. There's no universally correct choice - it depends on what happens to the images next.
It's also worth thinking about how the folder will be used months later, not just immediately after extraction. A flat folder that made sense for a quick one-off job can become hard to navigate once it's accumulated output from several separate extraction runs, whereas a per-file or per-sheet structure stays organized and searchable even as it grows over repeated use.
- Flat, Per File, or Per Sheet output folder modes
- Applies consistently across every file in a batch
- Optional CSV manifest for a full extraction audit trail
- Optional automatic ZIP bundling per source workbook
- Naming pattern tokens reinforce folder structure with matching filenames
- No manual folder creation needed for any of the three modes
What is the difference between Flat and Per File folder modes?
Flat saves every extracted image into one single folder regardless of source, while Per File creates a separate subfolder for each source workbook so images from different files never mix together.
When should I use Per Sheet instead of Per File?
Per Sheet is the better choice when different sheets within the same workbook hold genuinely different categories of image - it creates a subfolder for every sheet, going one level more granular than Per File.
What does the CSV manifest actually record?
For every extracted image it logs the source file, sheet, row, column, cell reference, saved filename, and pixel dimensions - a complete record useful for auditing a large extraction or feeding into another system.
Can extracted images be zipped up automatically?
Yes, an optional setting bundles every image extracted from a given source workbook into its own ZIP archive inside the output folder, without needing to zip them manually afterward.
Ready to handle images in bulk, offline, with full privacy?