A picture inserted into Excel comes in at whatever pixel dimensions it was saved at, which almost never happens to match the width and height of the cell you want it to sit in. Getting a clean fit means either resizing the column and row to match the image, or resizing the image to match the cell - and Excel has no single command that does this for you automatically.
The usual approach is dragging a corner resize handle while eyeballing the cell border, releasing, checking if it lines up, and nudging again if it doesn't - a process of trial and error that has to be repeated individually for every image that needs to fit a cell.
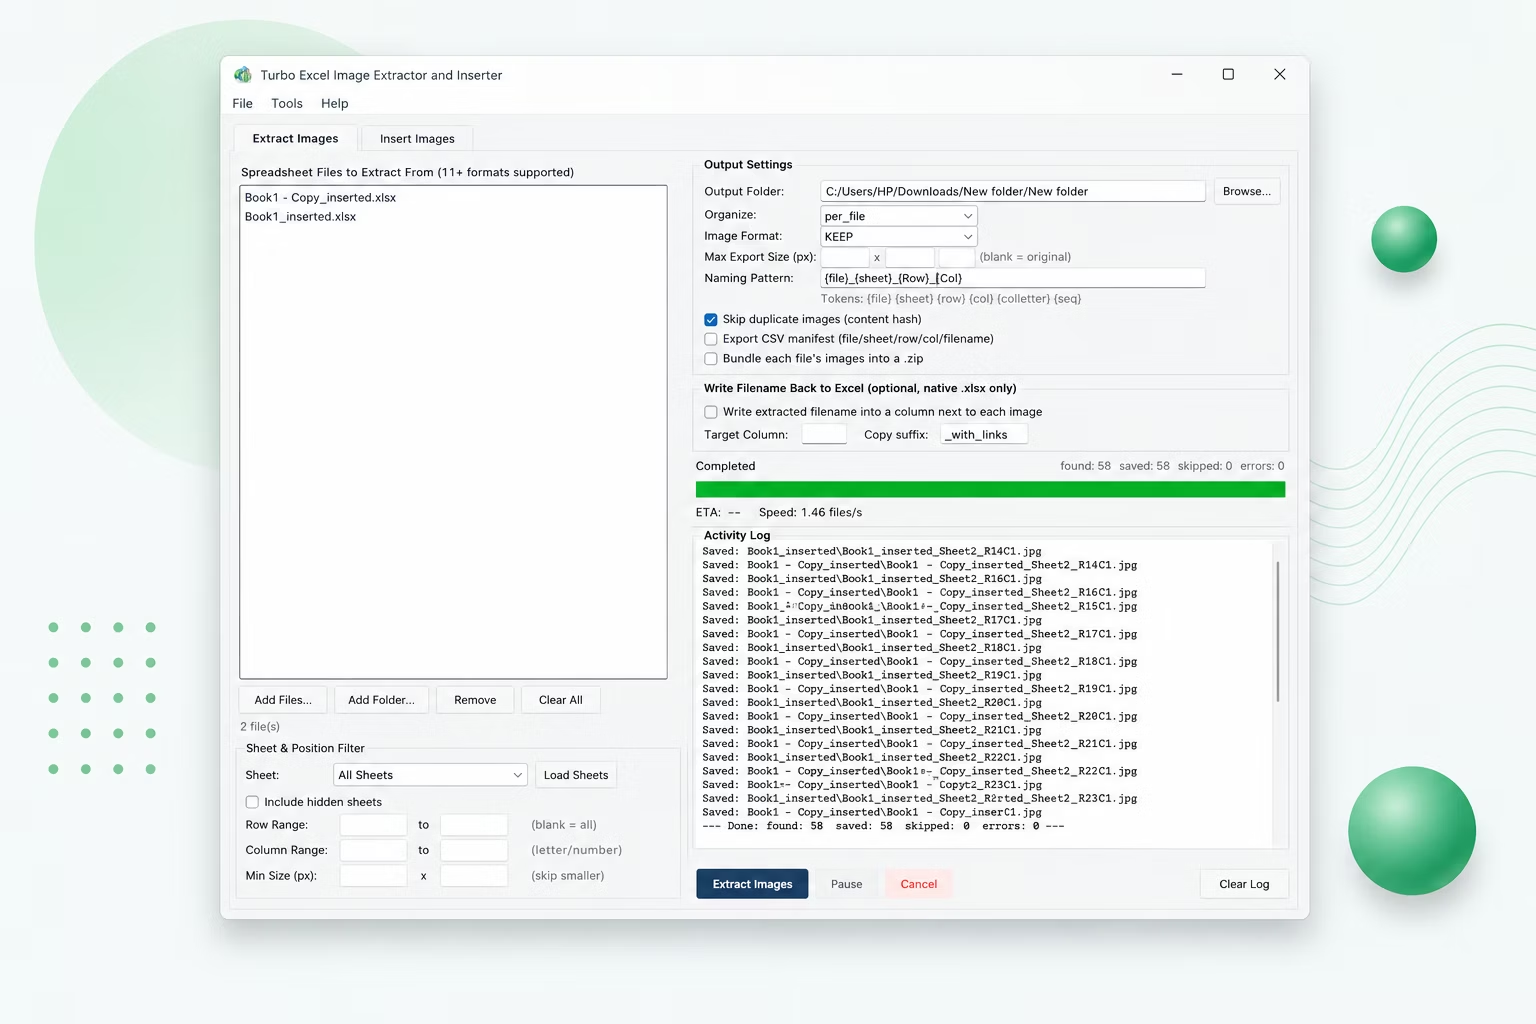
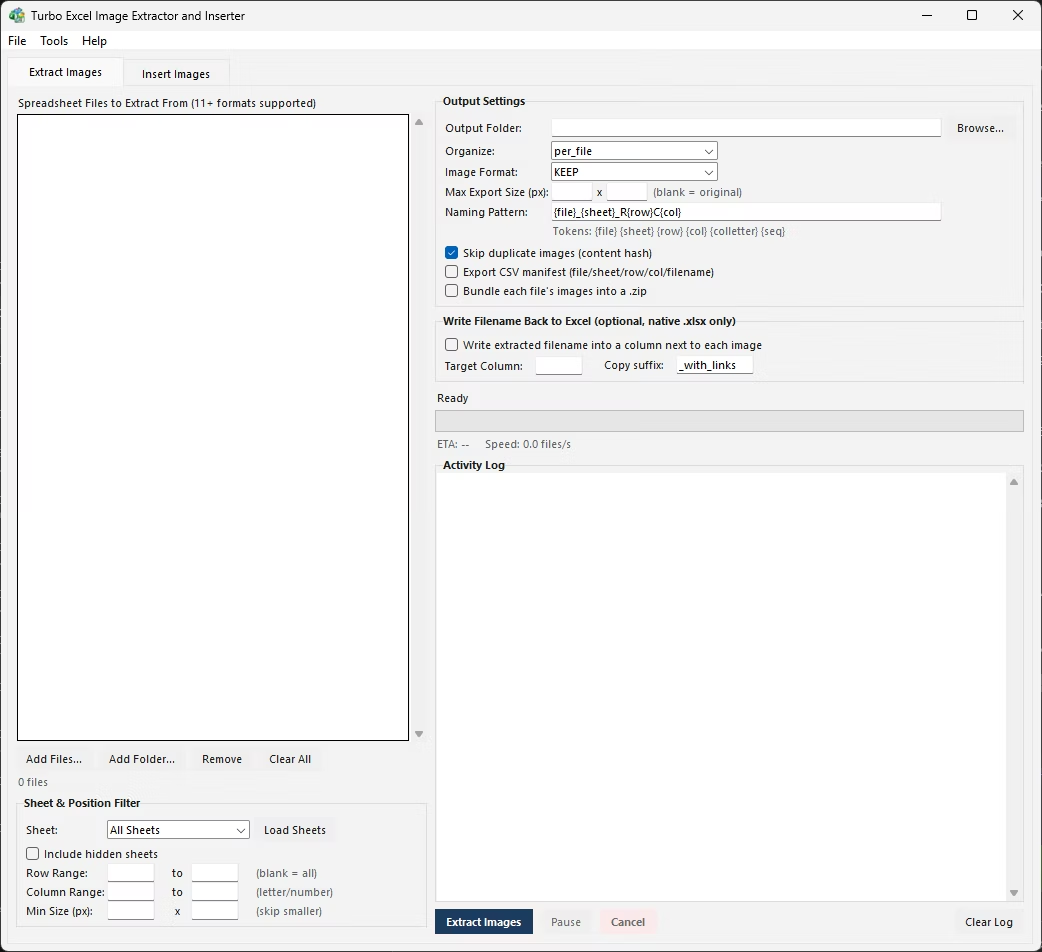
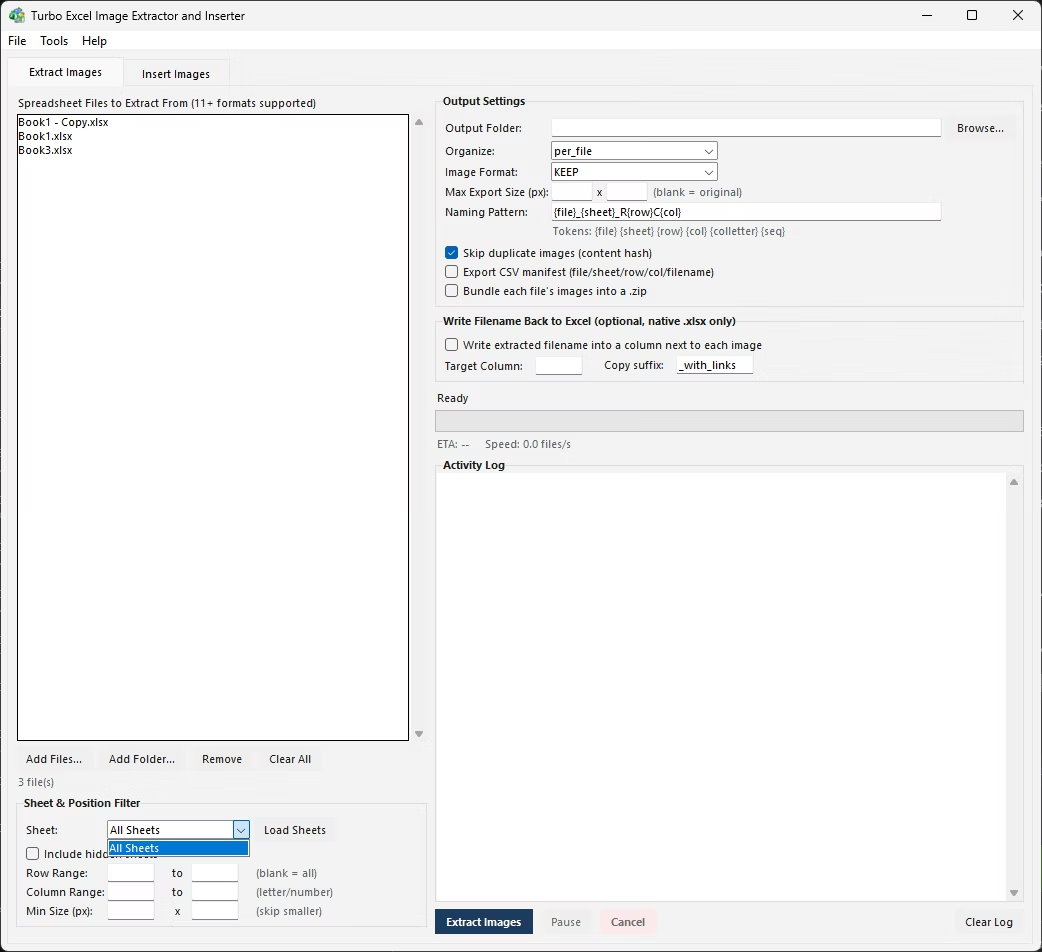
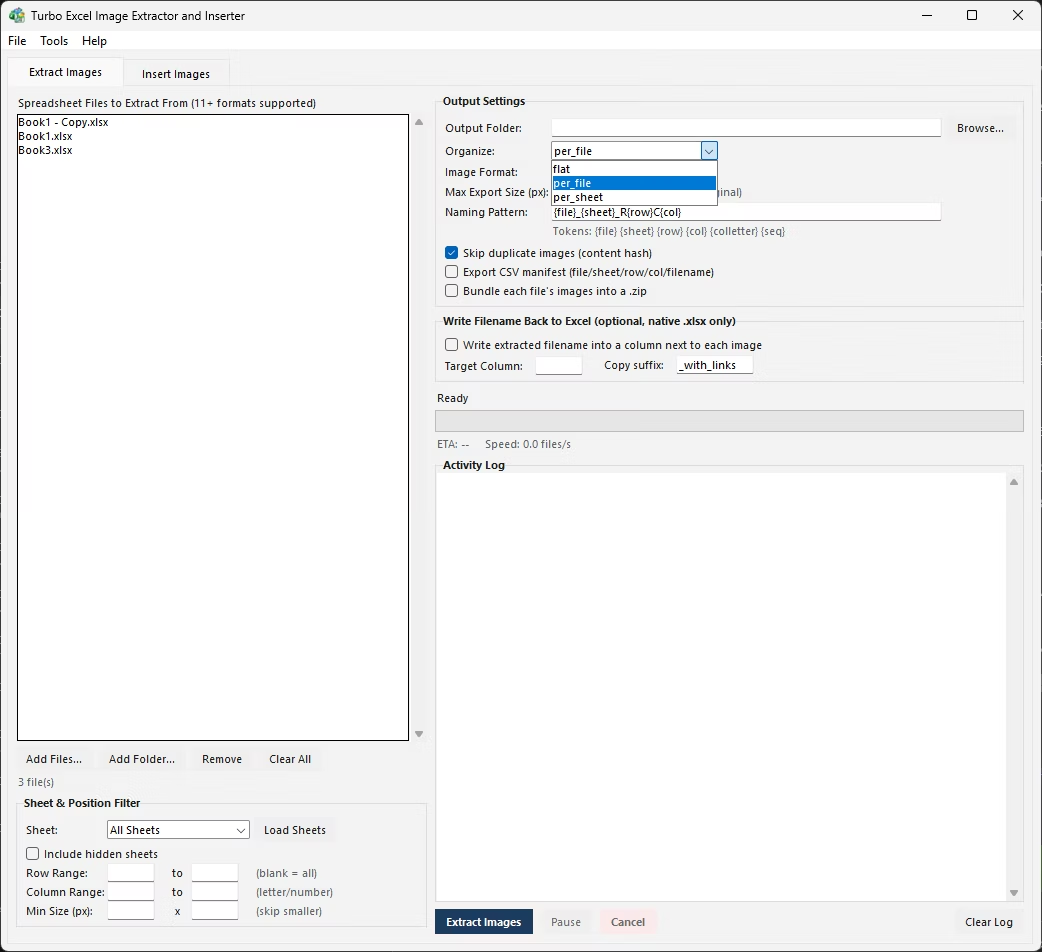
After inserting a picture, click it once to select it, then drag one of the corner handles inward or outward while watching how its edges line up against the cell boundary underneath. Holding a modifier key while dragging can help keep the aspect ratio locked so the image doesn't stretch out of proportion while you resize it.
Getting a genuinely tight fit - where the image's edges align precisely with the cell's borders on all four sides - usually takes a few rounds of drag, check, and adjust, since dragging a corner changes both width and height together, and getting both dimensions to land exactly on a cell's size at the same time is fiddly by hand.
- Insert the picture using Insert > Pictures as usual.
- Click the image once to select it and reveal its resize handles.
- Note the target cell's approximate width and height, or widen the column and row first to a size you want the image to match.
- Drag a corner handle to resize the image, checking alignment against the cell border as you go.
- Release and fine-tune with small drags until the image edges line up with the cell on all sides.
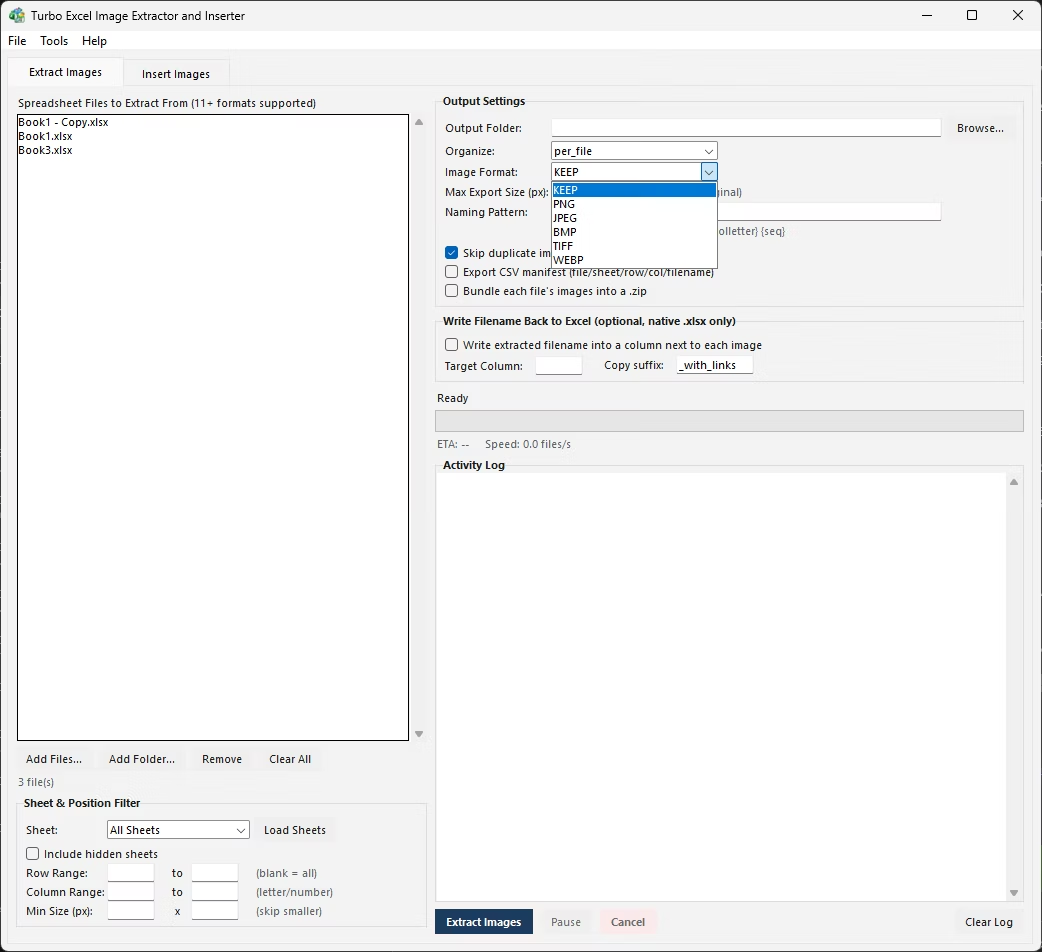
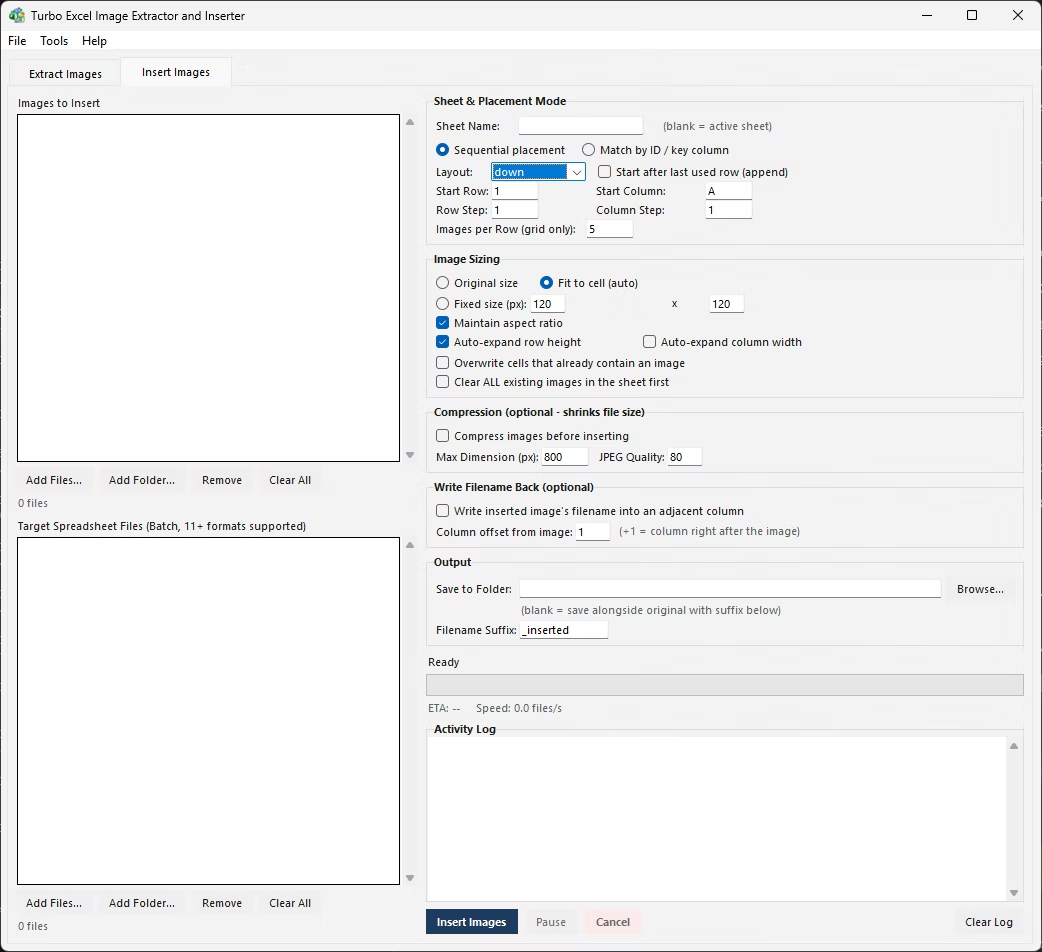
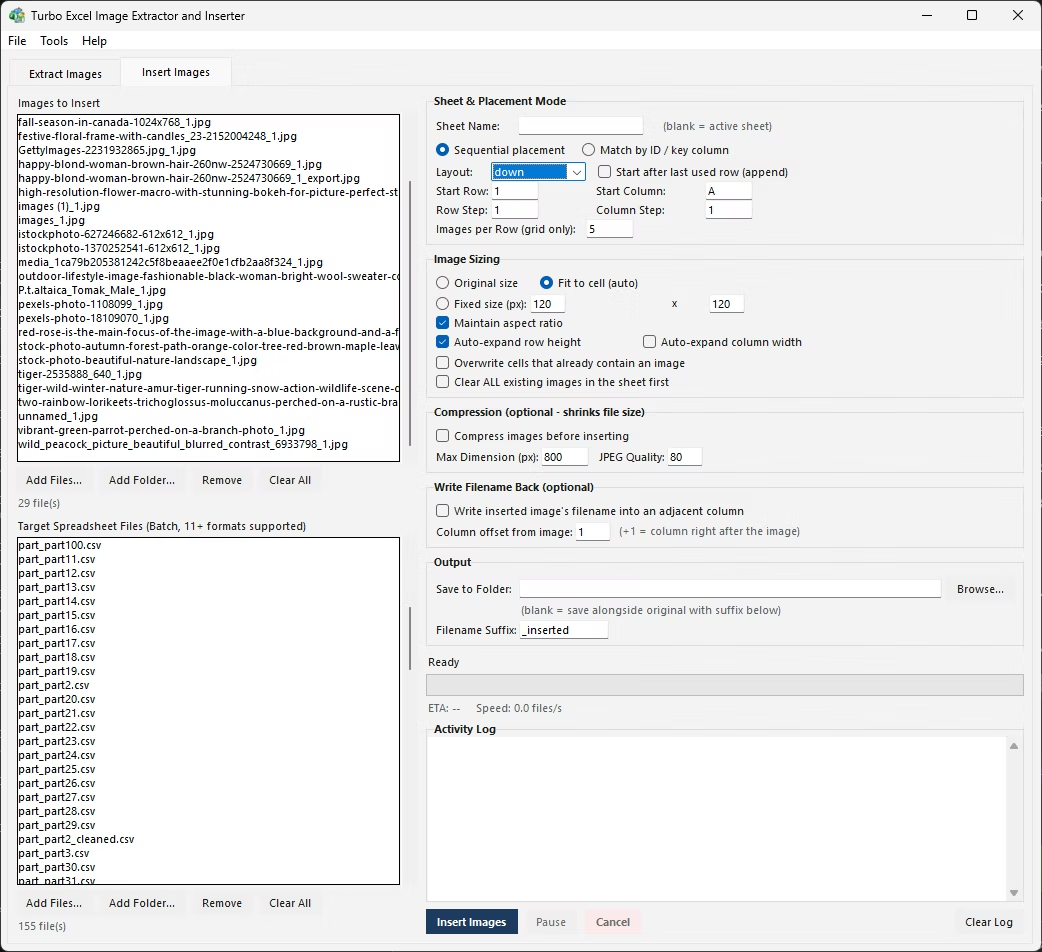
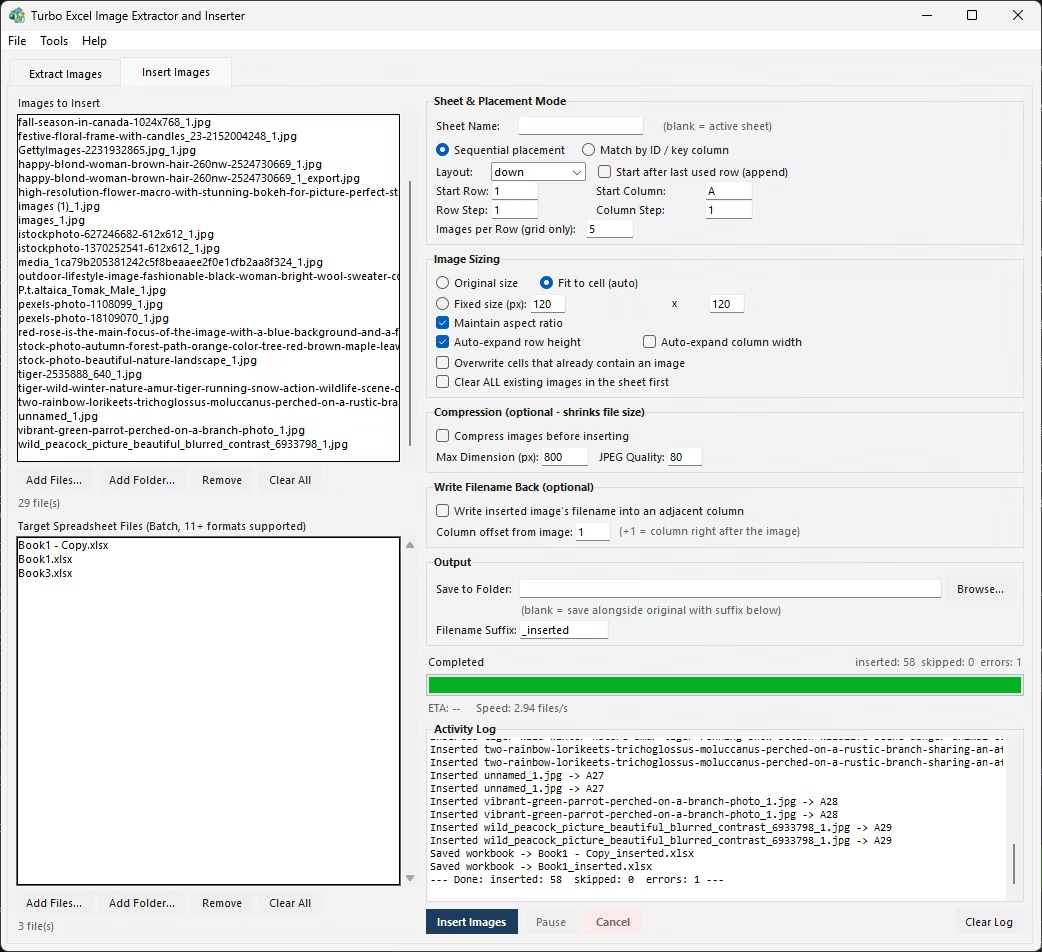
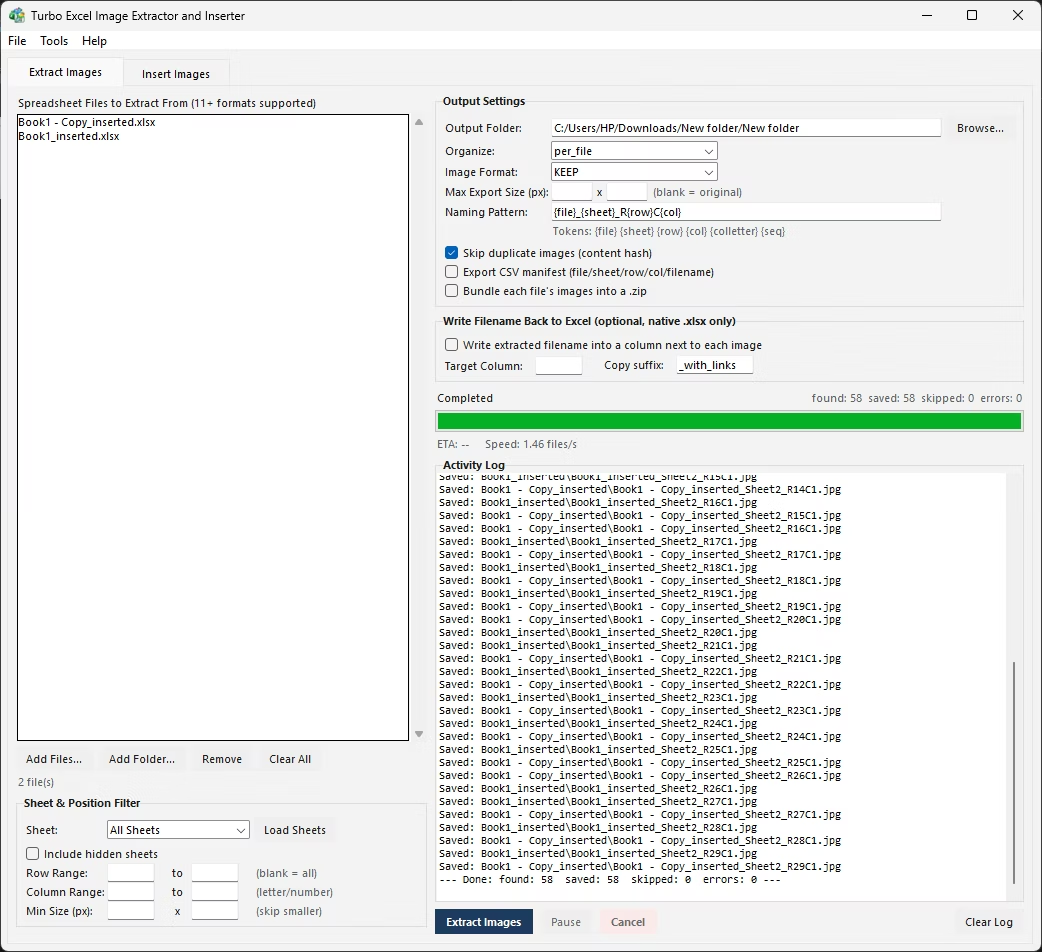
Turbo Excel Image Extractor and Inserter's Insert Images tab includes Fit to Cell as one of three sizing modes, alongside original size and a fixed pixel size with aspect ratio locked. Choosing Fit to Cell means every image inserted during that batch is automatically resized to match the exact dimensions of its destination cell - no corner-dragging, no trial and error, and no per-image adjustment, whether you are placing five images or five hundred.
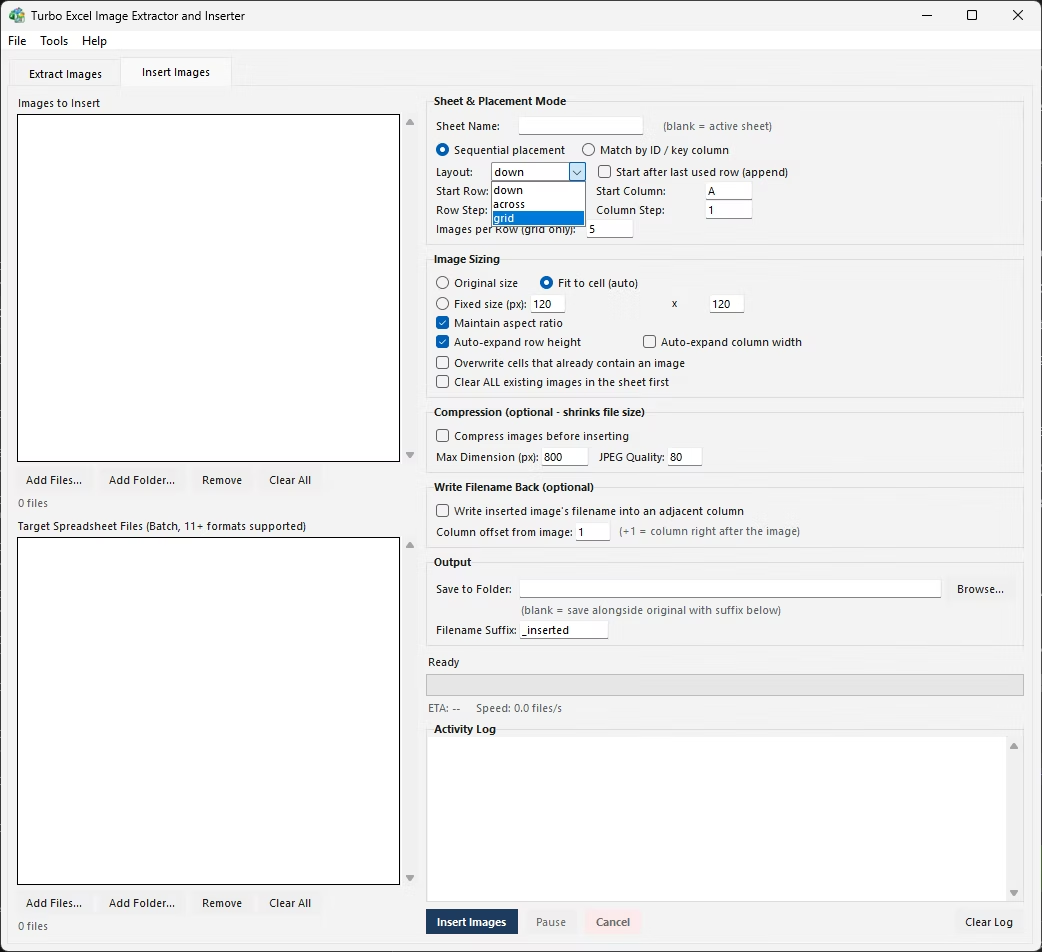
This works the same whether images are being placed sequentially down a column or across a row, or matched row-by-row to a key column with Match mode - the sizing setting applies uniformly across the whole batch. Rows or columns can also be set to auto-expand to fit what's being inserted, for cases where the existing cell size is smaller than what a clean image display needs.
Fit to Cell matches an image exactly to its destination cell's dimensions, which can distort a picture's proportions if the cell's width-to-height ratio doesn't match the image's own aspect ratio - a tall product photo squeezed into a wide, short cell will look stretched under Fit to Cell.
In that situation, the fixed-size mode with aspect ratio locked is usually the better choice: it keeps every image proportioned correctly and consistent in size across the batch, at the cost of possibly leaving some empty space within a cell where the image doesn't perfectly fill every edge. Which mode is right depends on whether uniform proportions or exact cell-filling matters more for a given sheet.
A practical way to decide is to check the aspect ratio of a sample image against the target cell's proportions before running the full batch - if they're already close, Fit to Cell will look clean; if they're noticeably different, aspect-ratio-locked sizing will produce a more presentable result across the board.
- Fit to Cell sizing mode resizes every image to match its destination cell automatically
- Applies uniformly across an entire batch, not image by image
- Works identically with Sequential and Match placement modes
- Rows or columns can auto-expand to accommodate inserted images
- Fixed size with locked aspect ratio available as an alternative mode
- No manual corner-dragging or trial-and-error resizing needed
Does Excel have a one-click 'fit image to cell' command?
No. Fitting an inserted image to a cell in desktop Excel means manually dragging its resize handles until the edges line up with the cell border - there is no automatic fit command in the native Insert Pictures workflow.
What does Fit to Cell mode actually do?
It automatically resizes an inserted image to match the exact width and height of its destination cell as part of the insertion process, applied consistently across every image in a batch.
Will fitting an image to a cell distort its proportions?
Fit to Cell matches the cell's dimensions directly; if you need the image's original aspect ratio preserved instead, the fixed-size mode with locked aspect ratio is the better choice.
Can rows or columns resize automatically to accommodate a fitted image?
Yes, an option lets rows or columns auto-expand to fit what's being inserted, useful when the existing cell size is smaller than a clean image display needs.
Ready to handle images in bulk, offline, with full privacy?