Getting a picture out of Excel and onto disk is only half the job. What you actually need afterward is images with sensible, consistent filenames, in a format your other software expects, and at a reasonable file size - not a folder of Picture1.png, Picture2.png files at whatever resolution they happened to be embedded at.
Excel's Save as Picture dialog lets you choose a filename and format for one image at a time, which is fine for a handful of pictures but offers no way to apply a consistent naming pattern, convert format, or resize across a whole batch in one step.
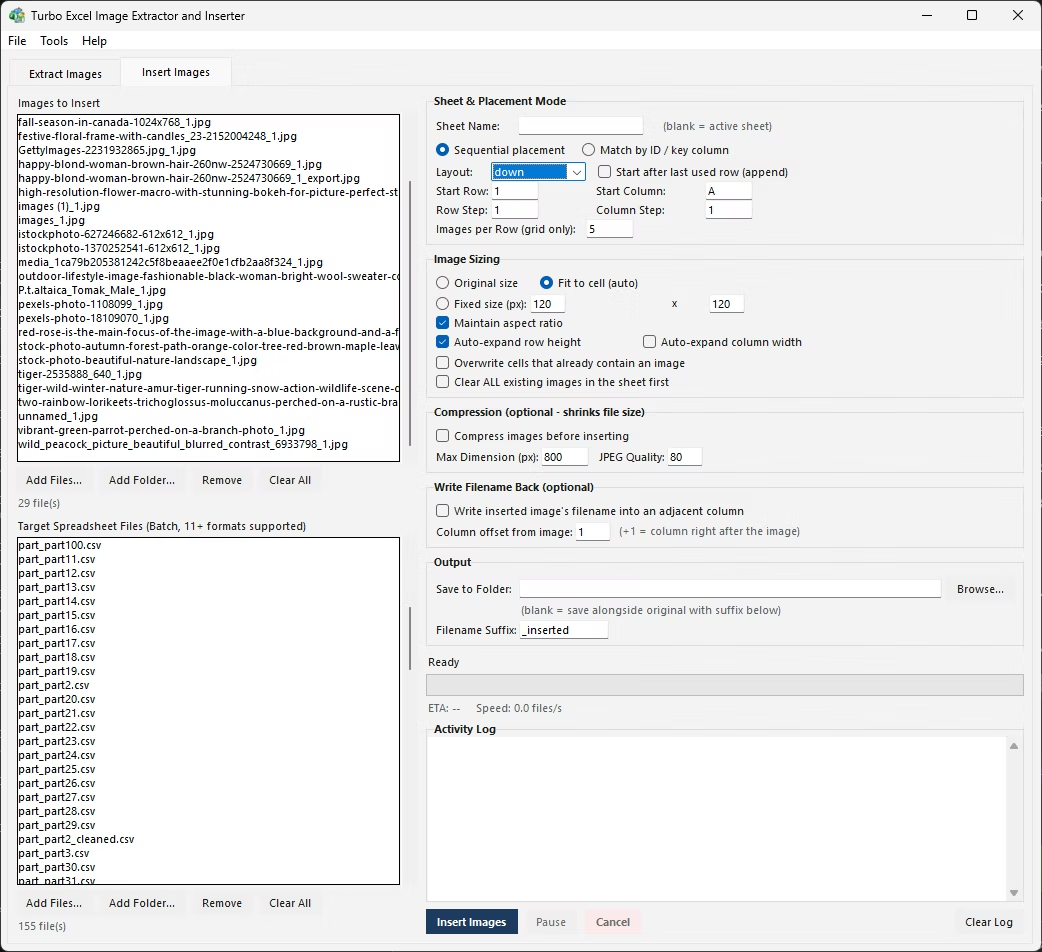
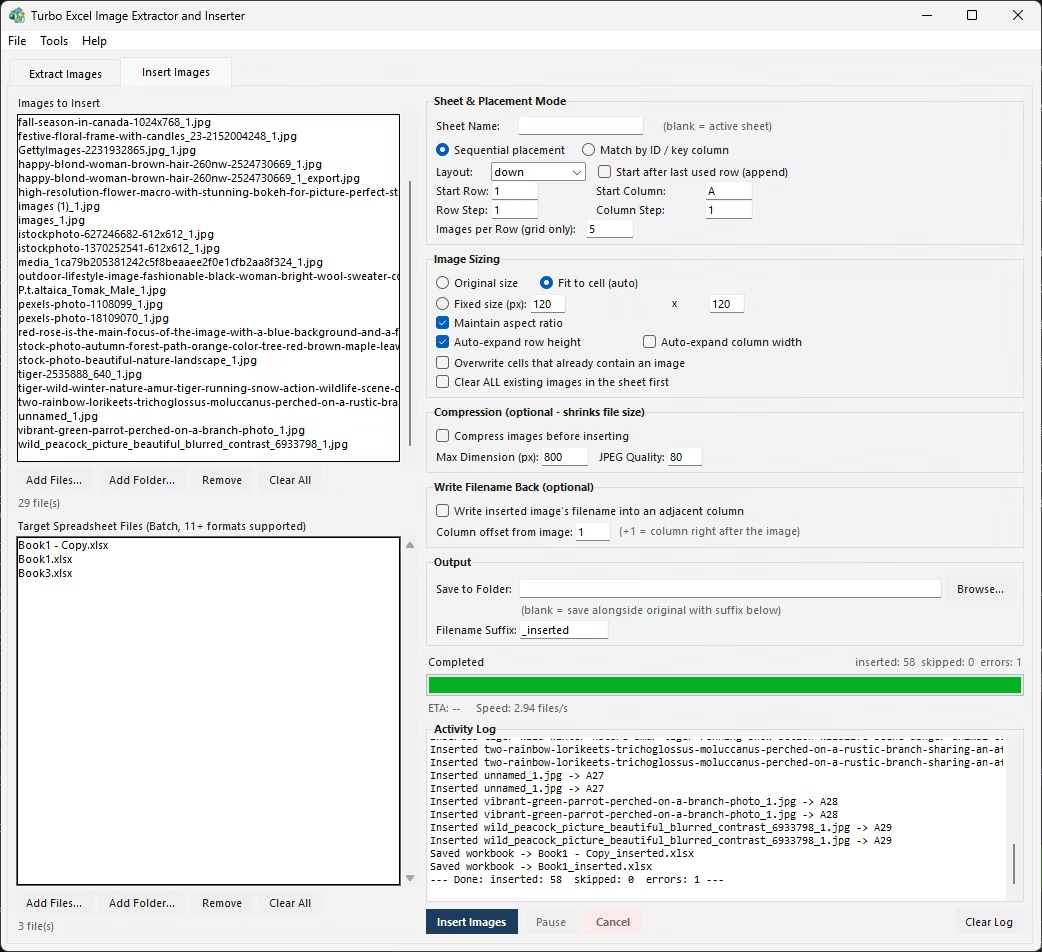
A meaningful filename usually needs to say something about where the image came from - which file, which sheet, which row - rather than a generic sequential number that means nothing once it is sitting in a folder by itself. Building that manually means renaming every file by hand after saving it, checking back against the original sheet to remember what each one was.
Format matters too. An image embedded as a BMP or a high-resolution TIFF might need to come out as a compact JPEG or PNG for use elsewhere, and an oversized photo pasted at full camera resolution might need downscaling before it is genuinely usable in a report, catalog, or website. None of this is available in Excel's own Save as Picture flow - it saves whatever format and size the image already is.
- Right-click the image you want to save and choose Save as Picture.
- In the Save As dialog, choose a folder and type a filename.
- Pick a file format from the Save as type dropdown - PNG, JPEG, and others are available.
- Click Save.
- Repeat individually for each image, renaming and reformatting by hand as needed.
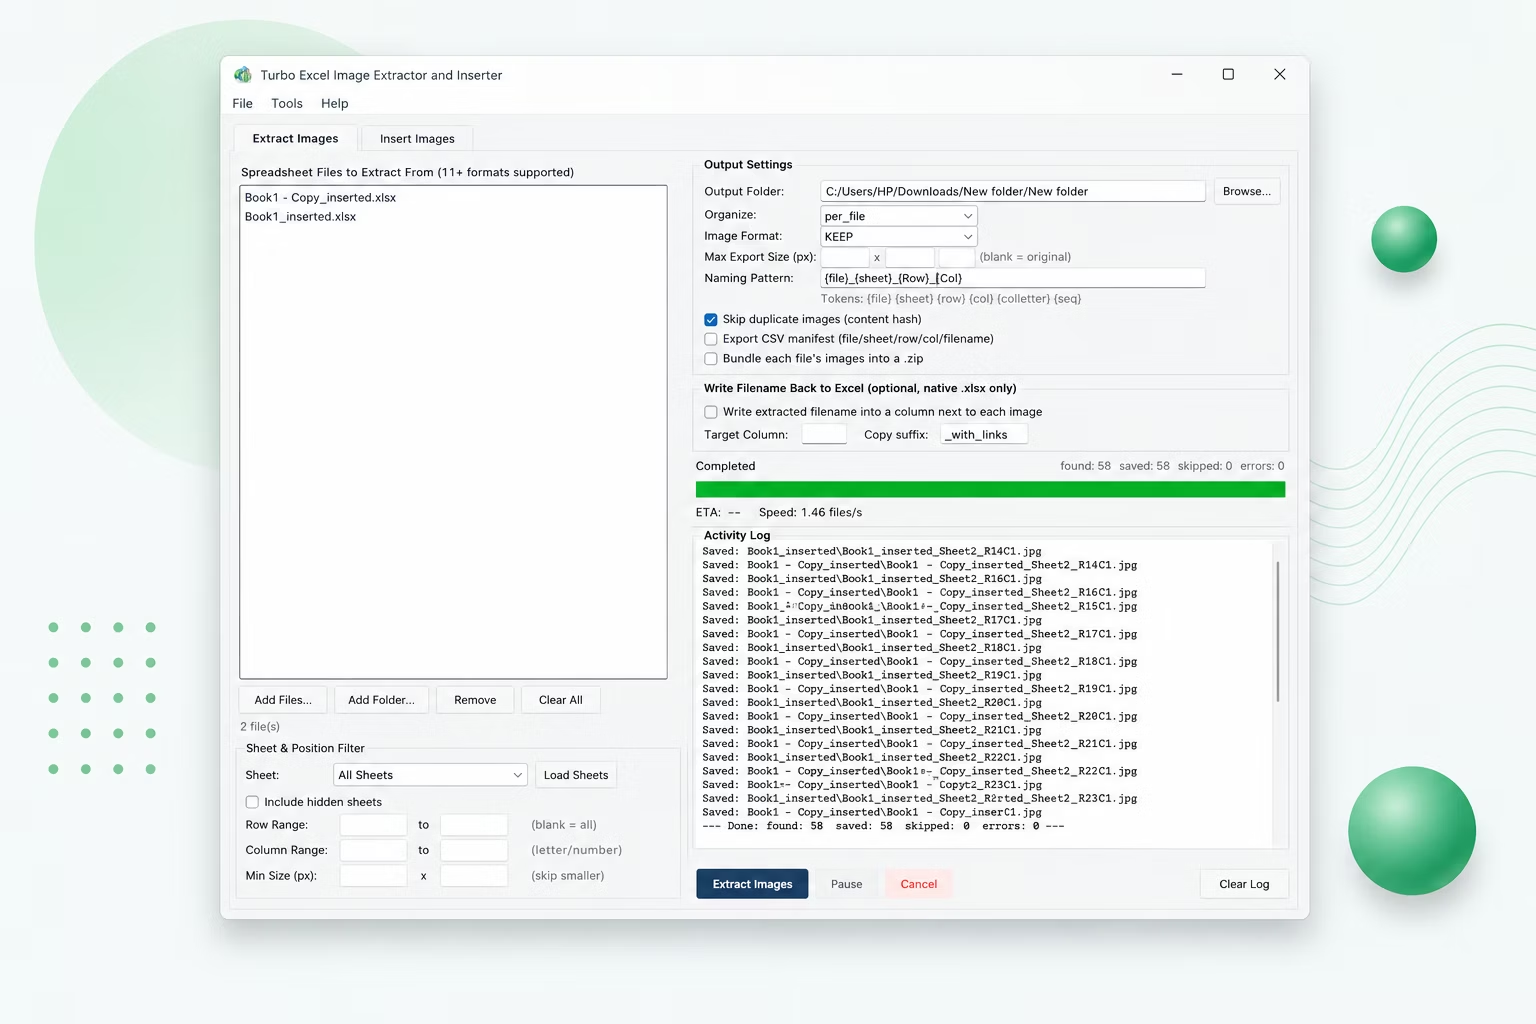
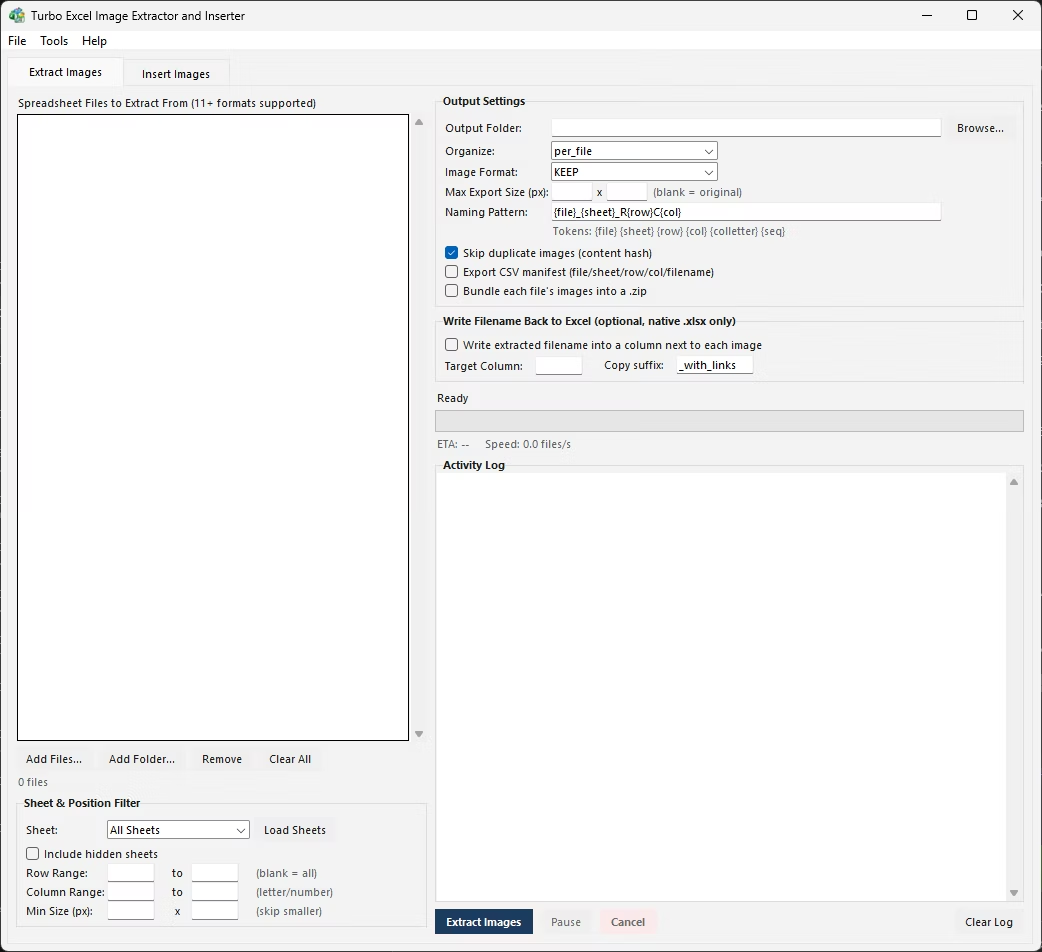
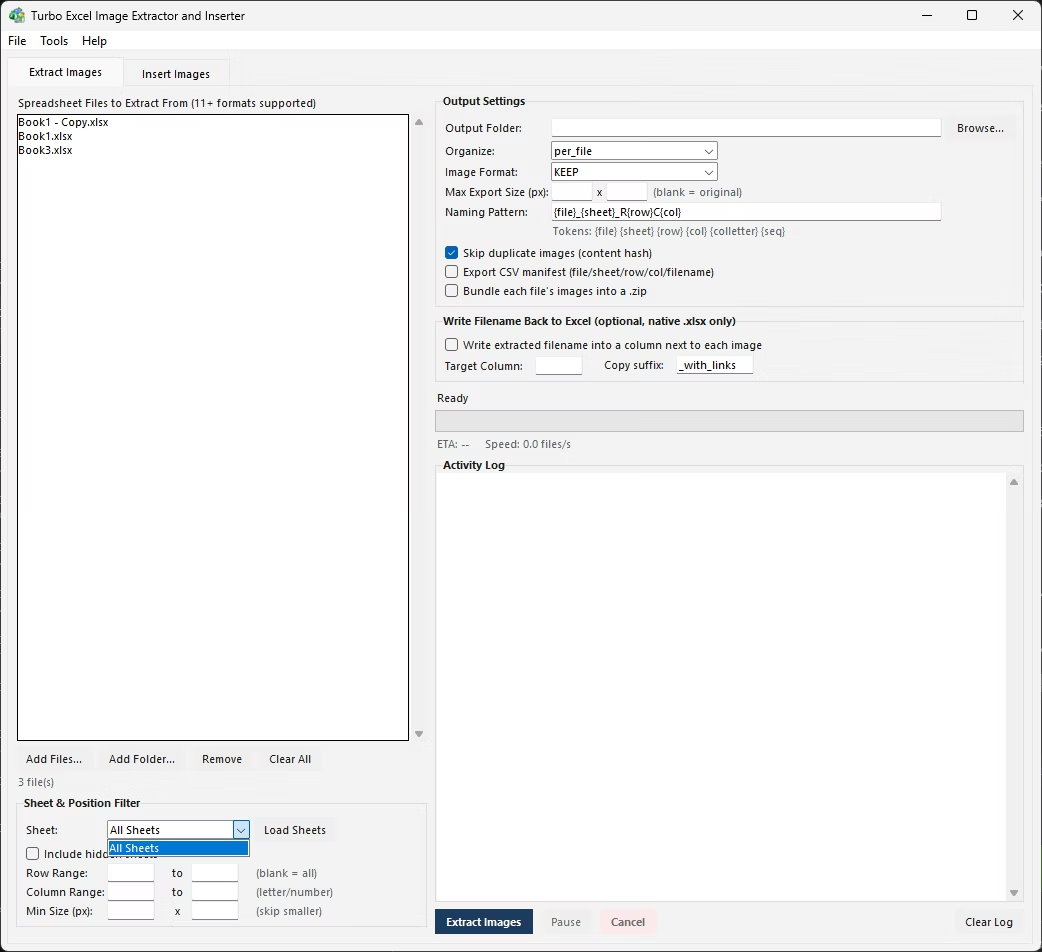
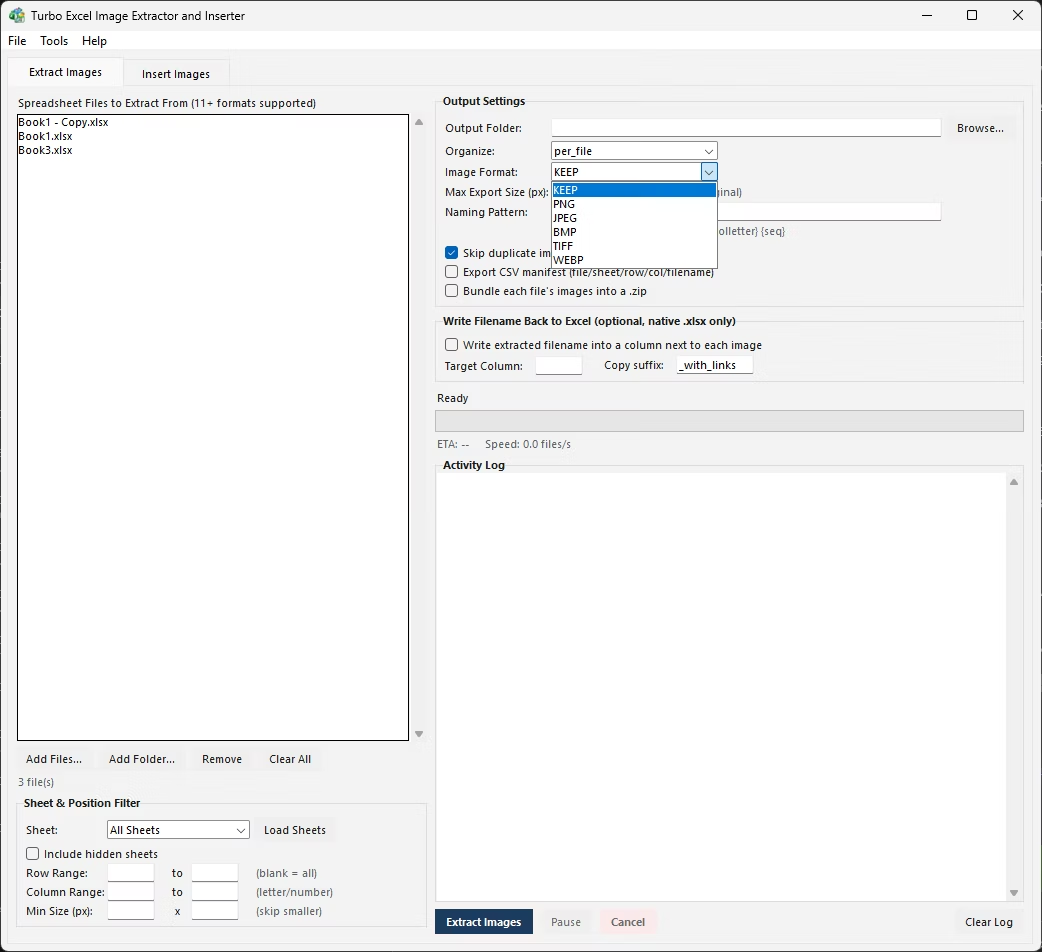
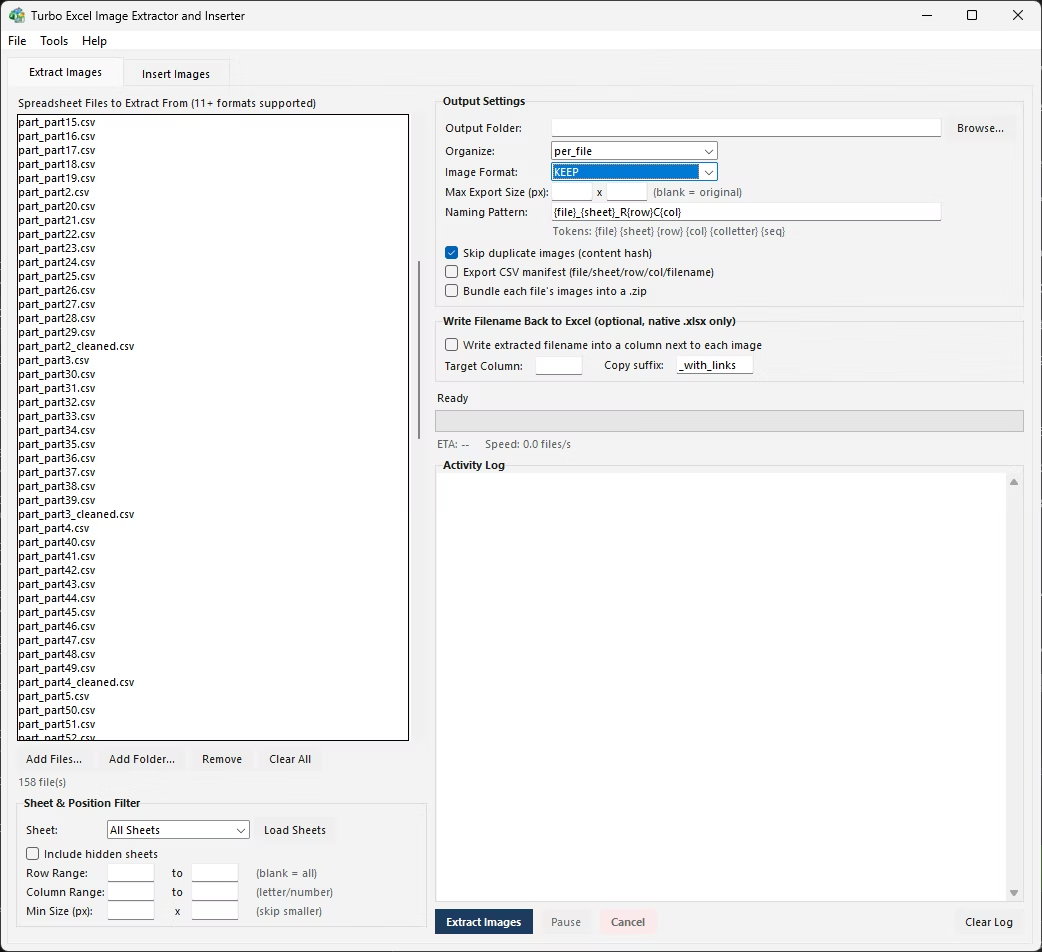
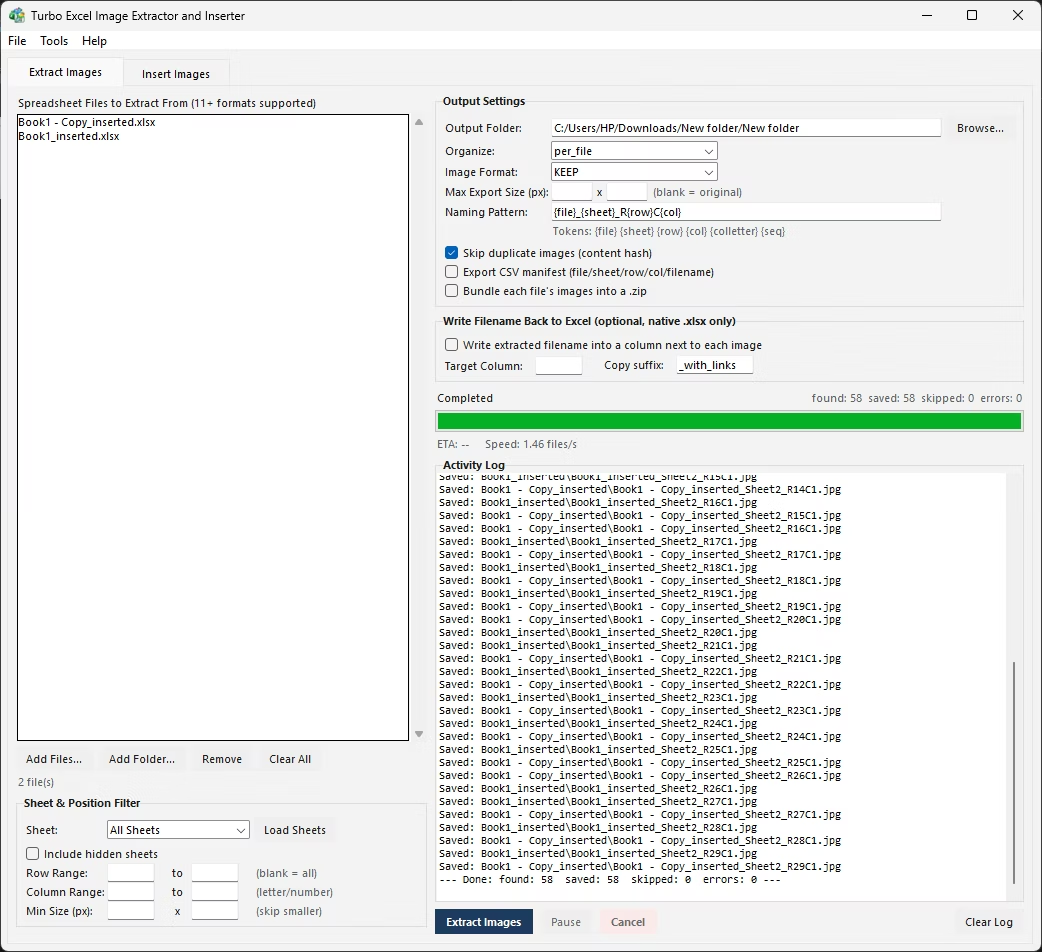
Turbo Excel Image Extractor and Inserter's Extract Images tab applies a naming pattern to every image it saves, built from tokens including {file}, {sheet}, {row}, {col}, {colletter}, and {seq} - so a pattern like {file}_{sheet}_R{row}C{col} produces filenames such as Inventory_Sheet1_R14C3.png automatically, for every image in the batch, with no manual renaming step. If a generated name would collide with a file already on disk, a numeric suffix is added automatically so nothing gets silently overwritten.
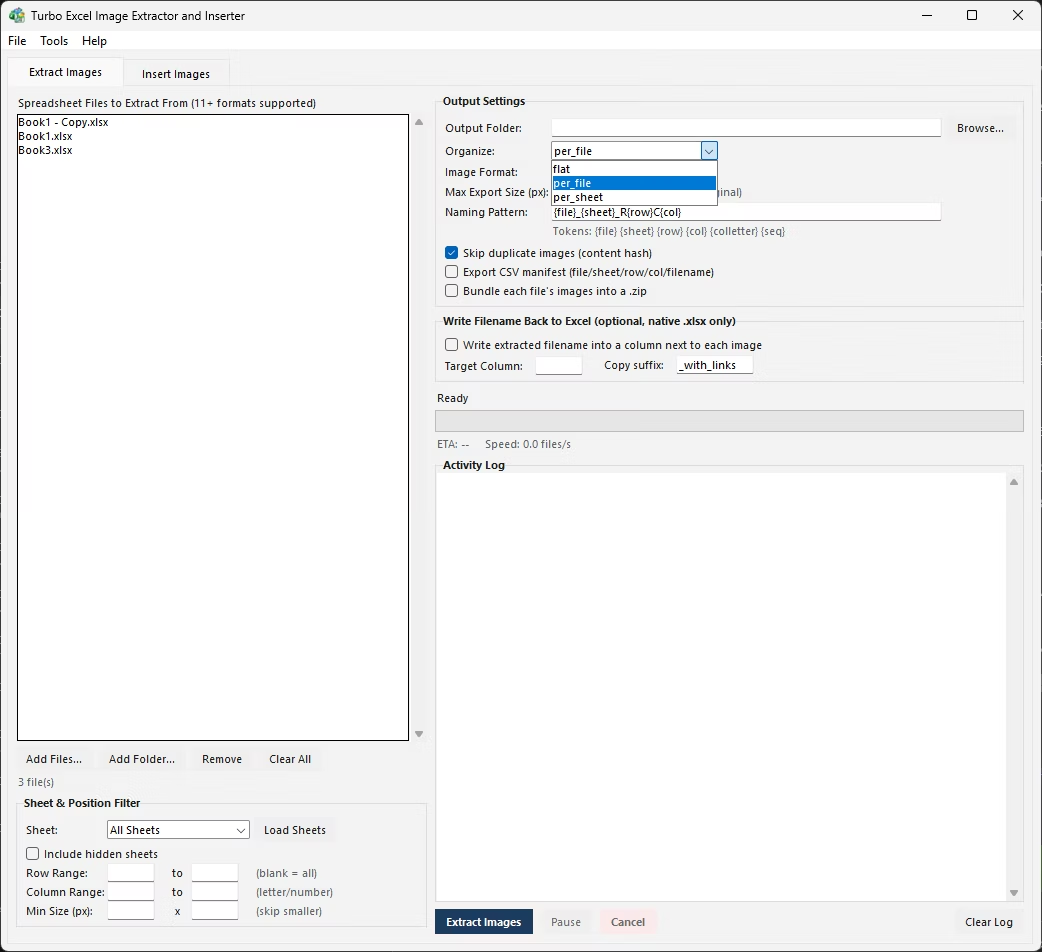
Output format is equally automatic: keep each image's original format, or convert everything extracted to PNG, JPEG, BMP, TIFF, or WebP as it is saved. A maximum export width and height setting downscales any oversized image on the way out, so a folder of camera-resolution product photos can be saved directly at a size that is actually usable, without a separate resizing pass afterward.
PNG is the safer default for product photos and anything with sharp edges or text overlays, since it's lossless and won't introduce compression artifacts. JPEG produces smaller files and is usually fine for ordinary photographs where minor compression loss isn't visible, making it a reasonable choice when file size matters more than pixel-perfect fidelity.
WebP tends to give the best size-to-quality ratio of the available formats for web use, though it's less universally supported by older software than PNG or JPEG. TIFF and BMP are largely legacy choices at this point, useful mainly when a specific downstream tool requires them. Keeping original format is the right call whenever you're not sure conversion is needed - it avoids any unnecessary quality loss from re-encoding images that were already in a suitable format.
It's worth deciding on a format before running a large batch rather than after, since converting hundreds of already-saved files a second time is extra work that a single correct setting up front avoids entirely. If the destination is a website, WebP or PNG is usually the better call; if it's a print catalog or another spreadsheet, PNG or original format keeps the most quality to work with later.
- Token-based naming pattern applied consistently to every saved image
- Automatic numeric suffix prevents filename collisions
- Convert to PNG, JPEG, BMP, TIFF, or WebP on the way out
- Maximum width and height downscales oversized images automatically
- Keep original format when no conversion is needed
- Applies identically across every file in a batch, not just one image
Can Excel apply a naming pattern automatically when I save images?
No. Save as Picture asks for one filename per image with no pattern or token support, so any naming consistency has to be applied manually, image by image.
What do the naming pattern tokens mean?
A pattern like {file}_{sheet}_R{row}C{col} inserts the source workbook name, sheet name, and row/column position into each saved filename automatically - for example, producing Inventory_Sheet1_R14C3.png.
Can images be resized while they are being saved out?
Yes. A maximum export width and height setting automatically downscales any image that exceeds those dimensions as it is extracted, so oversized photos come out at a usable size without a separate step.
What happens if two images would generate the same filename?
A numeric suffix is added automatically to the second and any later filename that would otherwise collide, so no previously saved image is silently overwritten.
Ready to handle images in bulk, offline, with full privacy?