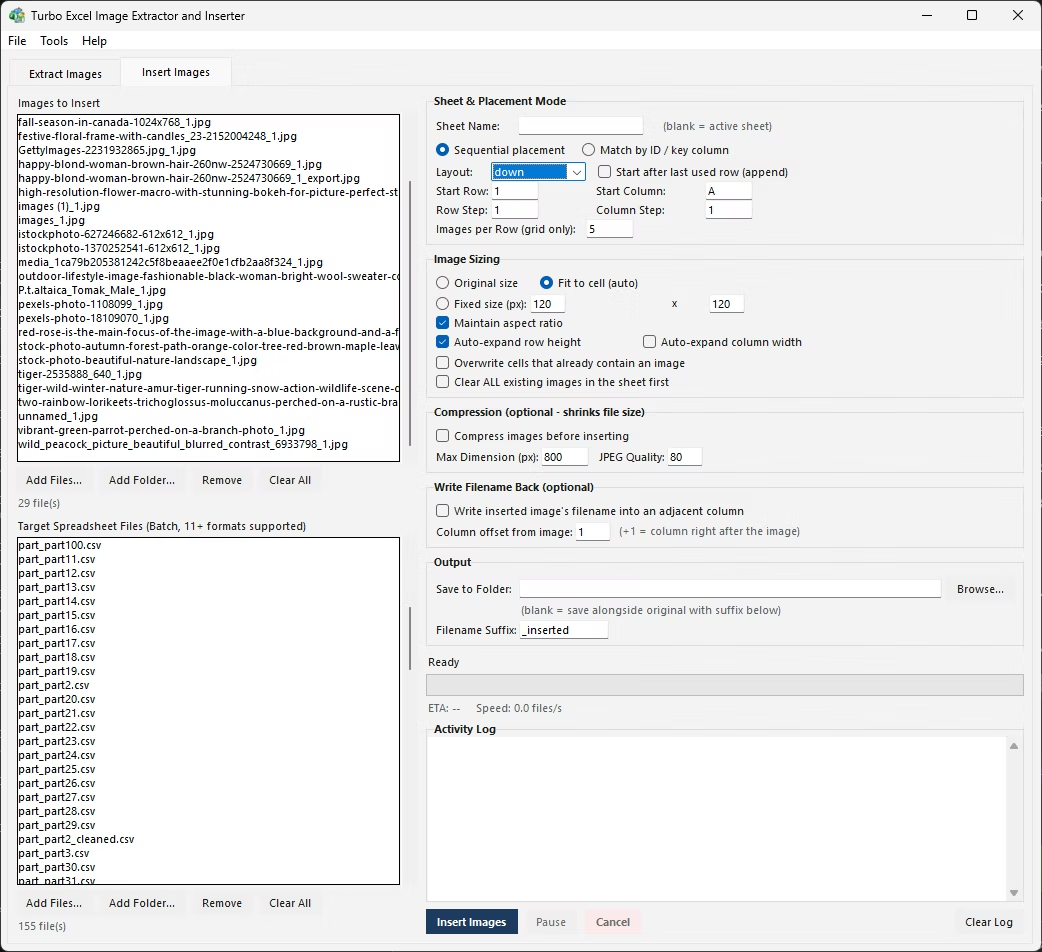
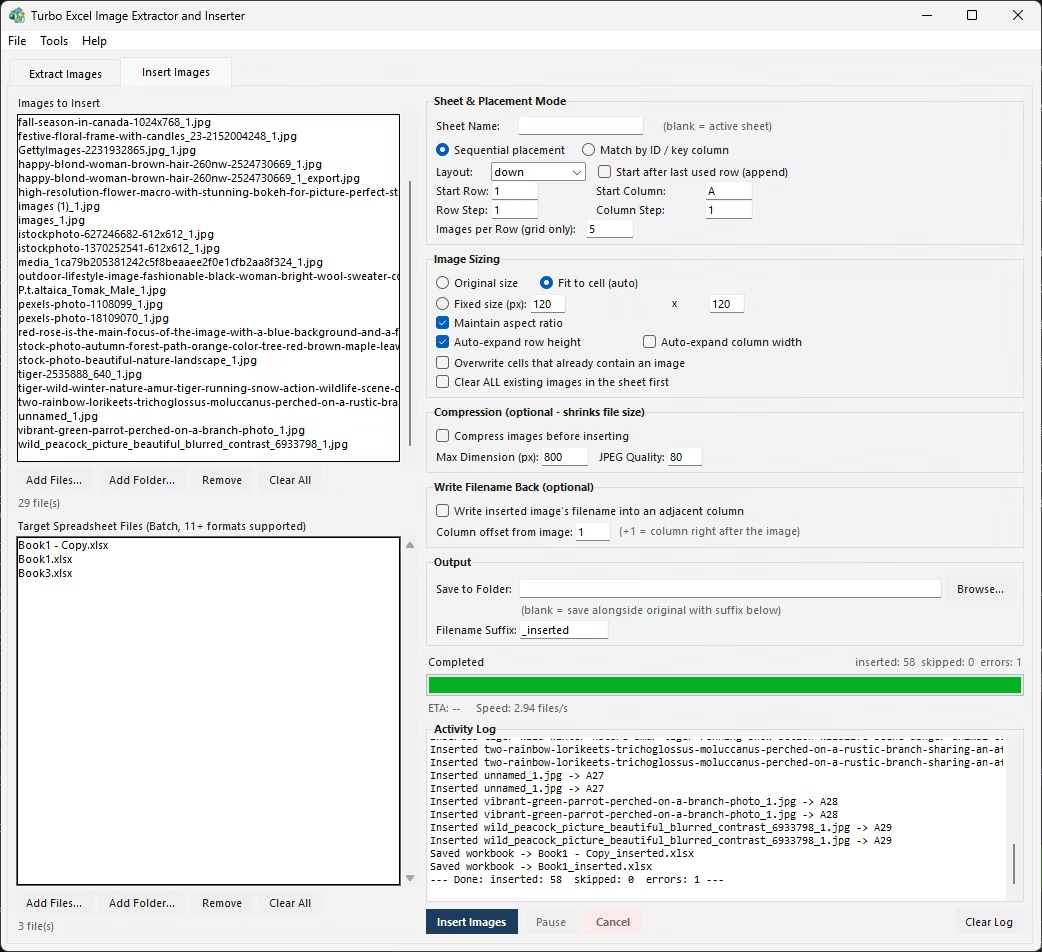
Anyone who has tried to pull a batch of photos back out of a spreadsheet has run into the same wall: Excel makes it easy to insert and view pictures, but it offers no proper export feature. There are really only two working paths - a fully manual one built entirely from Excel's own menus, and an automated one using a purpose-built extraction tool.
Which path makes sense depends on how many images you are dealing with. A handful of pictures on a single sheet is a five-minute manual job. A folder of a hundred product photos spread across a dozen workbooks is not - and that is exactly the gap a batch extraction tool is built to close.
This is the most direct method and needs nothing beyond Excel itself. Click a picture to select it, right-click, and choose Save as Picture. A standard save dialog opens where you choose the destination folder, file format, and filename, then click Save. Repeat for each picture on the sheet.
It is reliable and precise - you see exactly which picture you are saving and can name each file meaningfully as you go - but it is entirely manual. There is no select-all-and-save-all option, so the amount of clicking scales directly with the number of images.
- Make a copy of the workbook so the original is untouched, then close it in Excel.
- Rename the copy's file extension from .xlsx to .zip.
- Open the renamed file the way you would open any zip archive.
- Navigate into the xl folder, then the media subfolder inside it.
- Copy every image file found there to a separate folder - these are every picture that was embedded in the workbook.
- Rename the .zip file back to .xlsx if you need to reopen it in Excel afterward.
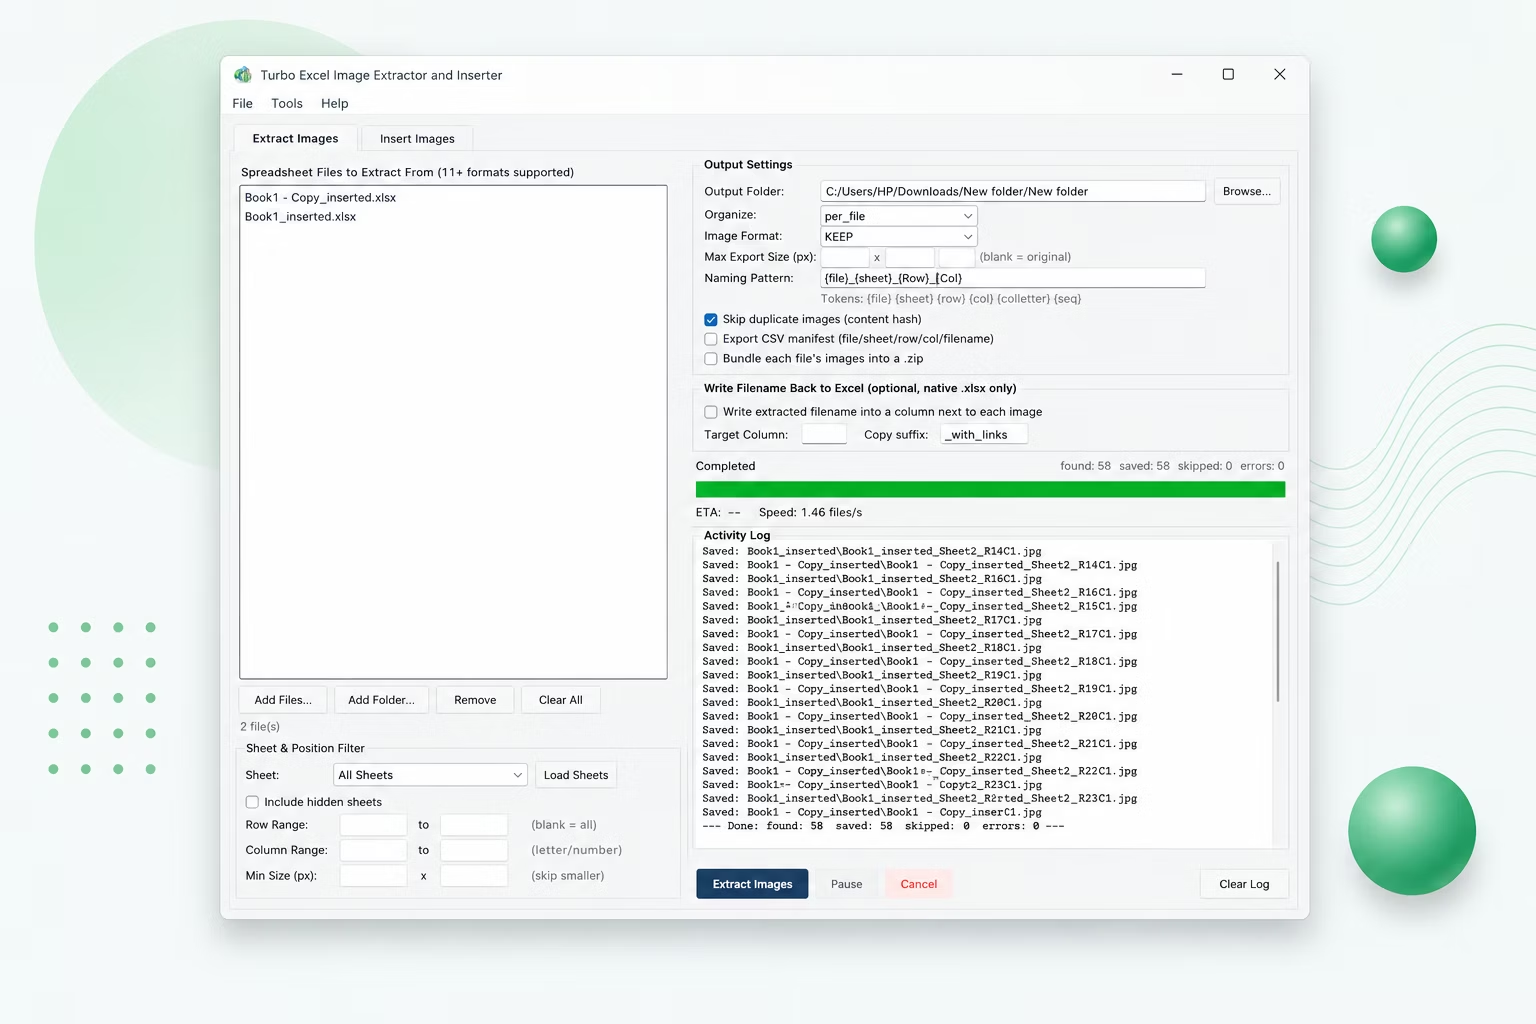
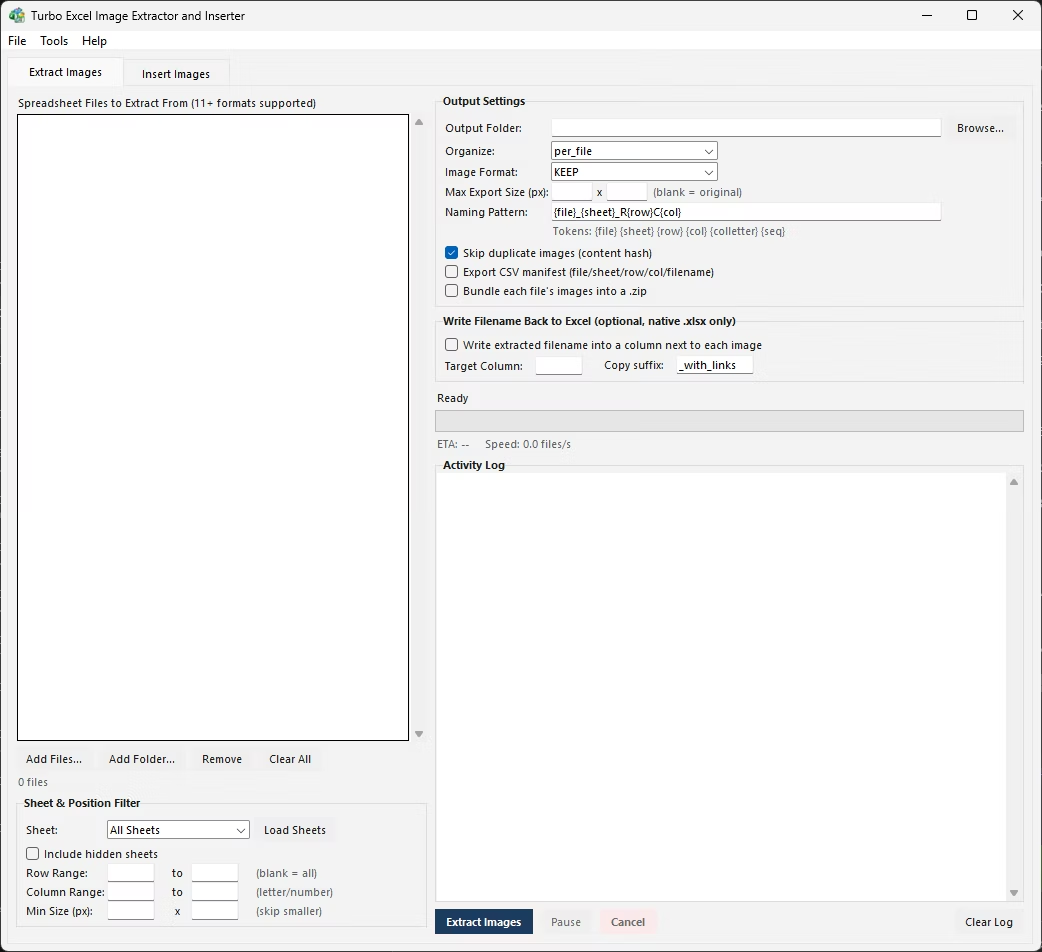
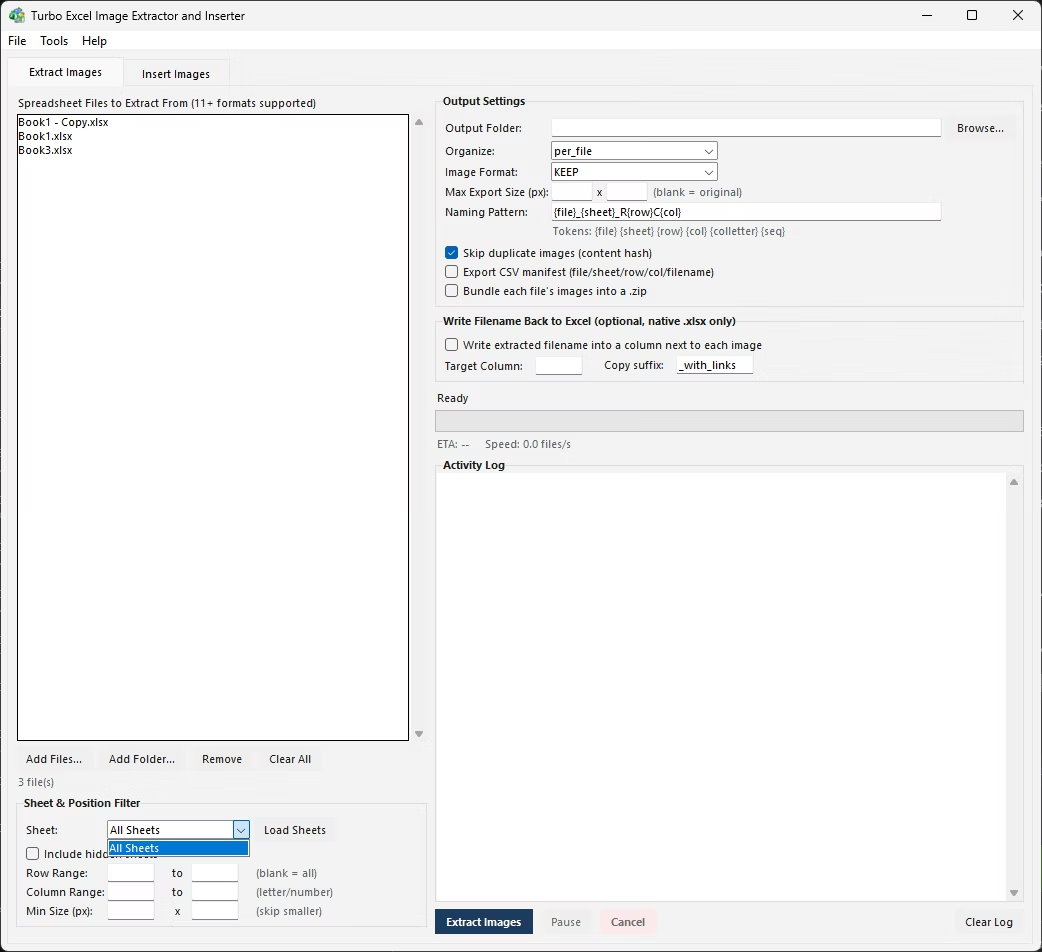
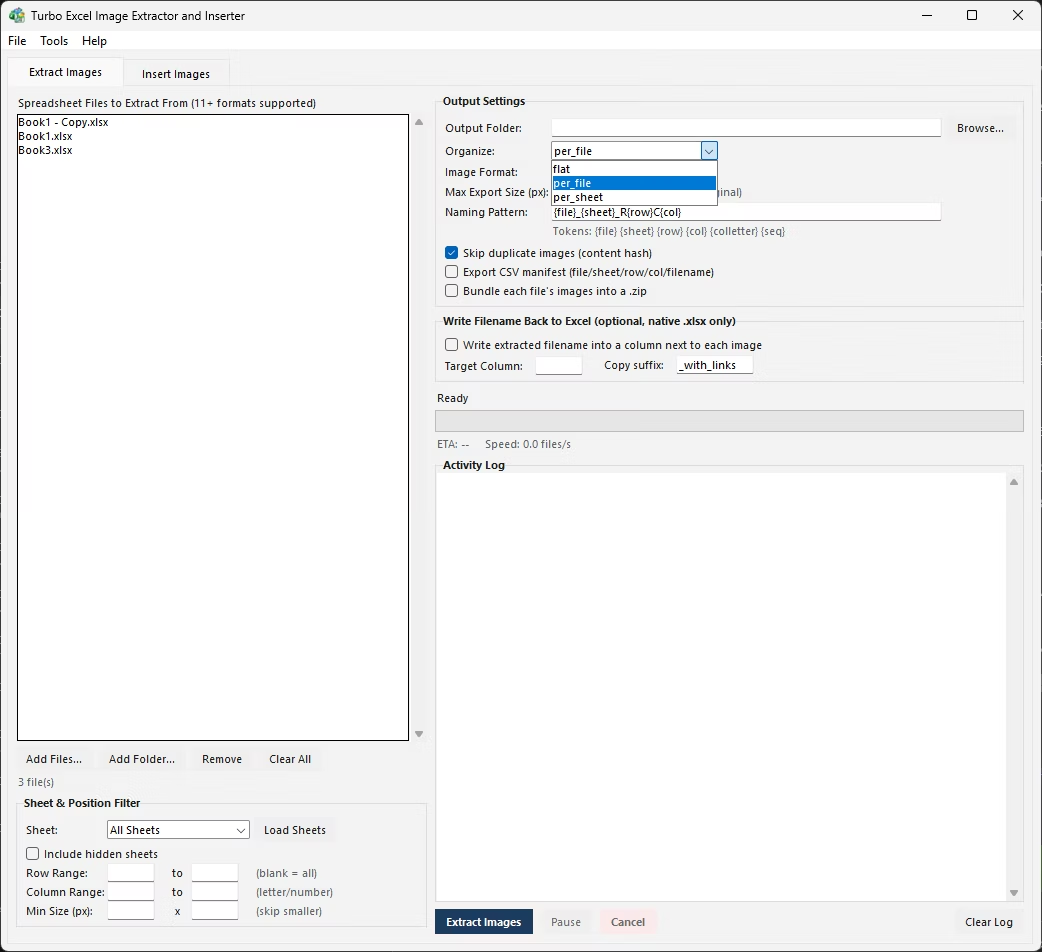
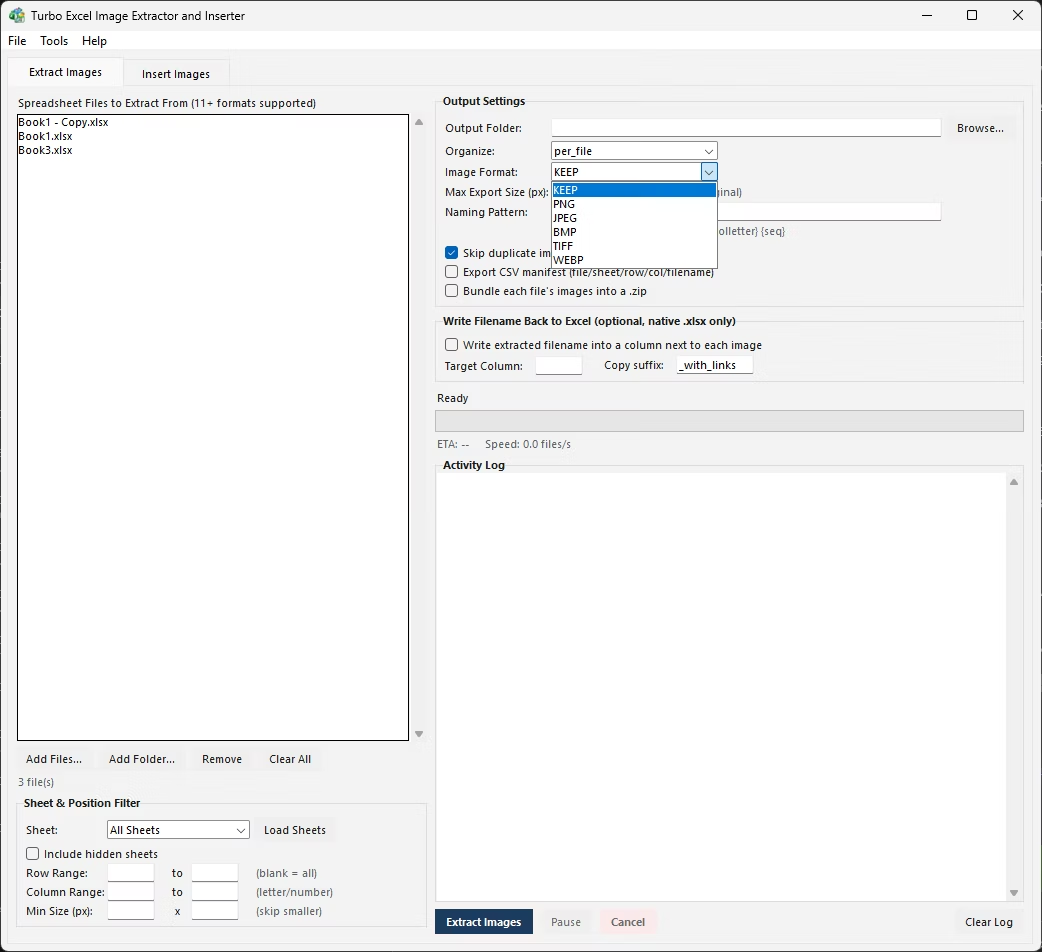
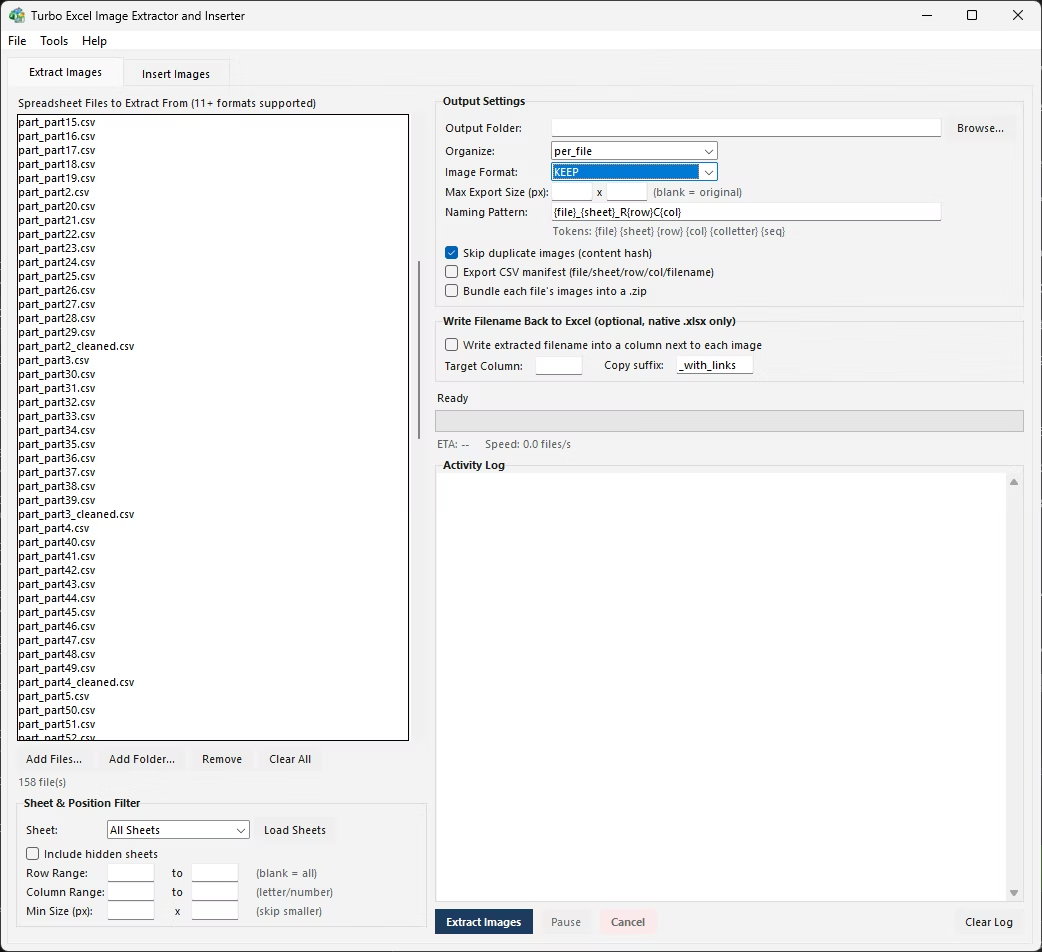
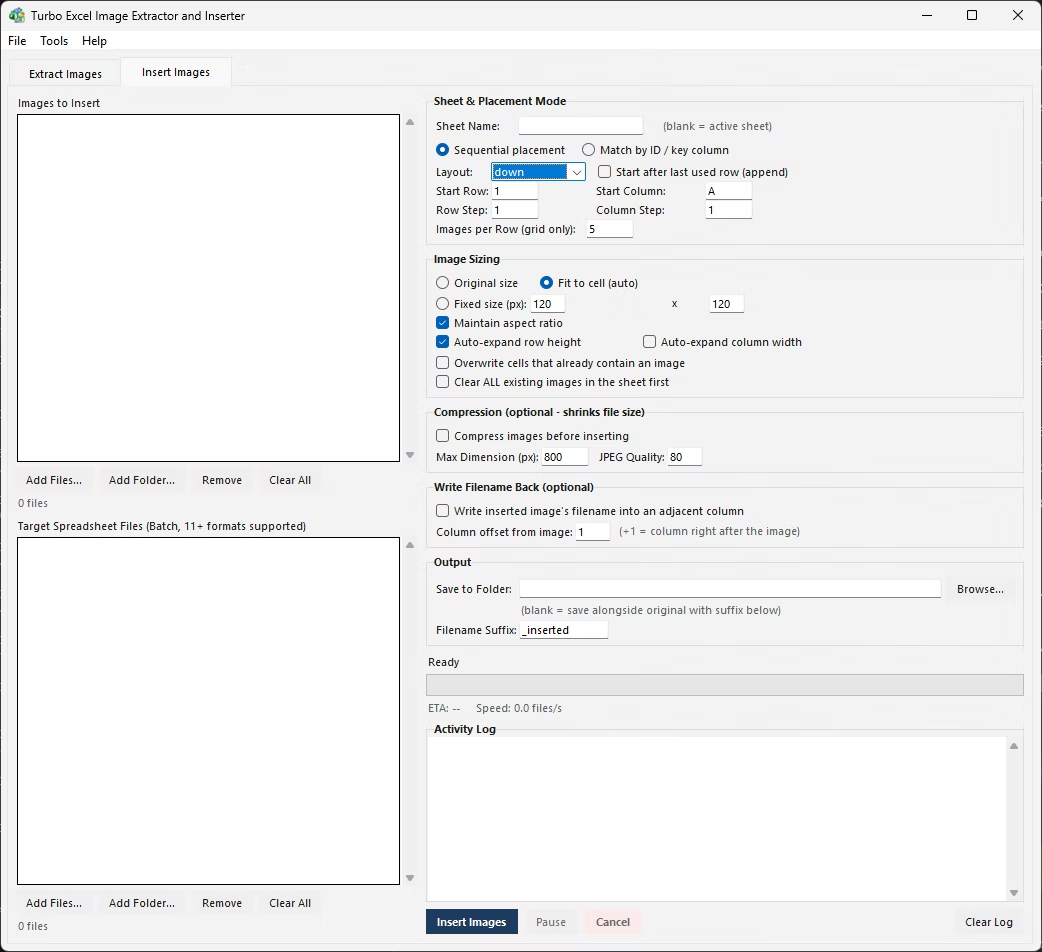
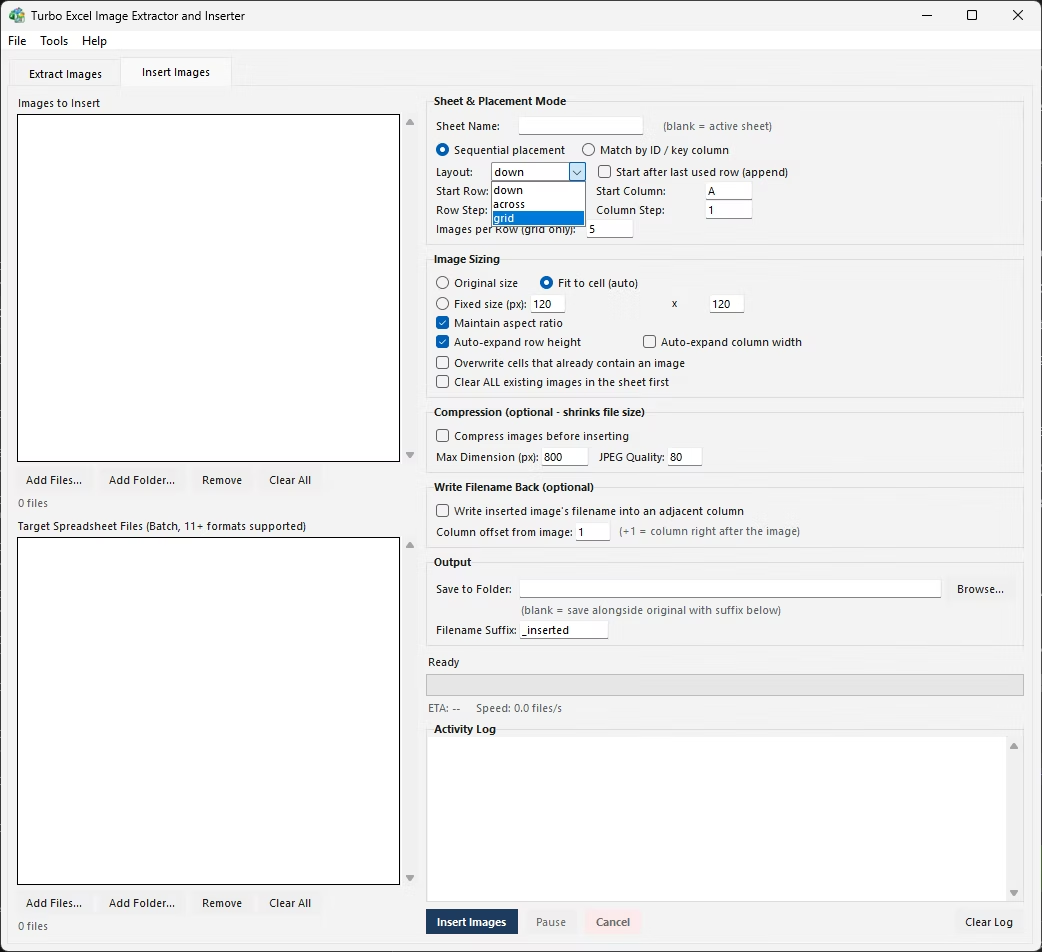
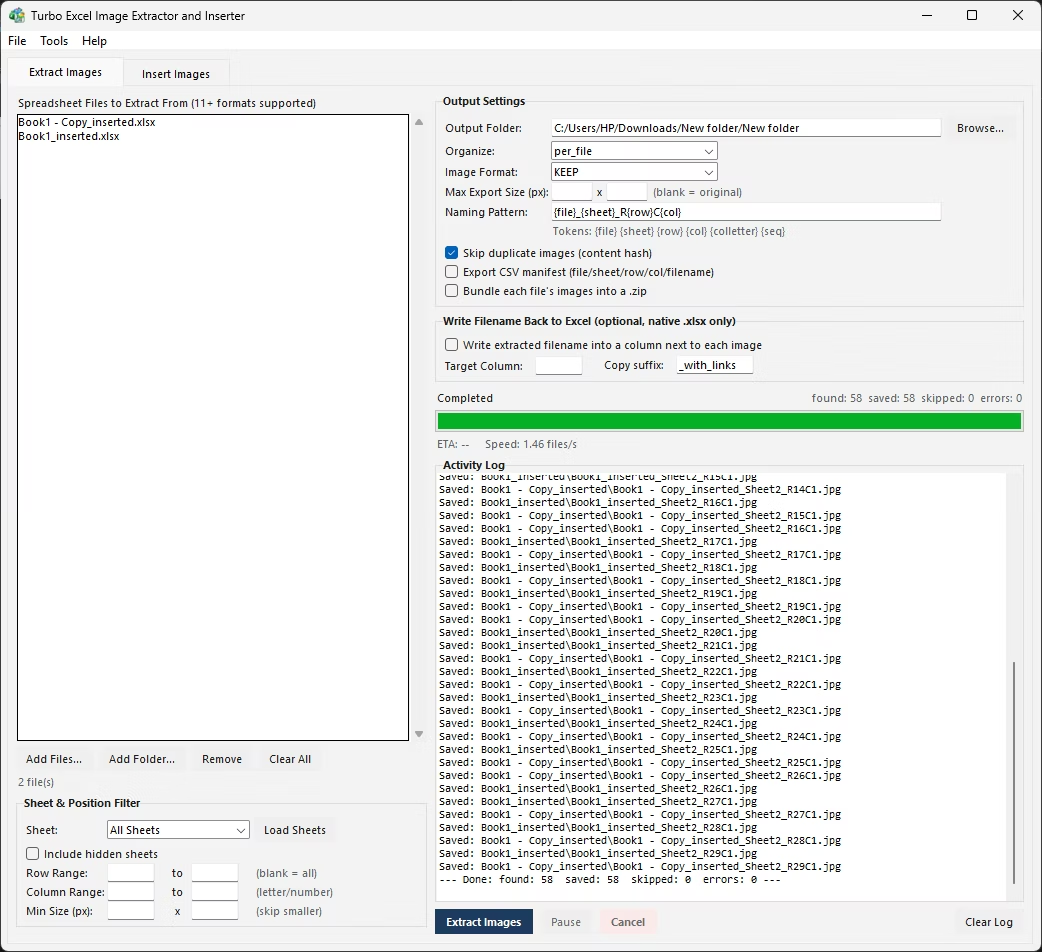
Both manual methods work, but neither one scales, and the zip method loses every scrap of context about which image belonged to which row or sheet. Turbo Excel Image Extractor and Inserter's Extract Images tab reads each image's real cell anchor directly, so every file it saves out is named using a pattern built from tokens like {file}, {sheet}, {row}, and {col} - meaning you always know exactly where each picture came from without opening the original sheet again.
You choose which sheets to include (with an option to bring in hidden sheets), filter by row and column range, skip anything below a minimum size, and decide whether output goes into one flat folder, one subfolder per source file, or one subfolder per sheet. Duplicate images are skipped automatically, and an optional CSV manifest logs the source file, sheet, row, column, cell reference, saved filename, and pixel dimensions for every image extracted - a running record of exactly what happened across the whole batch.
The most common mistake with the rename-to-zip method is forgetting to work on a copy - renaming the actual working file and then struggling to get it back to a usable .xlsx if something goes wrong midway through browsing the archive. Always duplicate the file first.
With Save as Picture, a frequent slip is losing track of which image has already been saved partway through a long sheet, leading to either duplicate saves or missed ones. Working sheet by sheet, top to bottom, and keeping the destination folder open alongside Excel to check progress helps avoid both. A batch tool sidesteps this entirely since it processes every embedded image in one deterministic pass with nothing left to manually track.
- One click extracts an entire workbook - or a whole folder of workbooks
- Filenames encode the source sheet, row, and column automatically
- Optional CSV manifest logs every extracted image for auditing
- Duplicate images detected and skipped by content, not just filename
- Format conversion and downscaling applied on the way out
- No manual zip-renaming or digging through XML folders required
Is the rename-to-zip method safe for the original file?
It is safe as long as you rename a copy of the workbook rather than the original, since the process involves changing the file extension and browsing its internal structure like an archive.
Will the zip method tell me which image came from which cell?
No. Images inside the xl/media folder come out with generic sequential names and no metadata linking them back to a specific sheet, row, or column, so that context has to be reconstructed manually if you need it.
How many images can Save as Picture extract at once?
Exactly one. It is a per-image right-click command with no batch or select-multiple option, so extracting many pictures this way means repeating the same three clicks for every single one.
Can a batch extraction tool tell me exactly where each image was in the sheet?
Yes, when it reads the image's cell anchor directly rather than just unpacking the raw file archive - that is what lets an optional manifest record the source sheet, row, column, and cell reference for every image it extracts.
Ready to handle images in bulk, offline, with full privacy?