A common request is putting a picture 'in' a cell alongside that cell's text - a product photo next to its name, or a headshot beside an employee's details. It's worth being clear about what Excel can and cannot do here: an inserted picture is a floating object that sits above the grid, not text content stored inside a cell, so an image and a cell's text value are never literally merged into one piece of data the way two words in a sentence are.
What people actually mean by 'image with text' is almost always a picture sized and positioned over one cell, sitting visually next to adjacent cells that hold the related text - a name, SKU, or price in the next column over. That's a completely achievable layout, just not a literal image-inside-text merge.

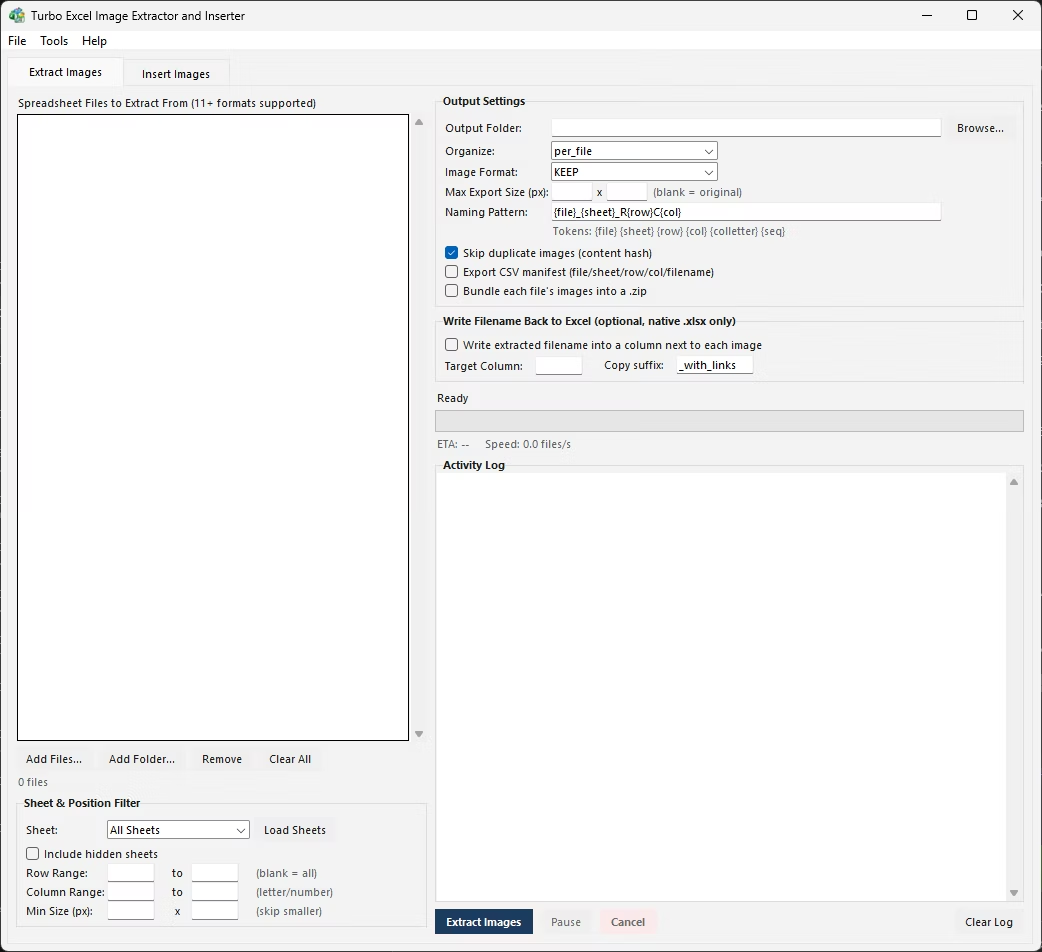
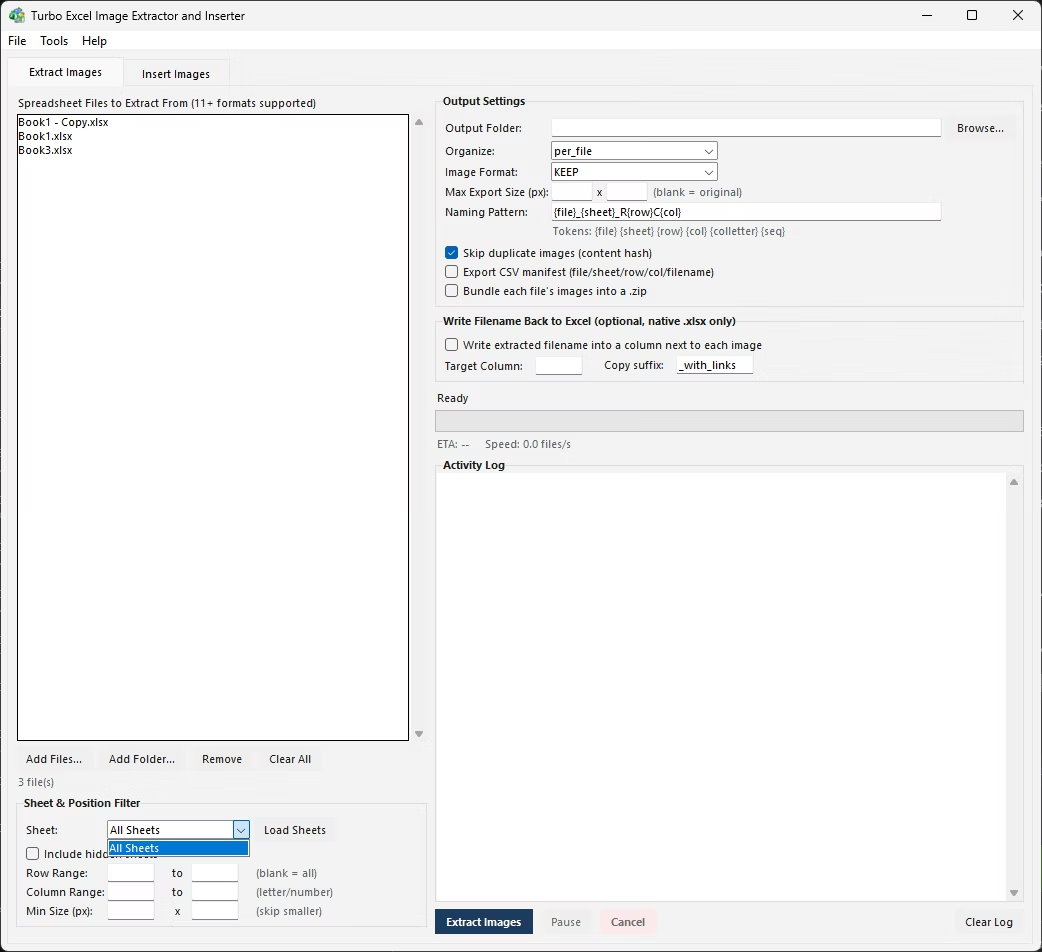
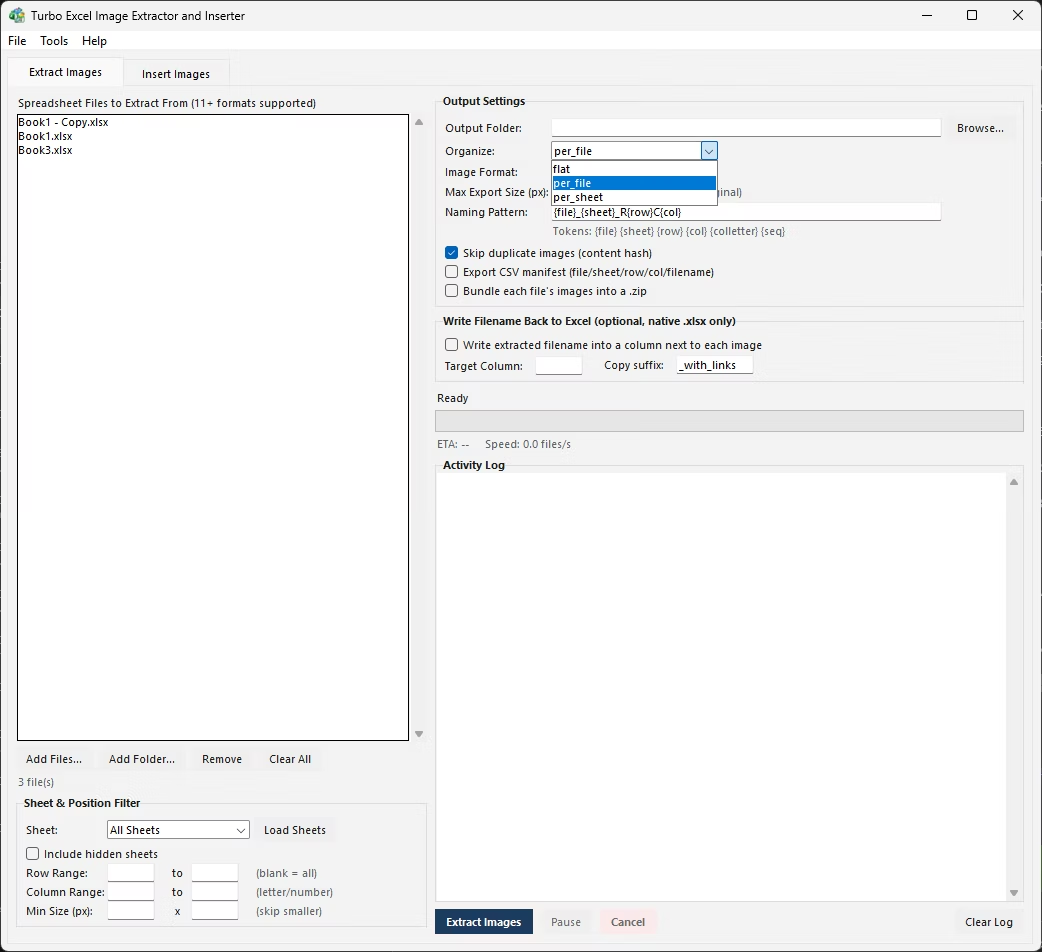
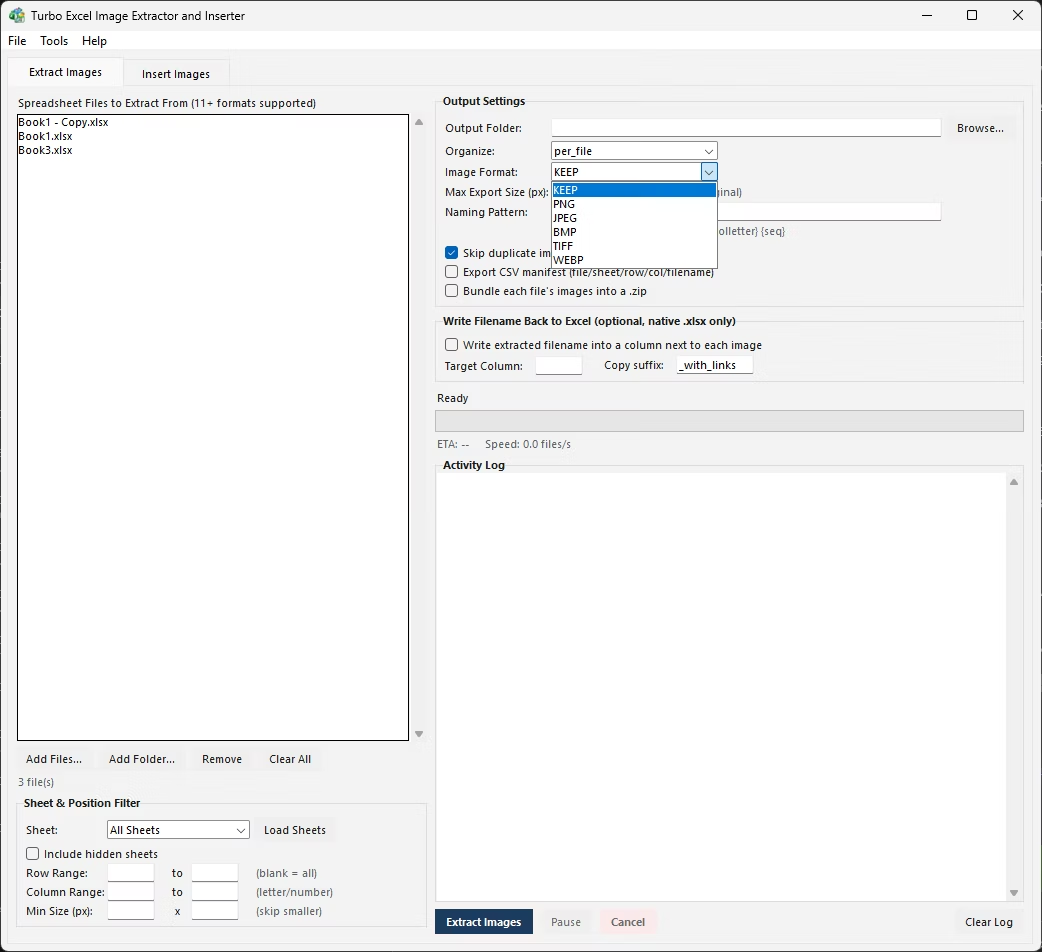
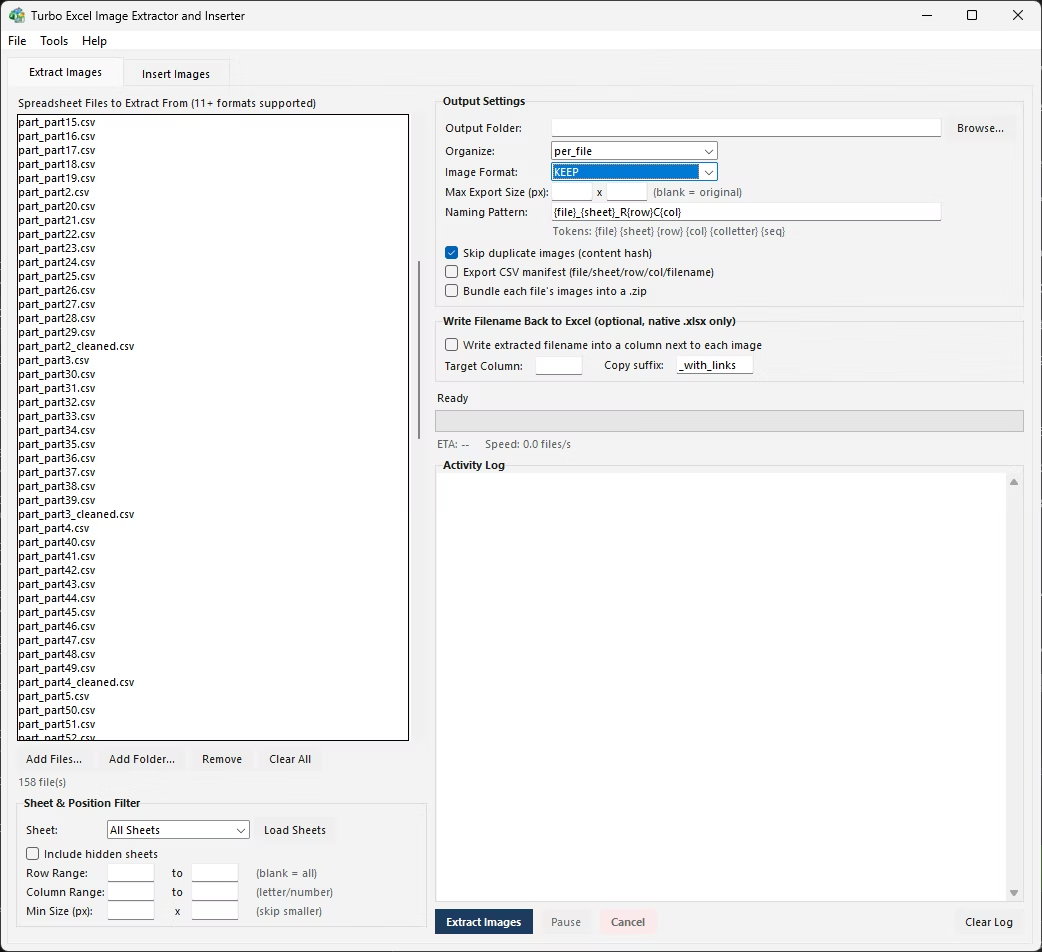
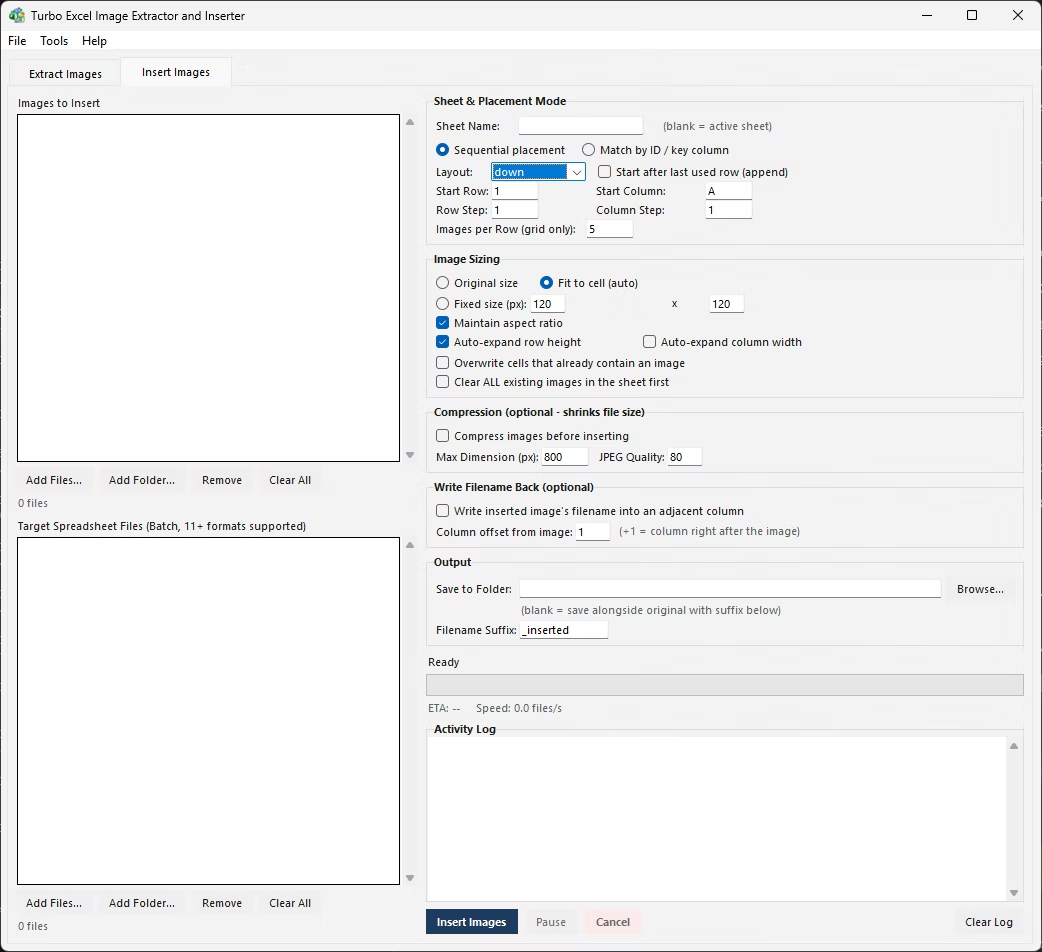
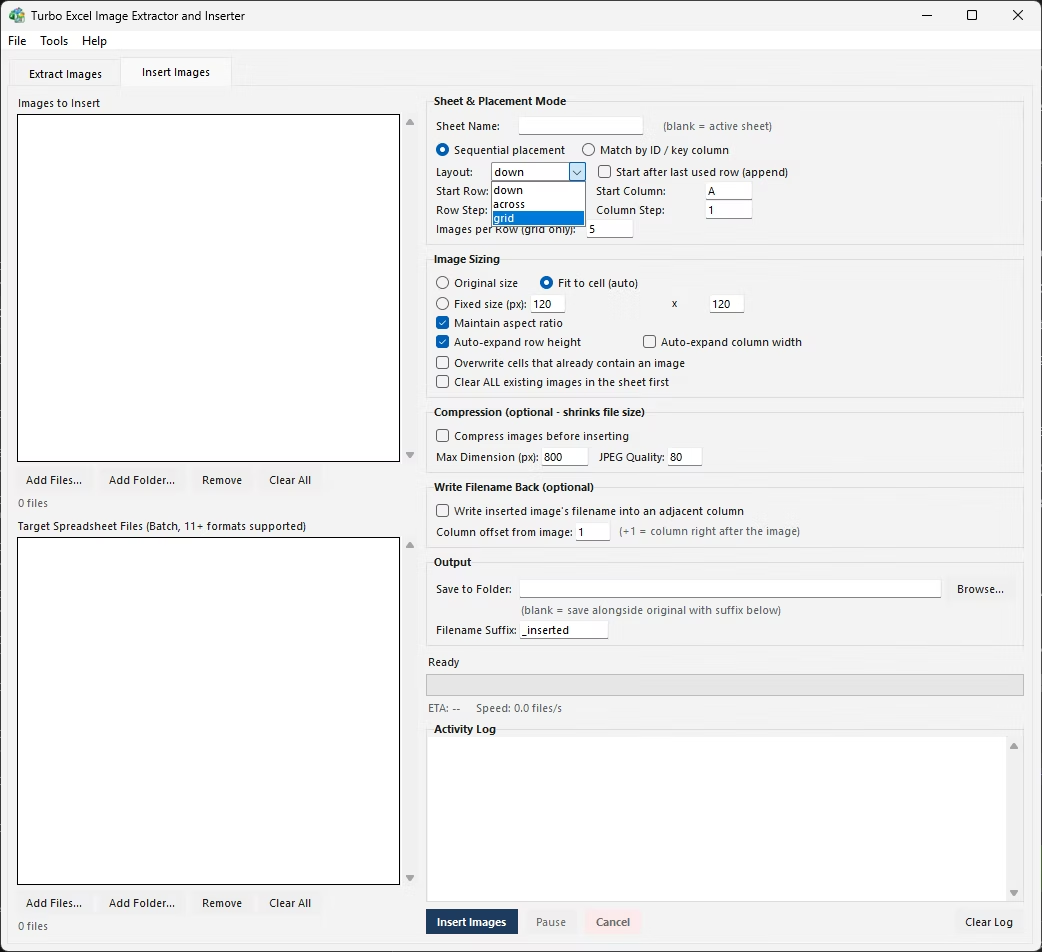
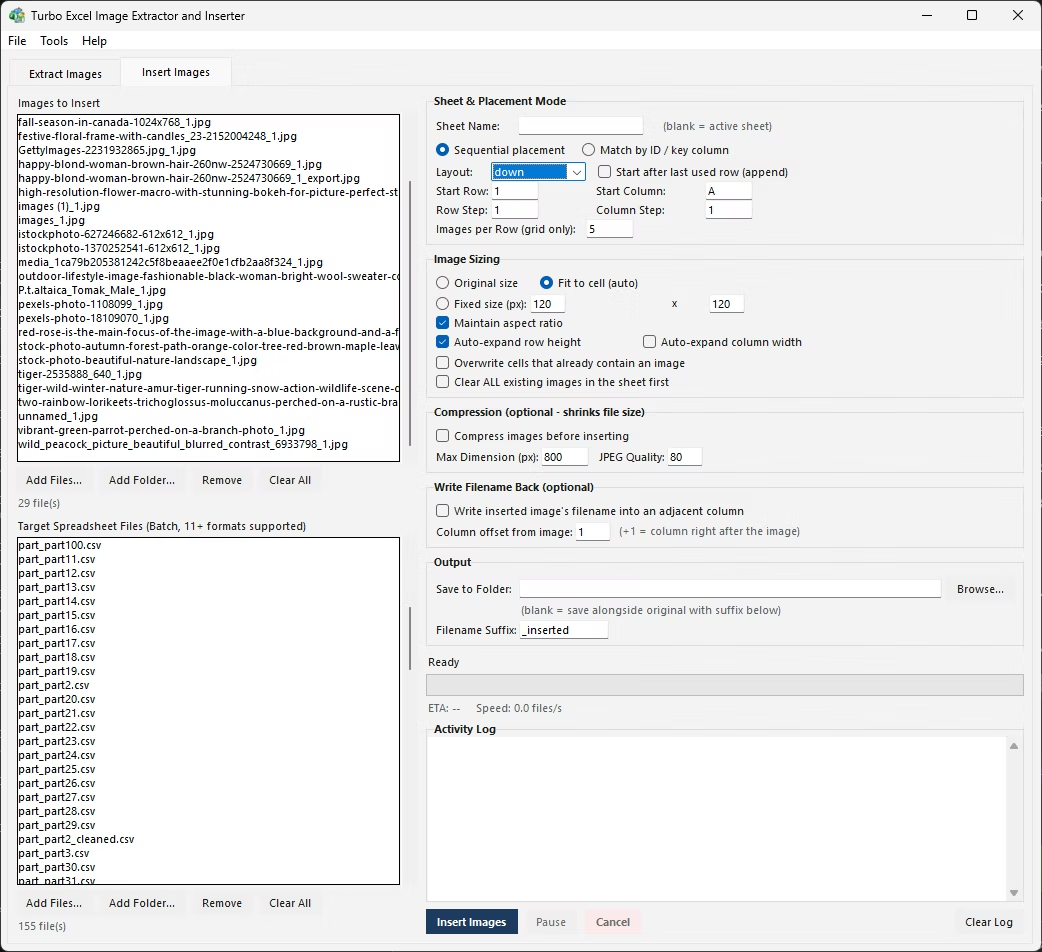
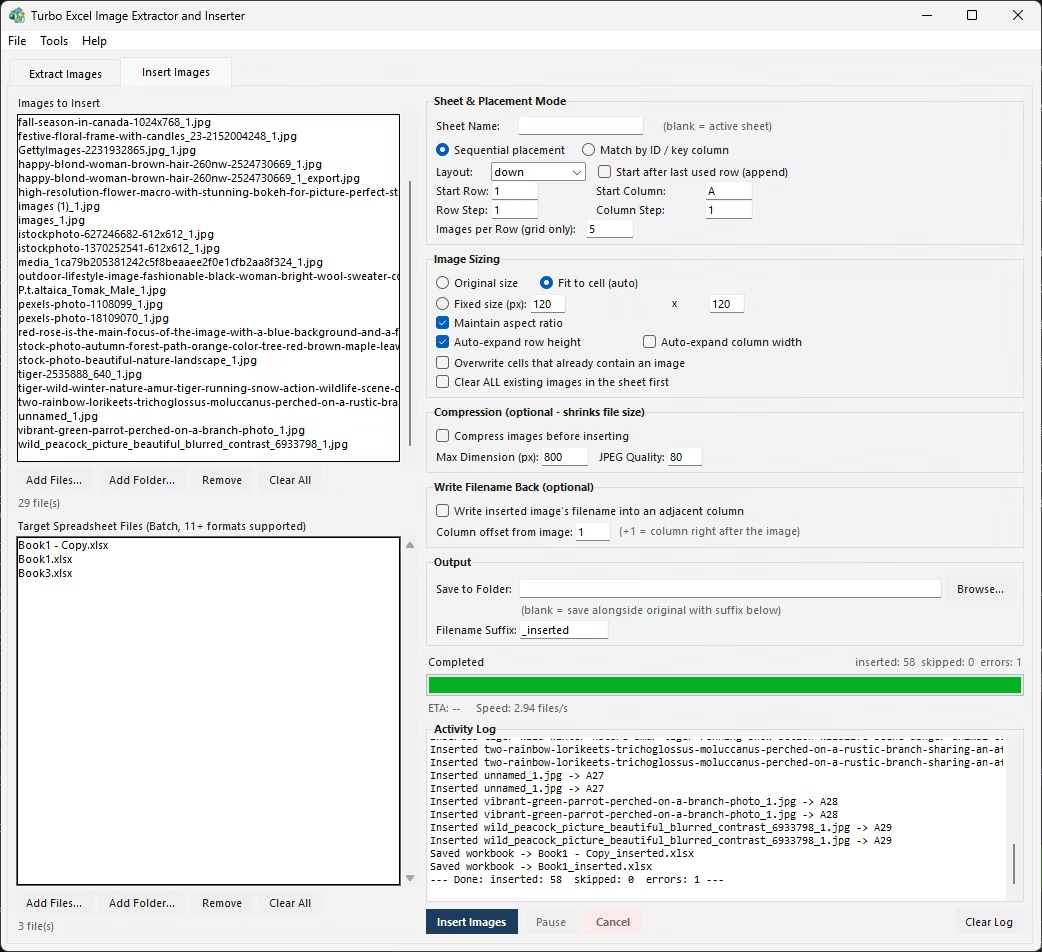
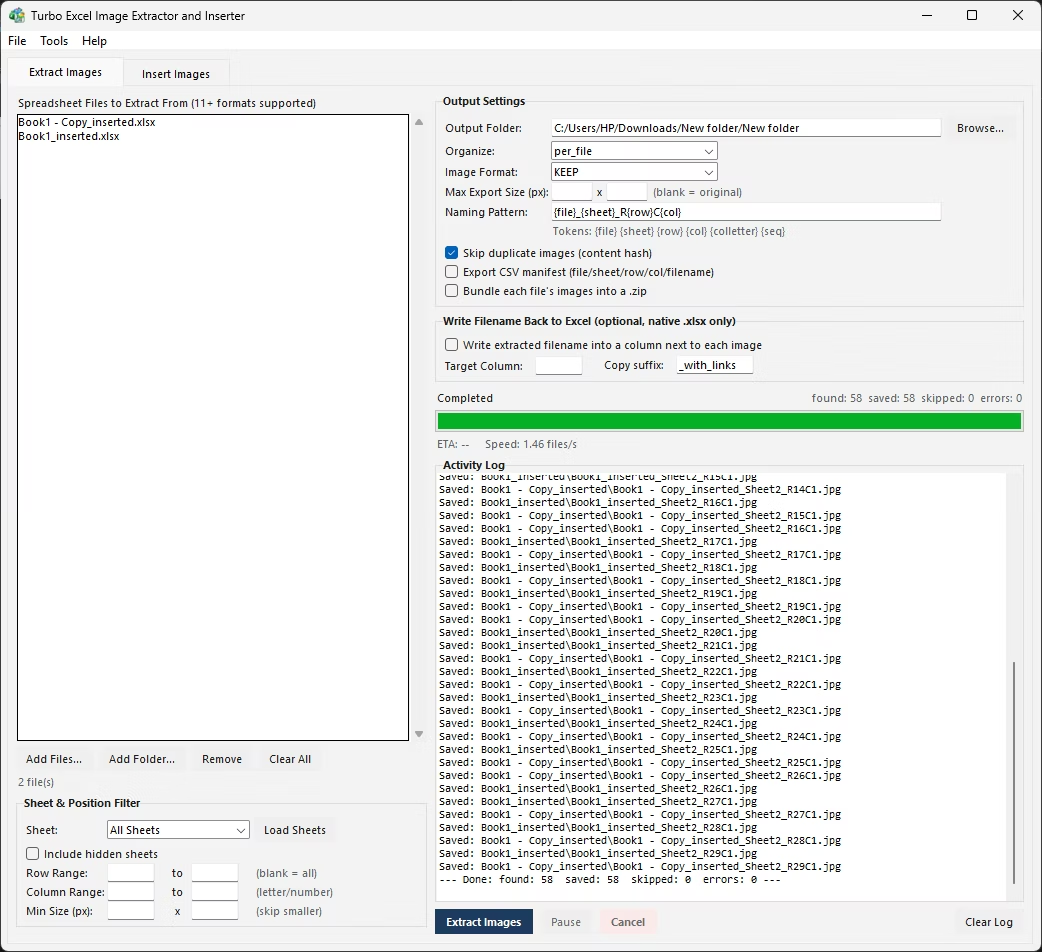
The practical pattern is: put the text data - product name, SKU, price, whatever's relevant - in its own column, and size a picture to sit over the adjacent cell in the same row, so visually they read as one unit even though they're two separate pieces of content. Row height needs to be tall enough to display the image cleanly without cutting it off or leaving excessive empty space around the text.
Doing this row by row means inserting each picture, resizing it to roughly match the row height, dragging it over the correct cell next to its matching text, and setting Move and size with cells so the pairing survives if the sheet is later sorted - repeated once per row in the sheet.
- Enter the text data - name, SKU, or description - into its own cell in the row.
- Set that row's height tall enough to comfortably display an image alongside the text.
- Insert the picture via Insert > Pictures, then resize and drag it over the cell next to the text.
- Right-click the image and set Move and size with cells so it stays paired with its row.
- Repeat for every row that needs an image-plus-text pairing.
This is precisely the scenario Match mode in the Insert Images tab is built for: your text data - SKU, employee ID, part number - already sits in a key column, and each image's filename corresponds to one of those values. Point the tool at that key column and the image folder, and every picture is inserted into the correct row automatically, sitting next to its matching text without any manual dragging or row-by-row positioning.
Fit to Cell sizing keeps each image proportioned to its row, and an optional filename write-back setting can log which image was placed in which row as an extra confirmation column - giving you a clean, verifiable image-and-text pairing across the whole sheet in one batch run instead of one row at a time.
A typical layout puts the SKU in column A, product name in column B, price in column C, and the product photo positioned over column D, all in the same row - four pieces of information about one product, visually grouped by row even though the image and the text are three separate cells and one floating object rather than a single merged unit.
Setting row height around 80-100 pixels usually gives enough room for a clearly visible photo without making rows so tall that scrolling through a long product list becomes awkward. This pattern scales cleanly to hundreds of rows once Match mode is handling the row-by-row image placement, since the text columns are unaffected by however the images get inserted.
- Match mode pairs each image with its row based on a key column, automatically
- Fit to Cell sizing keeps images proportioned consistently next to text
- Optional filename write-back confirms which image was placed in which row
- Works whether the key column holds SKUs, IDs, barcodes, or names
- Applies across an entire sheet or batch of sheets in one run
- No manual row-by-row dragging or resizing required
Can an image actually be stored inside a cell's text value in Excel?
No, a picture is a floating object anchored above the grid, not text content, so it never literally merges with a cell's text - what's achievable is positioning an image and its related text in adjacent cells so they read as one unit.
What's the best way to keep an image lined up with its matching text row?
Match mode inserts each image into the row whose key column value matches the image's filename, keeping images correctly paired with their text data without manual dragging.
Can I get confirmation of which image was matched to which row?
Yes, an optional filename write-back setting logs which image file was placed in each row, giving you a verifiable record after a batch insertion run.
Does the image need to be the same size as the text row?
Fit to Cell sizing automatically proportions each image to its destination cell, and rows can be set to auto-expand if the existing height is too small for a clean image display.
Ready to handle images in bulk, offline, with full privacy?