Excel images are anchored objects - each one has a reference point, normally its top-left corner, that determines which cell Excel considers it to 'belong' to, even though the picture itself floats visually above the grid rather than being stored as cell content. This anchor reference is what Excel uses to decide whether an image moves, resizes, or stays fixed when rows or columns change.
Understanding this anchor behavior matters because it's the difference between an image that reliably follows its data - staying with the right row after a sort or filter - and one that drifts out of position or gets left behind entirely.
Right-clicking an inserted image and opening Format Picture reveals three anchor options under Properties: Move and size with cells (the image follows and resizes with its underlying cell), Move but don't size with cells (it follows position but keeps a fixed size), and Don't move or size with cells (it stays in a fixed screen position regardless of what happens to the cells beneath it).
For an image meant to represent a specific row of data - a product photo, an ID badge picture - Move and size with cells is almost always the setting you want, since it's the option that keeps the image correctly tied to its cell through sorting, filtering, and row insertion or deletion. It's not the default in every insertion scenario, though, so checking it explicitly matters.
- Insert the image and position it over the target cell as usual.
- Right-click the image and choose Format Picture.
- Open the Size & Properties section and find the Properties options.
- Select Move and size with cells to anchor the image to its underlying cell correctly.
- Test by sorting or filtering the sheet to confirm the image follows its intended row.
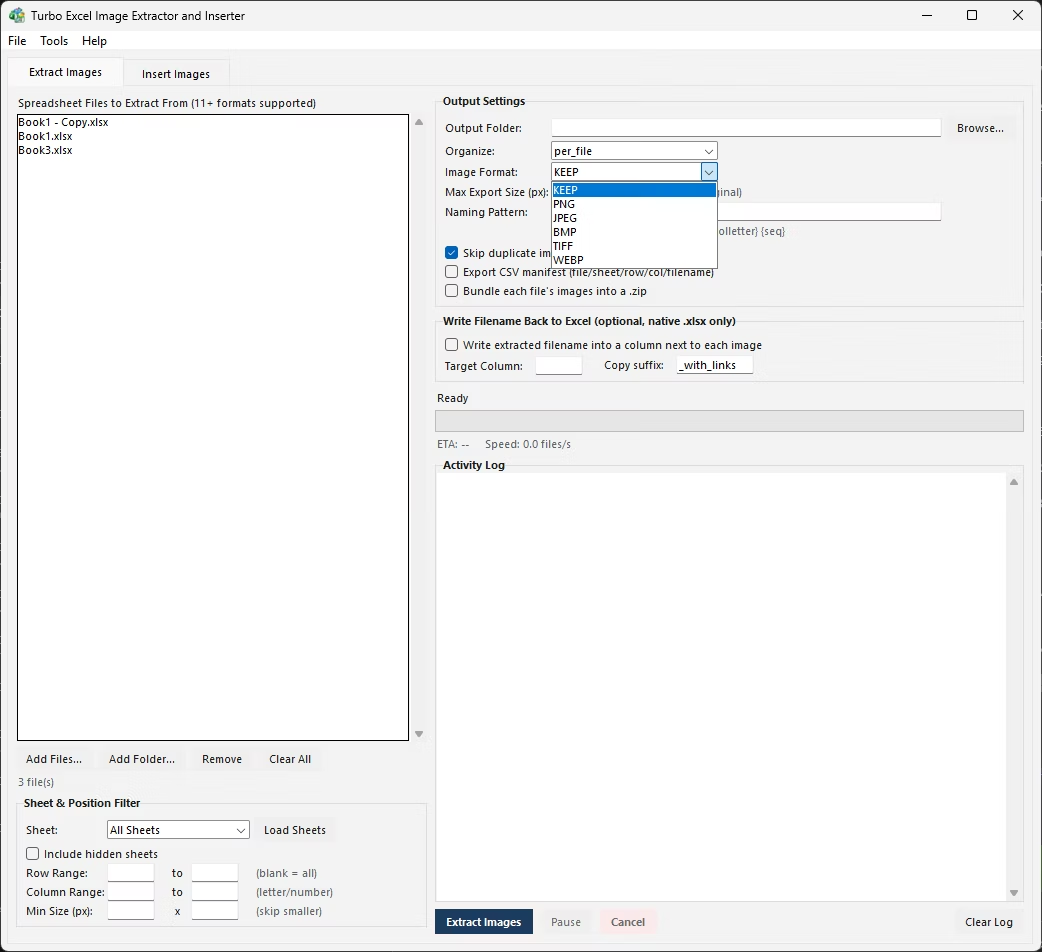
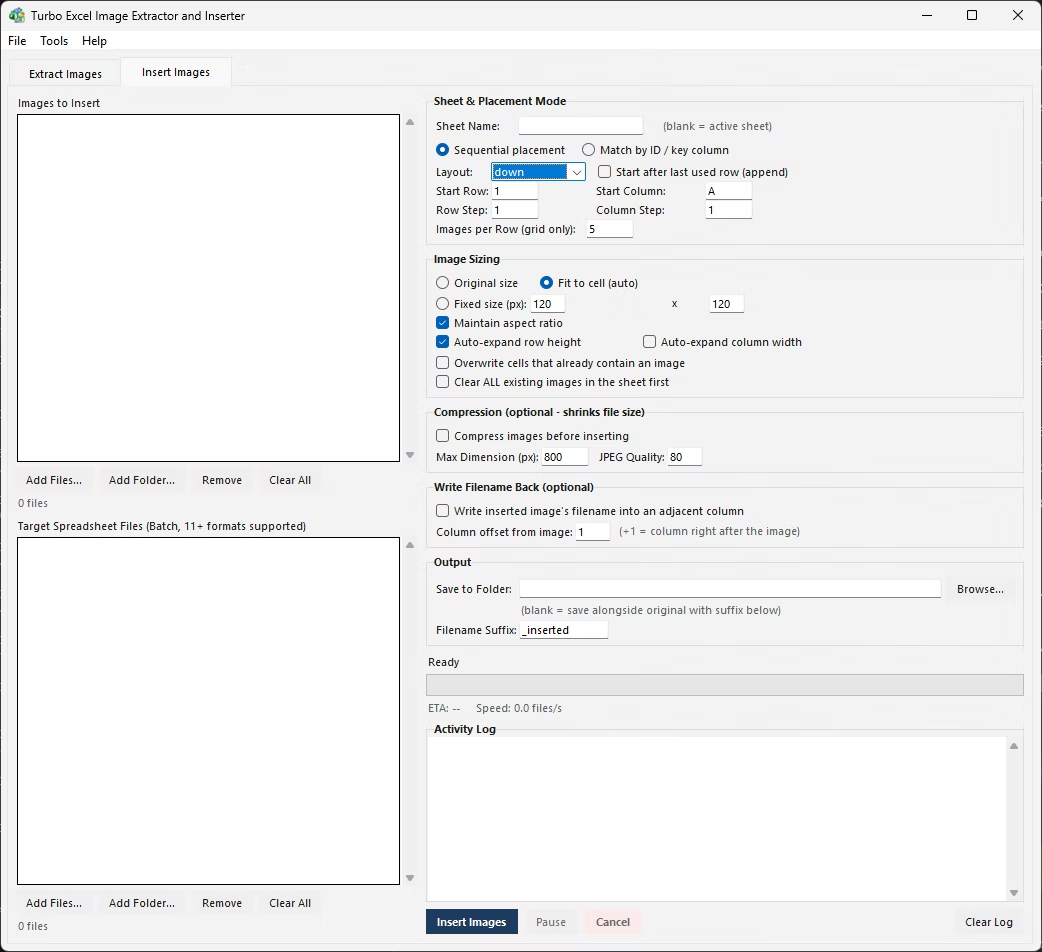
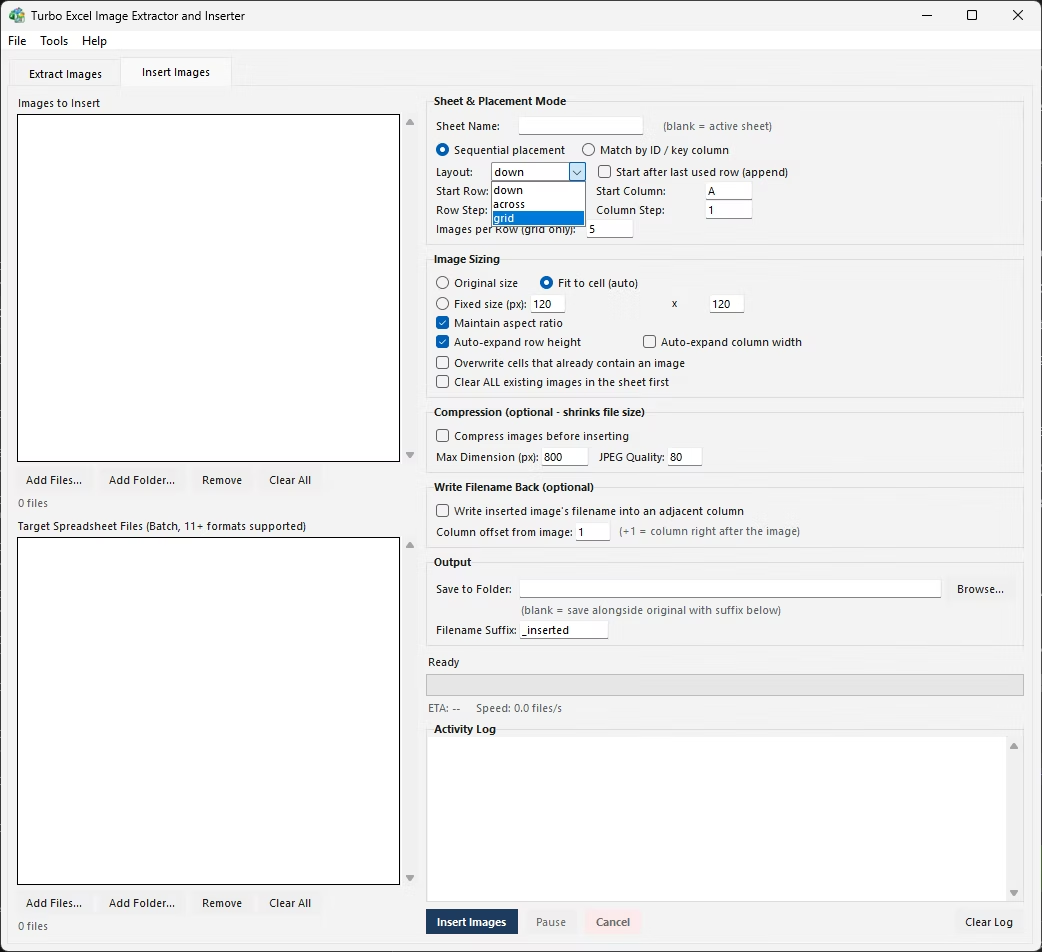
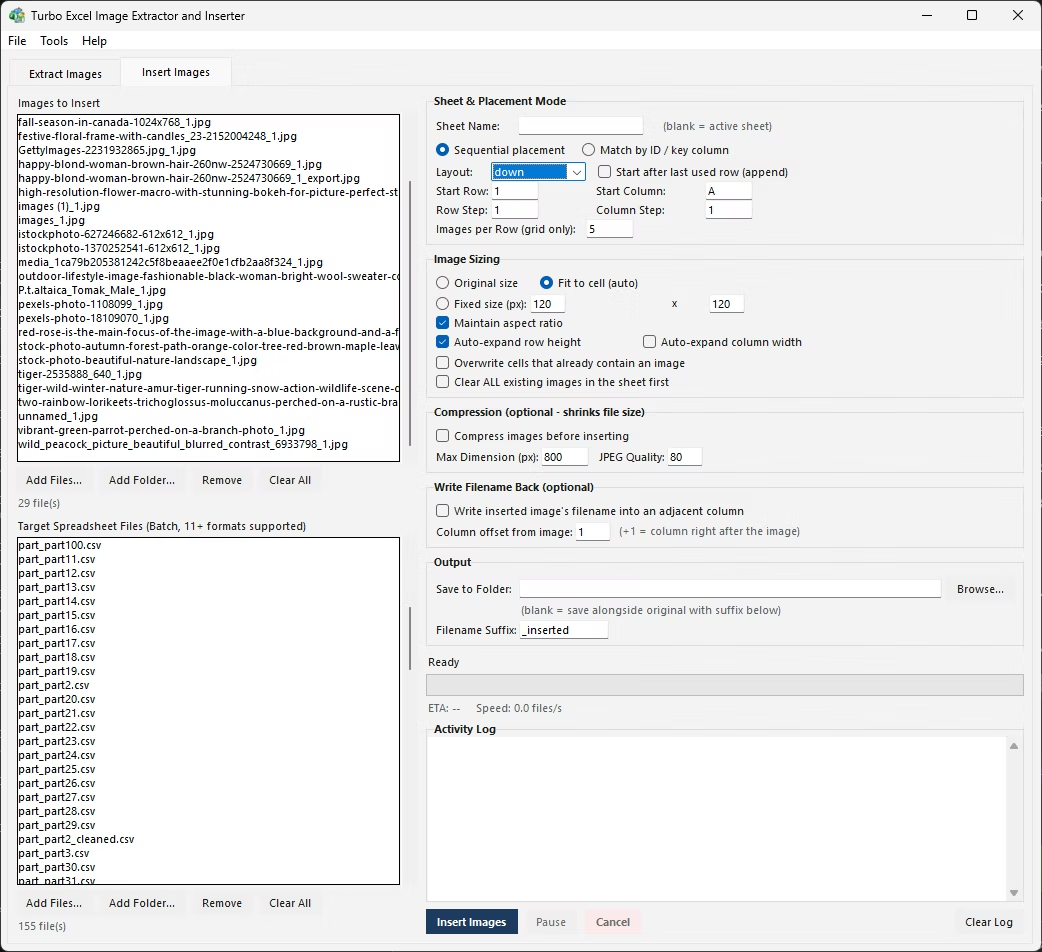
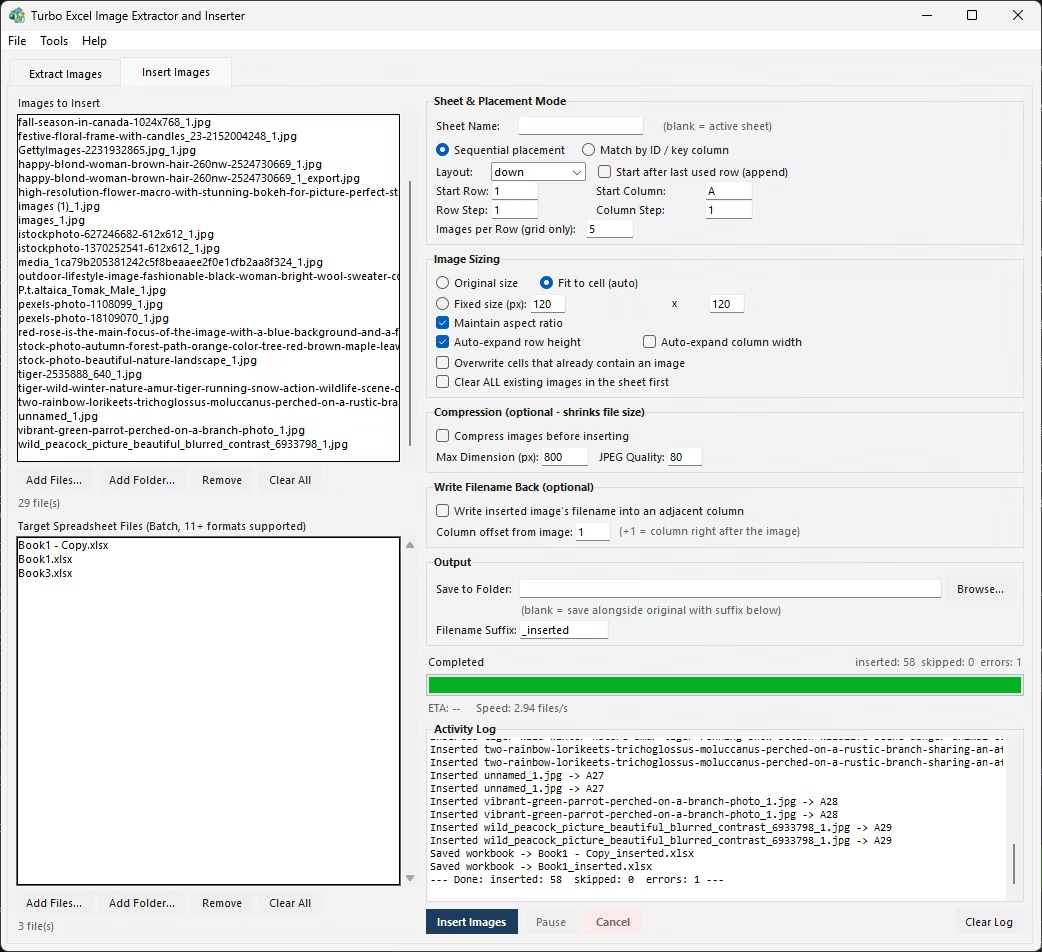
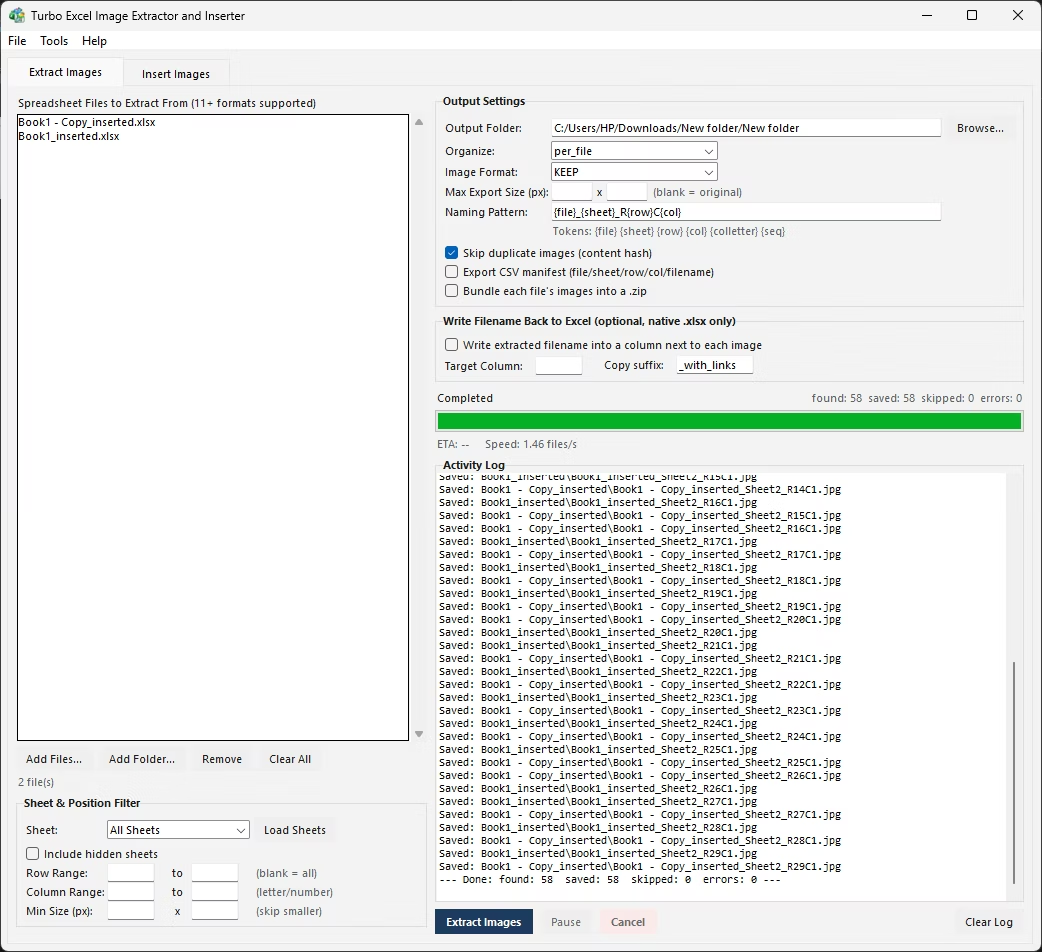
Turbo Excel Image Extractor and Inserter's Insert Images tab sets correct cell anchoring automatically for every image it places, whether through Sequential or Match mode, so there's no manual right-click-Format-Picture step needed for any of them - each inserted image is anchored to its intended cell from the moment it's placed.
This anchoring behavior works together with the sizing modes described elsewhere: an image inserted with Fit to Cell sizing and correct anchoring stays visually matched to its cell even if the workbook is later resorted, since both the position and the size scale correctly with the underlying cell it was anchored to.
An image left on Don't move or size with cells stays fixed to a position on the screen, not the worksheet - scroll down, and the image stays put on your monitor rather than scrolling away with the row it was meant to represent, which looks broken the moment anyone else opens the file and scrolls through it.
Move but don't size with cells is subtler: the image follows its row correctly when the sheet is scrolled or sorted, but if that row's height changes, the image's own size doesn't adjust to match, leaving it either too large or too small relative to a cell that's since been resized. Move and size with cells is the only one of the three options that keeps both position and size correctly tied to the underlying cell through any change.
This is easy to overlook because the problem often isn't visible until much later - a sheet can look perfectly fine the day images are inserted, and only reveal misaligned anchoring weeks afterward when someone finally sorts or filters the data for the first time.
- Every inserted image anchored to its correct cell automatically
- No manual Format Picture step required for any image in the batch
- Works consistently across Sequential and Match placement modes
- Anchoring combines correctly with Fit to Cell and fixed-size sizing modes
- Existing-image handling (skip, overwrite, clear) respects the same cell anchors
- Applies uniformly across every file in a batch insertion run
What does it mean for an image to be 'anchored' to a cell in Excel?
It means the image has a reference point, normally its top-left corner, tied to a specific cell, which Excel uses to decide whether the image moves or resizes when that cell's row or column changes.
Which anchor setting keeps an image with its row after sorting?
Move and size with cells, found under Format Picture > Size & Properties, is the setting that keeps an image following and resizing along with its underlying cell through sorts and filters.
Do I need to set anchoring manually for every image inserted in a batch?
No, when using a batch insertion tool, correct cell anchoring is set automatically on every image it places, without a manual Format Picture step for each one.
Can incorrect anchoring cause an image to end up in the wrong row after sorting?
Yes, if an image is left on Don't move or size with cells or Move but don't size with cells, it can stay in a fixed screen position or the wrong size once the sheet is sorted, rather than following its intended row.
Ready to handle images in bulk, offline, with full privacy?