Excel's Insert Pictures command places an image at whatever pixel dimensions it was saved at - resizing it to something more sensible for the sheet is always a second, separate step you perform after insertion, using the picture's corner handles. There is no size option in the insert dialog itself.
For a single image this is a non-issue - drag a corner, done. For a batch of images that all need consistent sizing - a product catalog where every photo should appear at the same dimensions, for instance - resizing each one individually by hand is where the real time goes, and it's easy to end up with images that are subtly different sizes from each other despite trying to eyeball consistency.
After inserting a picture, click it once to select it - small square handles appear at its corners and edges. Dragging a corner handle resizes both width and height together; dragging an edge handle resizes only one dimension, which can distort the image's proportions if used carelessly.
Holding the Shift key while dragging a corner handle typically locks the aspect ratio in current Excel versions, keeping the image from stretching out of shape as you resize it - useful when you want a smaller or larger version of the same picture rather than a warped one.
- Click the inserted image once to select it and reveal its resize handles.
- Drag a corner handle while holding Shift to resize proportionally, keeping the aspect ratio locked.
- Release when the image reaches roughly the size you want.
- Drag the image body to reposition it over the correct cell if needed.
- Repeat individually for every image that needs resizing.
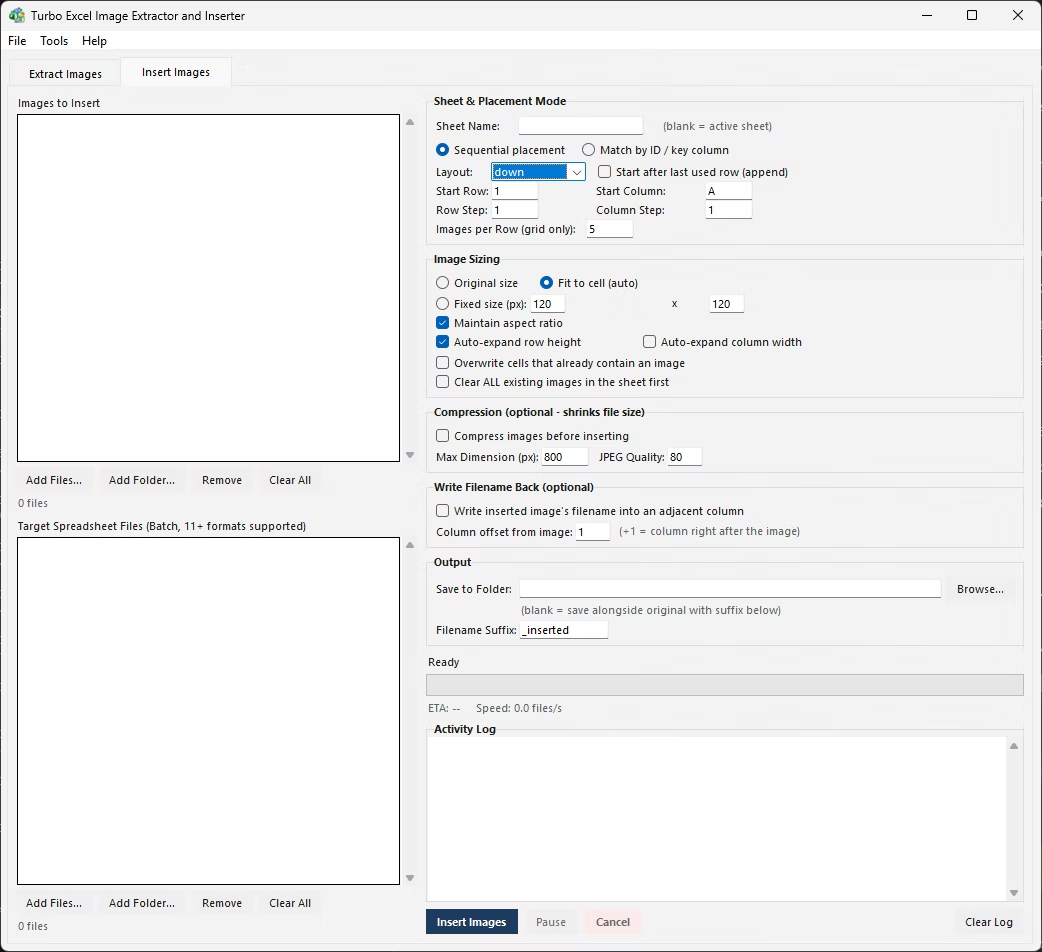
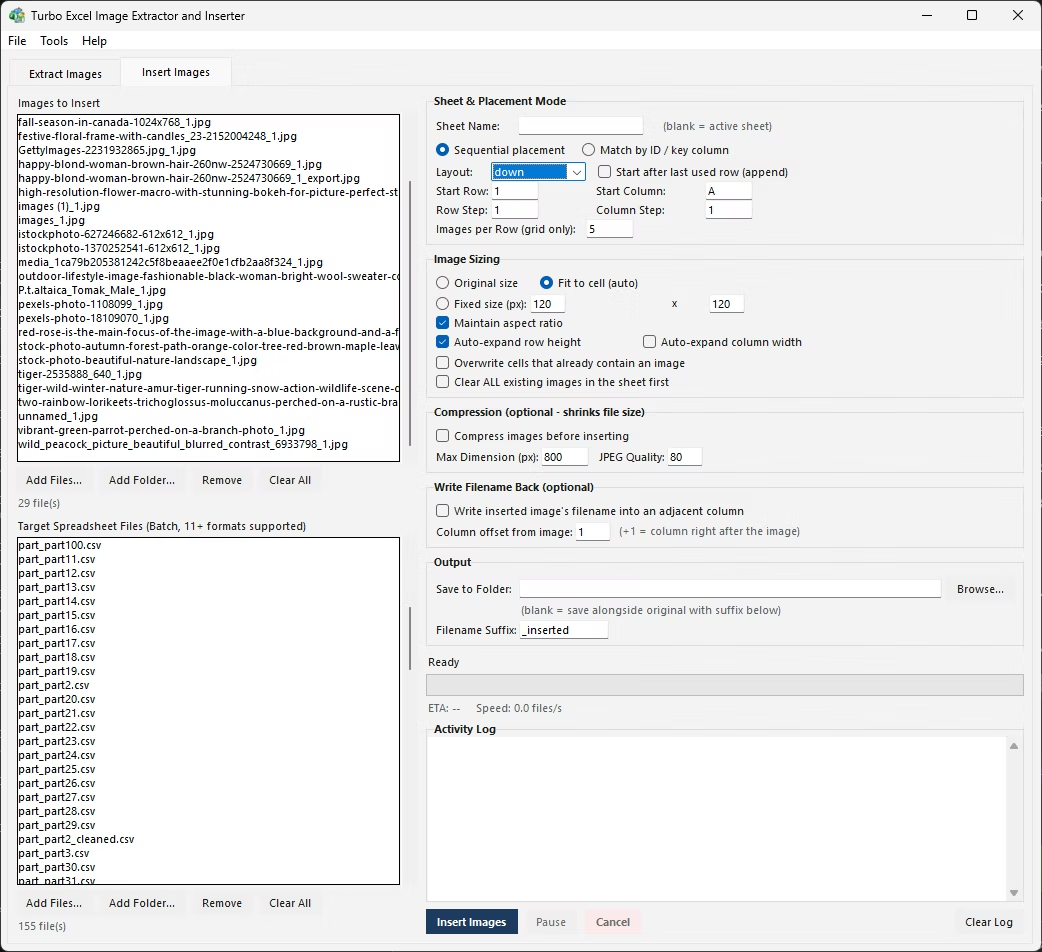
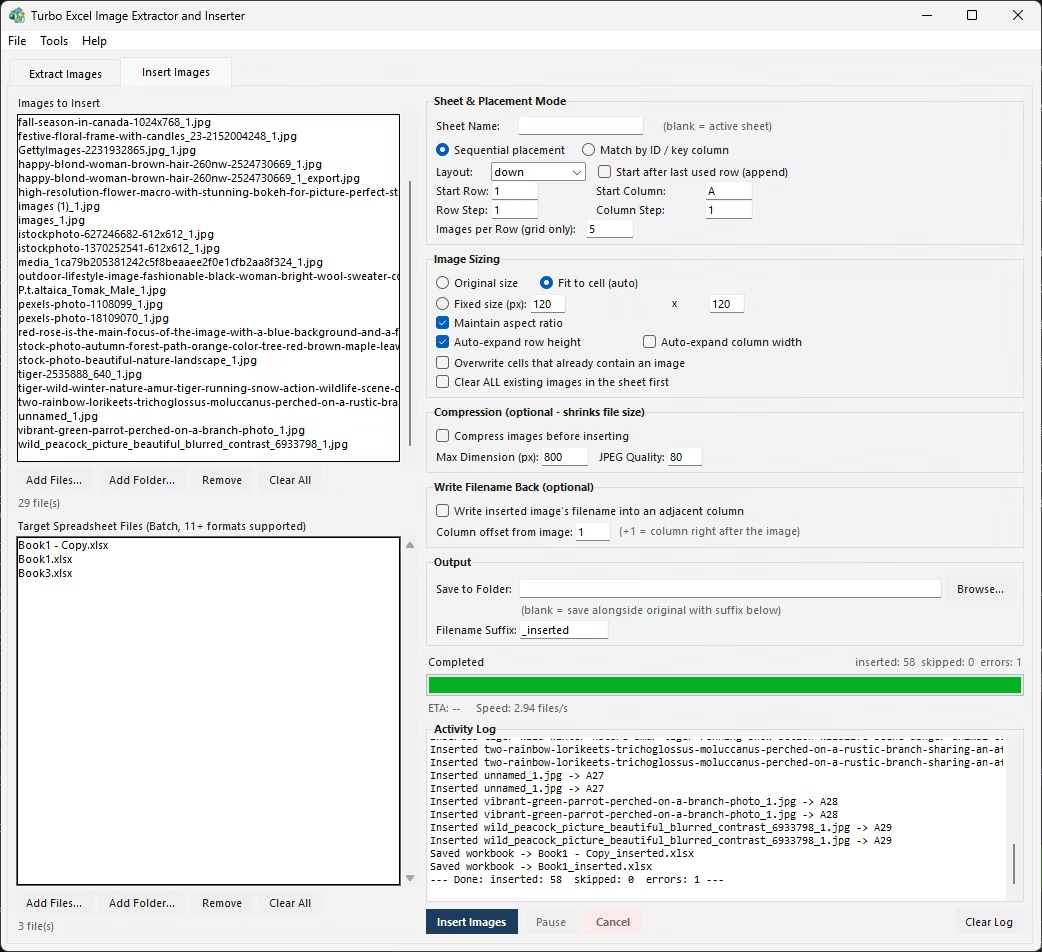
Turbo Excel Image Extractor and Inserter's Insert Images tab offers three sizing modes applied automatically to every image in a batch: original size, which inserts each image at its native pixel dimensions; Fit to Cell, which resizes every image to match its destination cell exactly; and a fixed pixel size with aspect ratio locked, which resizes every image to a consistent width and height you specify while preserving each picture's original proportions so nothing looks stretched or squashed.
Because the sizing mode applies to the whole batch at once, a catalog of five hundred product photos with wildly different original resolutions can all be inserted at one consistent size in a single run - no individual corner-dragging, and no risk of one image ending up subtly larger than the rest simply from imprecise manual resizing.
A spreadsheet where every product photo is roughly the same size reads as polished and professional; one where sizes vary noticeably from row to row - some images slightly larger, some slightly smaller, purely from manual resizing imprecision - reads as sloppy even if every individual photo looks fine on its own.
This matters more than it might seem for anything that will be shared externally, printed, or exported to PDF, where inconsistent image sizing is immediately visible in a way it might not be while just scrolling through the sheet day to day. Locking sizing to one consistent mode across an entire batch removes this inconsistency as a source of error entirely.
It's also worth considering row height alongside image size - a fixed-size image that's noticeably taller than the default row height will get visually clipped unless the row is resized to match, so pairing a fixed sizing mode with an auto-expand row height setting tends to give the cleanest, most consistent-looking result across a large sheet.
- Original size mode inserts images at their native pixel dimensions
- Fit to Cell mode matches every image to its destination cell automatically
- Fixed size mode applies one consistent width and height with aspect ratio locked
- One sizing setting governs the entire batch, not image by image
- Rows or columns can auto-expand to fit the chosen sizing mode
- Eliminates inconsistent manual resizing across large image sets
What's the difference between Fit to Cell and fixed size with aspect ratio?
Fit to Cell resizes each image to exactly match its destination cell's dimensions, while fixed size applies one consistent width and height across every image while preserving each picture's original proportions, which can leave some empty space within the cell if proportions don't match exactly.
How do I resize an image without distorting it manually in Excel?
Holding Shift while dragging a corner resize handle typically locks the aspect ratio in current Excel versions, preventing the image from stretching out of proportion as you resize it.
Can a whole batch of images be resized to the same dimensions automatically?
Yes, choosing the fixed-size sizing mode applies one width and height, with aspect ratio locked, to every image inserted during that batch run.
Does resizing an image in Excel affect the original image file?
No, resizing an inserted picture only changes how it displays and is stored within that workbook - the original source image file on disk is untouched.
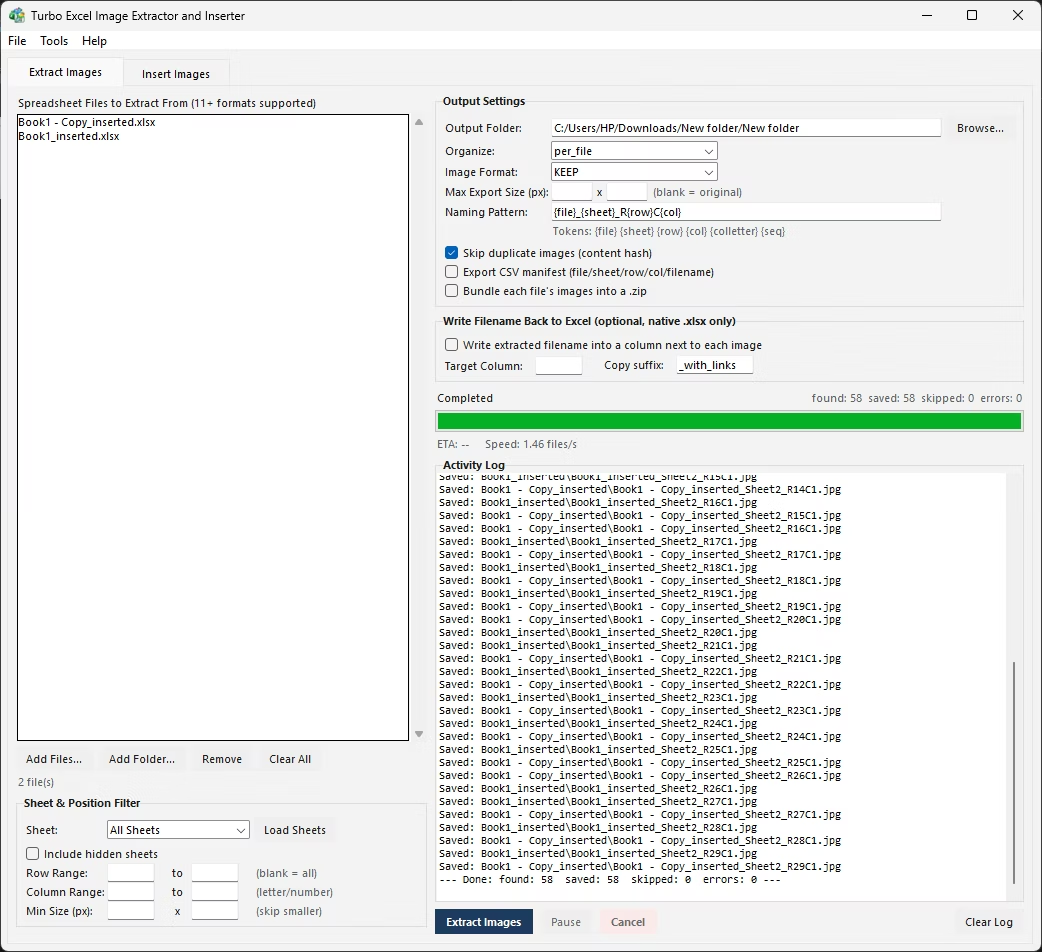
Ready to handle images in bulk, offline, with full privacy?