Duplicate rows are one of the most common problems in real-world spreadsheets. They creep in when the same export is pasted into a file twice, when data from two source systems is merged without checking for overlap, or when someone re-enters a record because they could not find it in a long list. Left in place, duplicates inflate totals, skew averages, and can cause the same customer, transaction, or item to be counted more than once in any downstream report.
Excel includes a built-in tool for removing duplicates, and understanding exactly how it compares rows is important, since it deletes based on matching values across the columns you select, not just an exact full-row match by default.
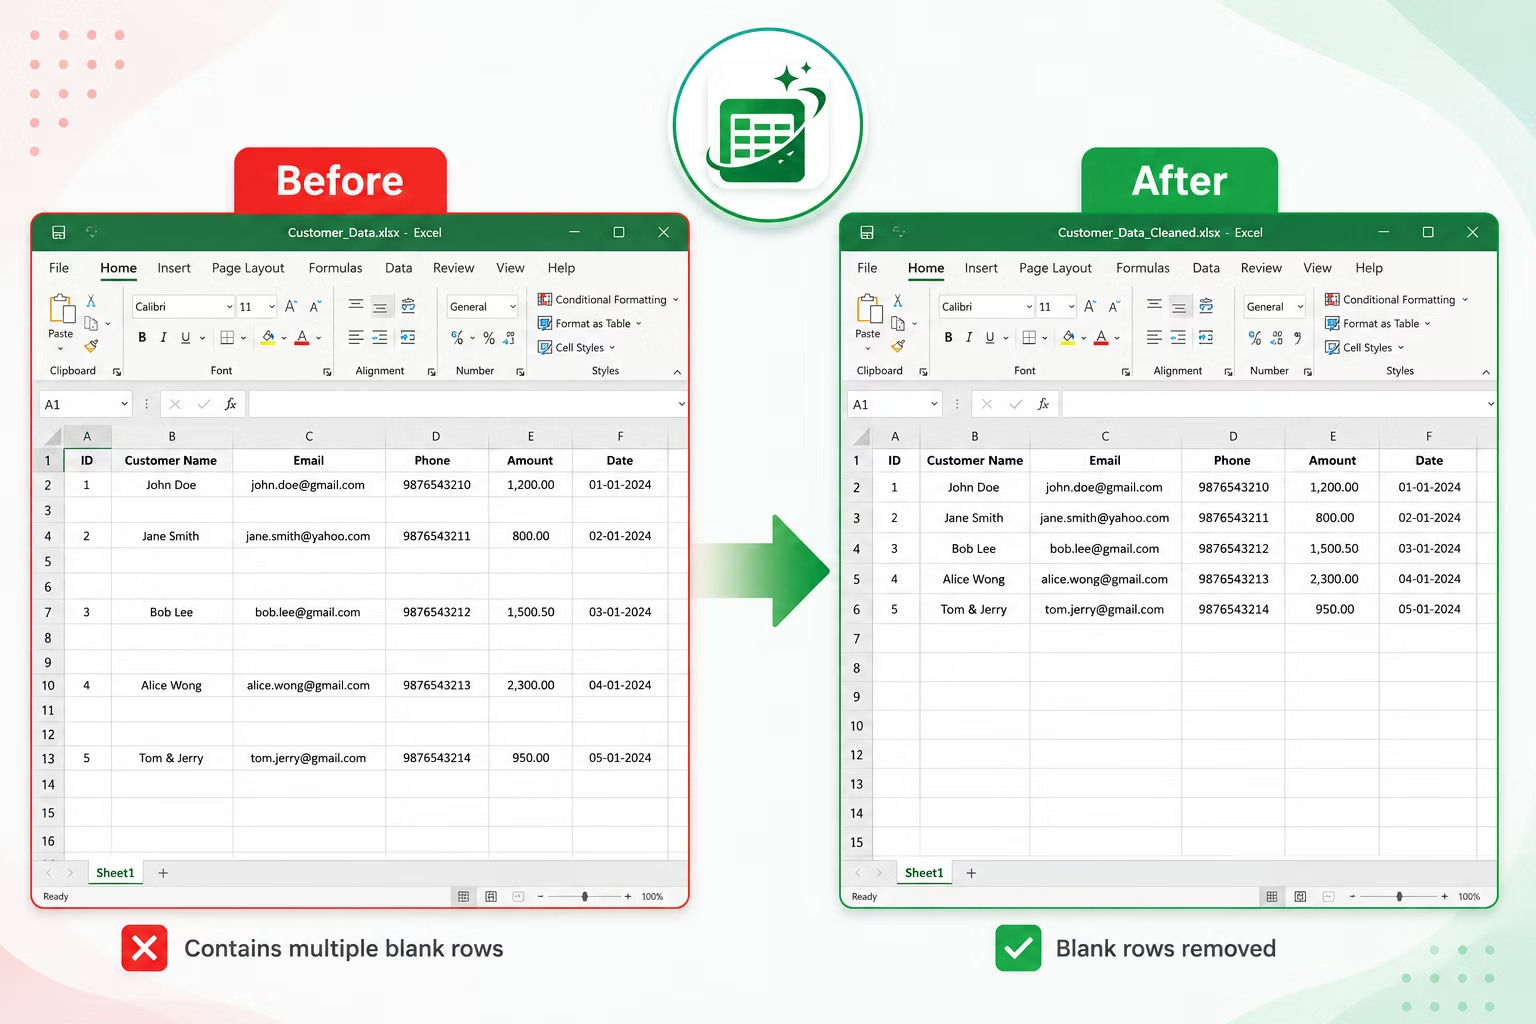






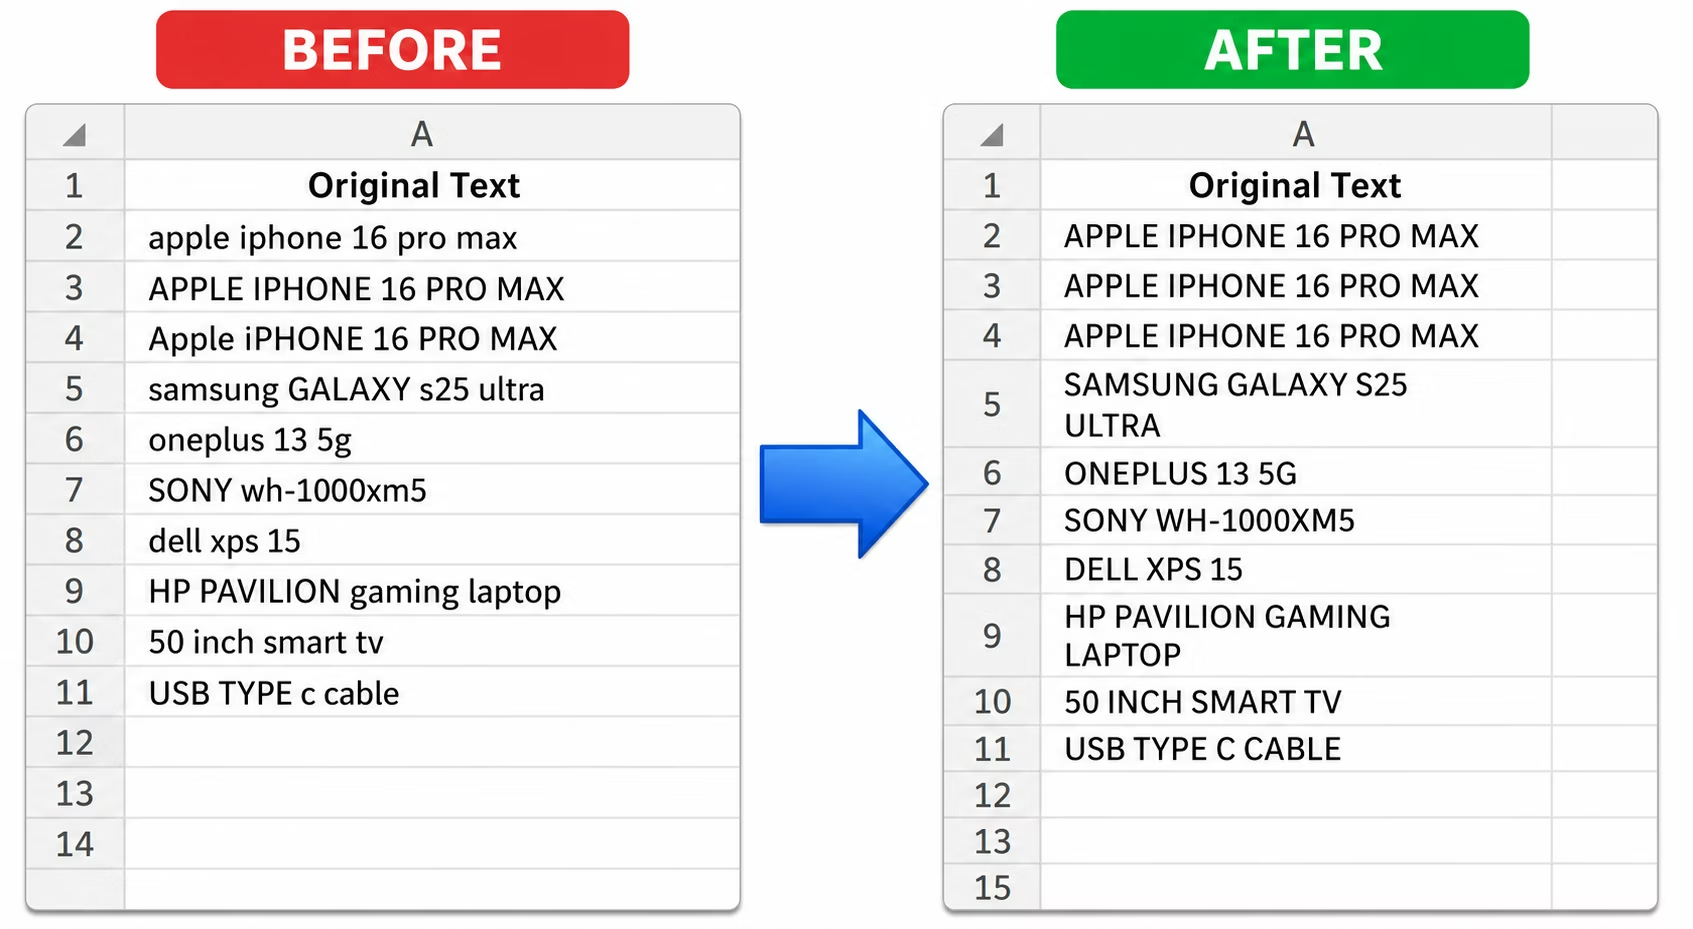


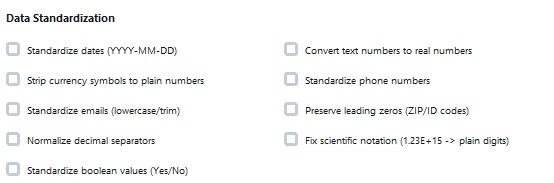
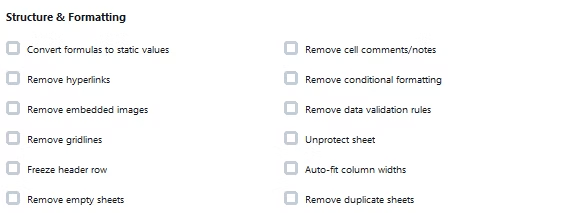
Excel's Remove Duplicates feature lets you choose which columns must match for a row to be considered a duplicate. If you select every column, only rows that are identical across the entire range are removed; if you select just one or two key columns, such as an email address or an ID number, any row sharing those values is treated as a duplicate even if other columns differ. This flexibility is useful, but it also means it is easy to get unexpected results if you do not think carefully about which columns actually define a unique record.
It is a good idea to keep a backup of the original file before running Remove Duplicates, since the deletion cannot be undone once the file has been saved and closed.
A common mistake is running Remove Duplicates without first checking which columns should define uniqueness - selecting every column when only an email address or ID should matter can leave near-duplicate rows in place if any other field differs slightly. It is equally easy to run the tool before trimming whitespace, which can cause two rows that are functionally identical to be kept separately simply because one has a trailing space the other does not.
- Select your full data range, including the header row.
- Go to the Data tab and click Remove Duplicates.
- Confirm that My data has headers is checked, then choose which columns must match to count as a duplicate.
- Click OK - Excel reports how many duplicate rows were found and removed.
- Review the remaining data and save the file once you are satisfied with the result.
Excel's Remove Duplicates tool works well for one file at a time, but it offers no way to apply the same rule automatically across a folder of exports that all need the same cleanup. Turbo Excel Cleaner's duplicate-removal feature applies consistent, full-row duplicate detection across every sheet in every file you queue up, so a batch of ten CRM exports can be deduplicated in exactly the same run as trimming whitespace or standardizing dates.
Each file is processed independently, so a problem in one workbook never stops the rest of the batch, and cleaned files are saved separately with your originals left untouched.
- One-click duplicate row removal across an entire batch of files
- Processes every sheet in every workbook automatically
- Pair with whitespace trimming or case conversion for cleaner matches
- Originals are preserved; cleaned copies get a distinct filename
- Works on Excel, OpenDocument, CSV, TSV, and TXT files
Does Remove Duplicates delete the first or the last occurrence?
Excel's built-in tool keeps the first occurrence of a duplicate row and deletes the ones that follow it further down the sheet.
Can I undo a duplicate removal after saving?
Once a file has been closed after removing duplicates, the deletion cannot be undone, which is why keeping a backup copy of the original file before cleaning is strongly recommended.
Will extra whitespace stop two rows from being seen as duplicates?
Yes, a trailing space in one cell can make an otherwise identical row look unique; running a whitespace-trimming pass before deduplication helps catch these near-duplicates.
Ready to clean your spreadsheets in bulk, offline, with full privacy?