Creating a spreadsheet in Excel starts with opening a new, blank workbook, which gives you an empty grid of rows and columns ready for data. From there, the basic building blocks are simple: type labels into the top row to describe each column, enter your data underneath, and use formulas where you need Excel to calculate something automatically rather than typing the result by hand.
Even a very simple spreadsheet benefits from a bit of planning before you start typing - deciding which column holds which type of data, and keeping that data type consistent all the way down the column, will save you from cleanup work later.
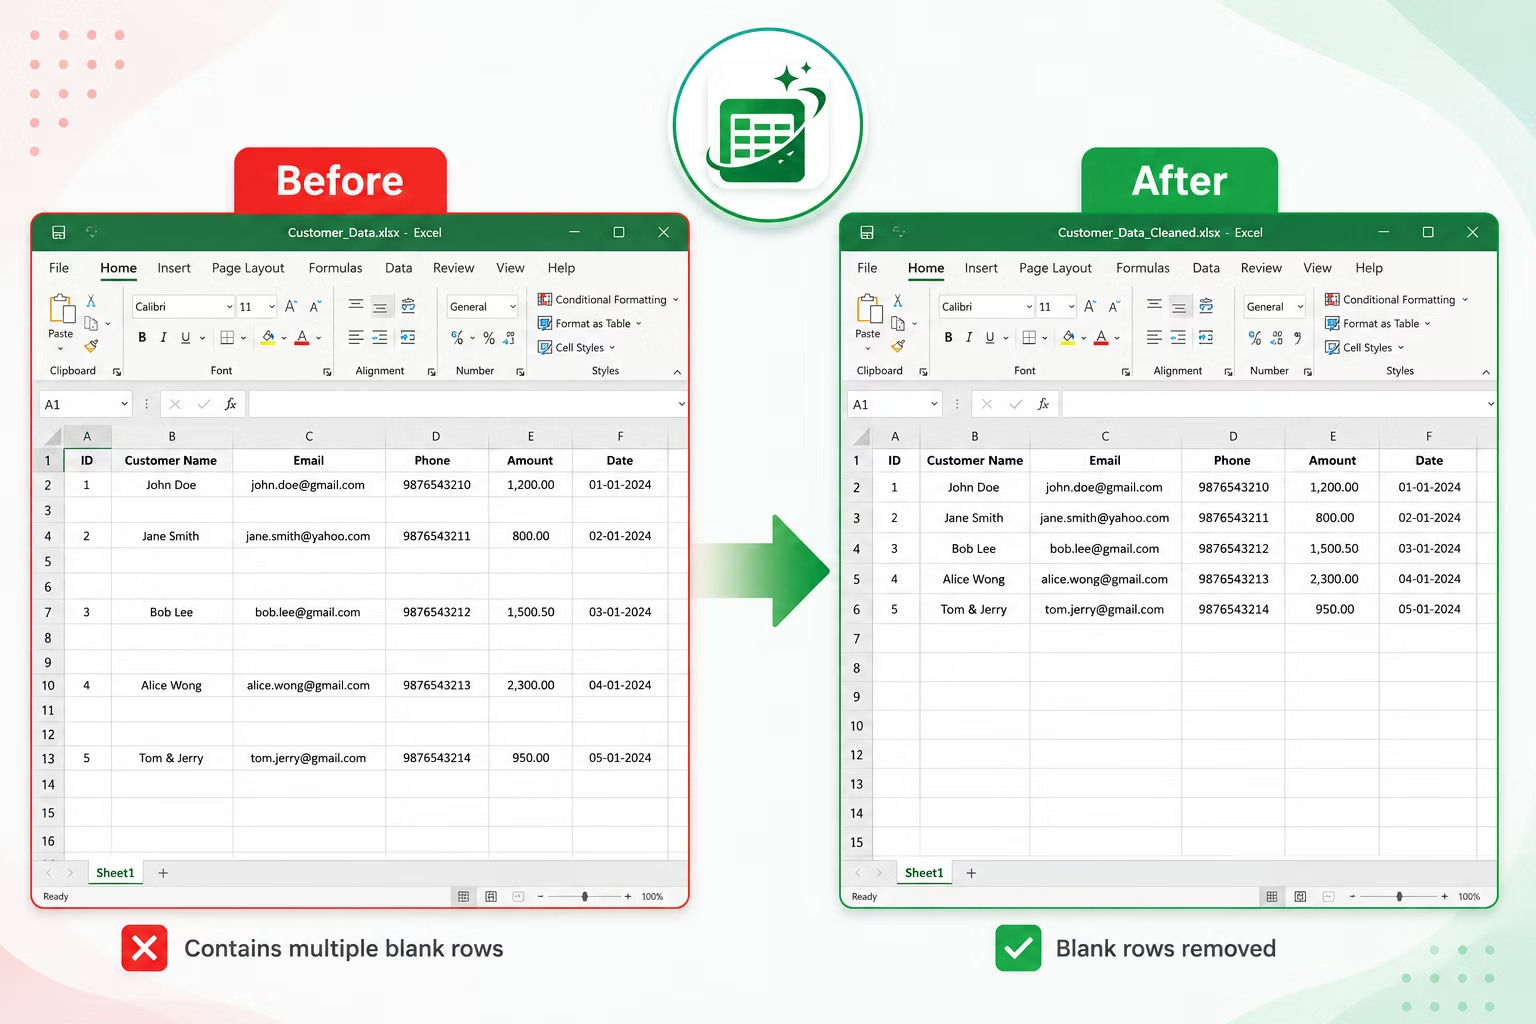

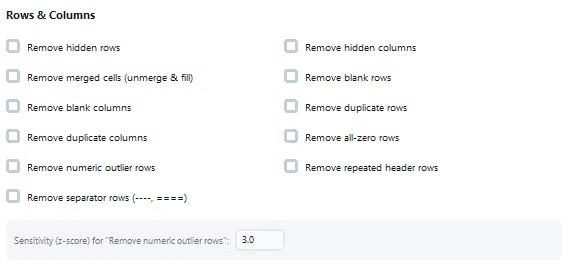

A well-structured spreadsheet has one row of column headers, followed immediately by data rows with no blank rows or blank columns breaking up the range. Each column should hold a single, consistent type of information - dates in a date column, numbers in a number column, text in a text column - rather than mixing types, which makes sorting, filtering, and formulas far more reliable. Naming the file clearly and saving it in the XLSX format also keeps things simple, since XLSX is the default format recognized by nearly every tool that can open a spreadsheet.
Following these conventions from the start avoids most of the common problems - blank rows, inconsistent formatting, mixed data types - that later require dedicated cleanup work to fix.
A common early mistake is mixing several kinds of information into a single column, such as combining a name and a phone number in the same cell, which makes sorting and filtering that column far less useful later. Another frequent issue is using merged cells for headers, which looks tidy visually but breaks many formulas and makes the sheet harder to convert into a clean table if the data needs to be reused elsewhere down the line.
- Open Excel and select Blank Workbook from the start screen.
- Click cell A1 and type a header for your first column, then press Tab to move to the next column.
- Continue across the top row until every column has a clear header.
- Click into the row below the headers and begin entering your data, one record per row.
- Press Ctrl+S, choose a location and file name, and save the file as XLSX.
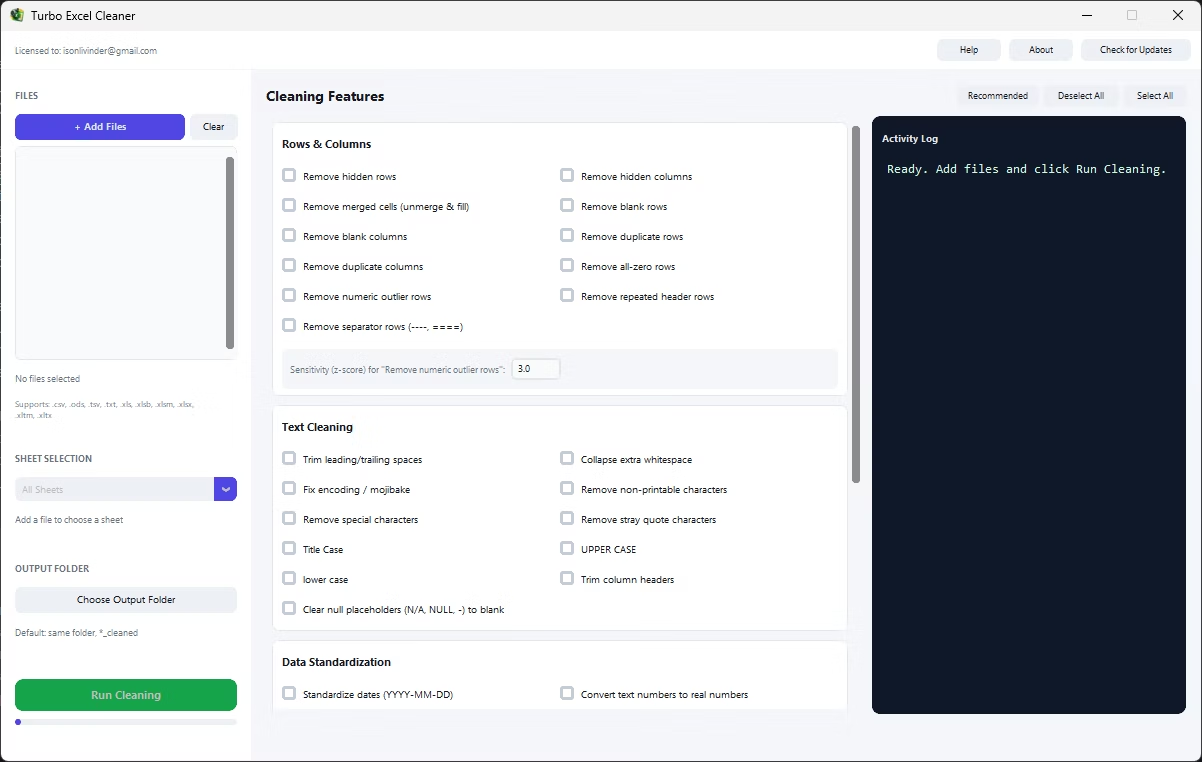
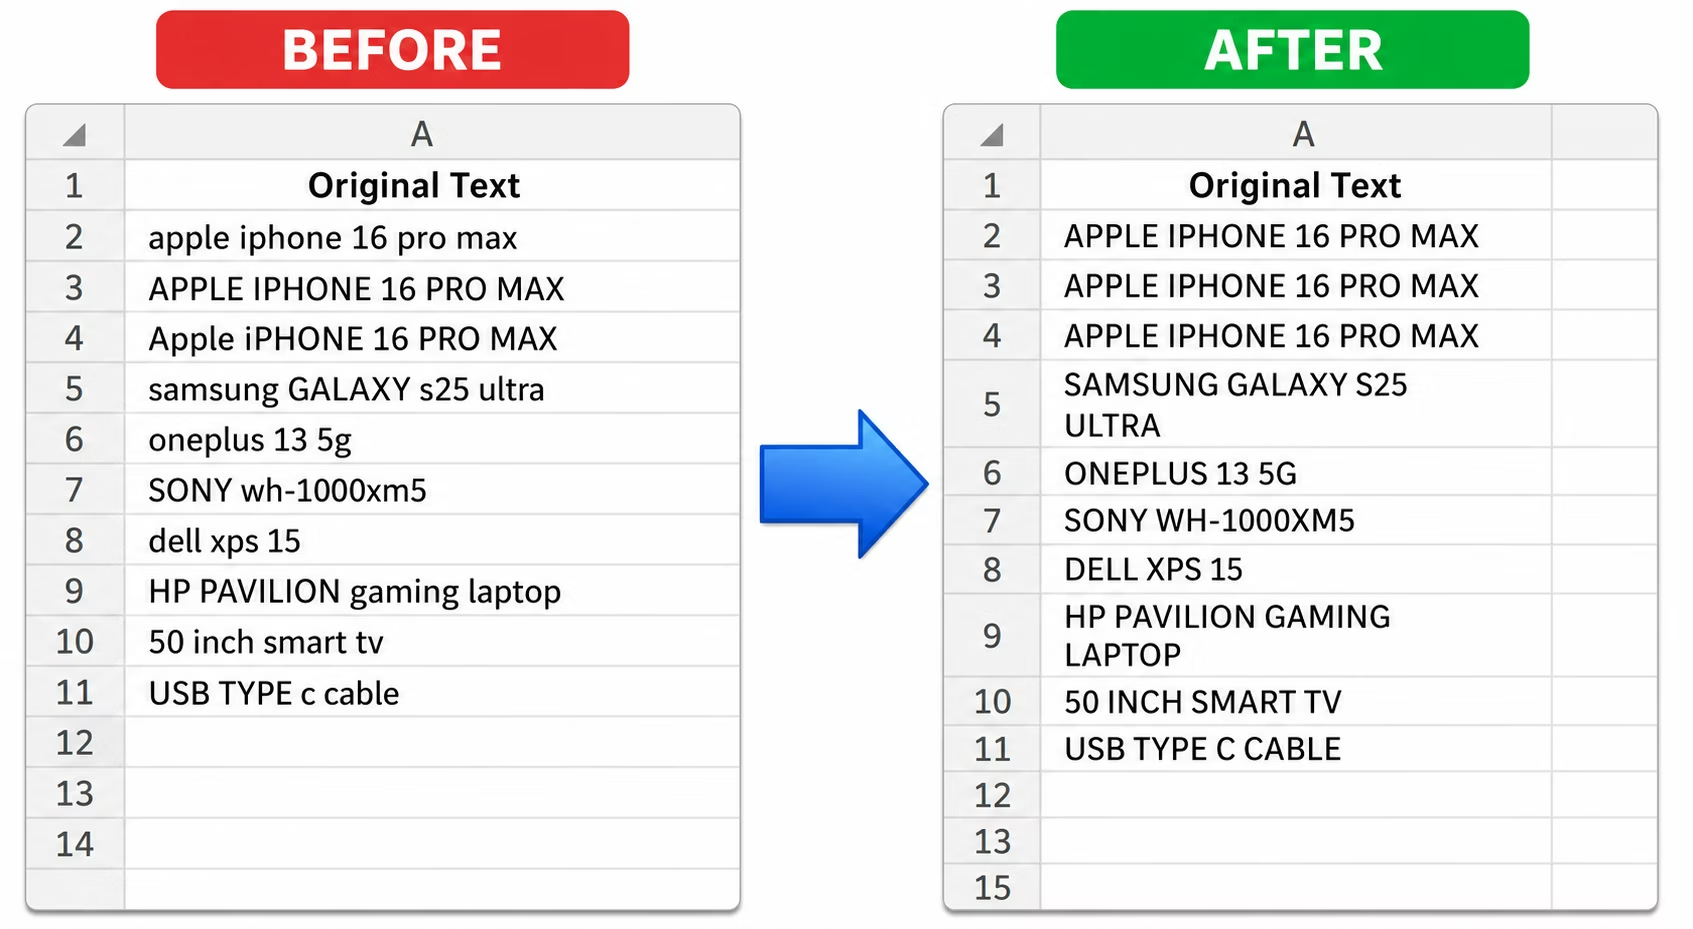
Spreadsheets rarely stay perfectly tidy for long - as more people add rows, paste data in from other sources, or copy sections from other files, small inconsistencies like extra whitespace, duplicate rows, or mismatched date formats tend to creep in. Building good habits early helps, but for a spreadsheet that has already picked up some of these issues, Turbo Excel Cleaner offers a fast way to reset it to a clean state.
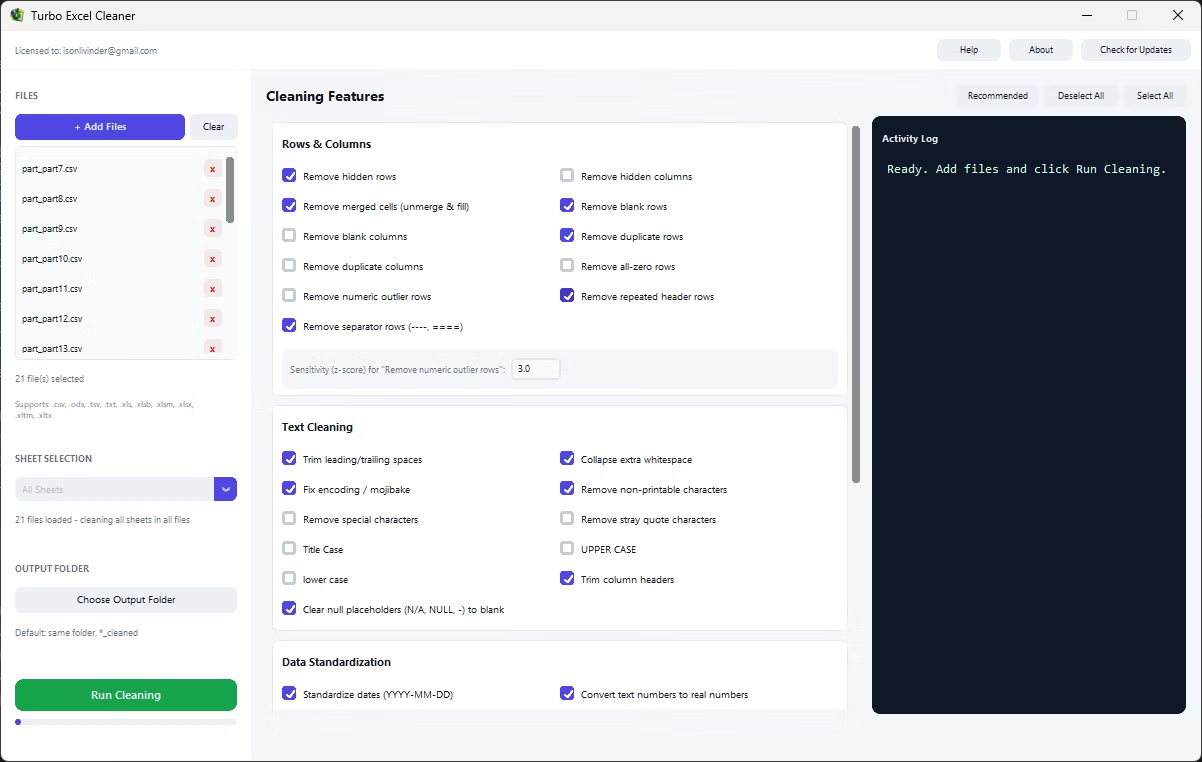
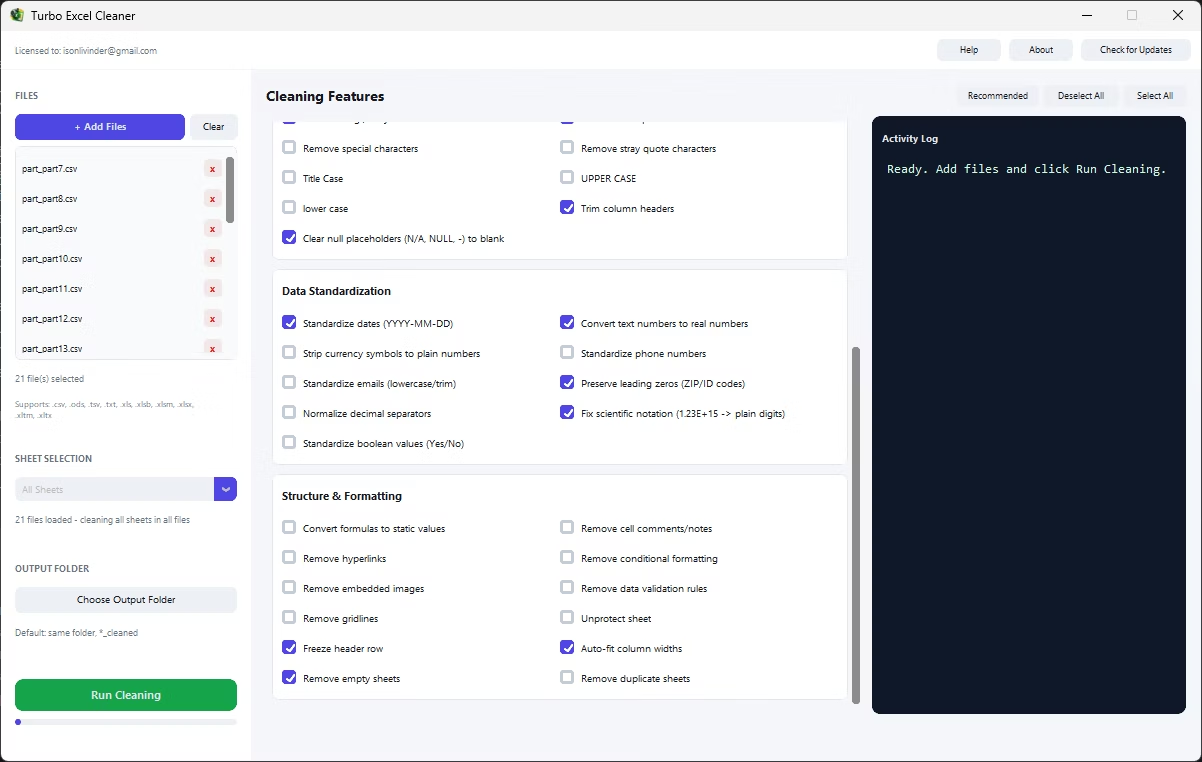
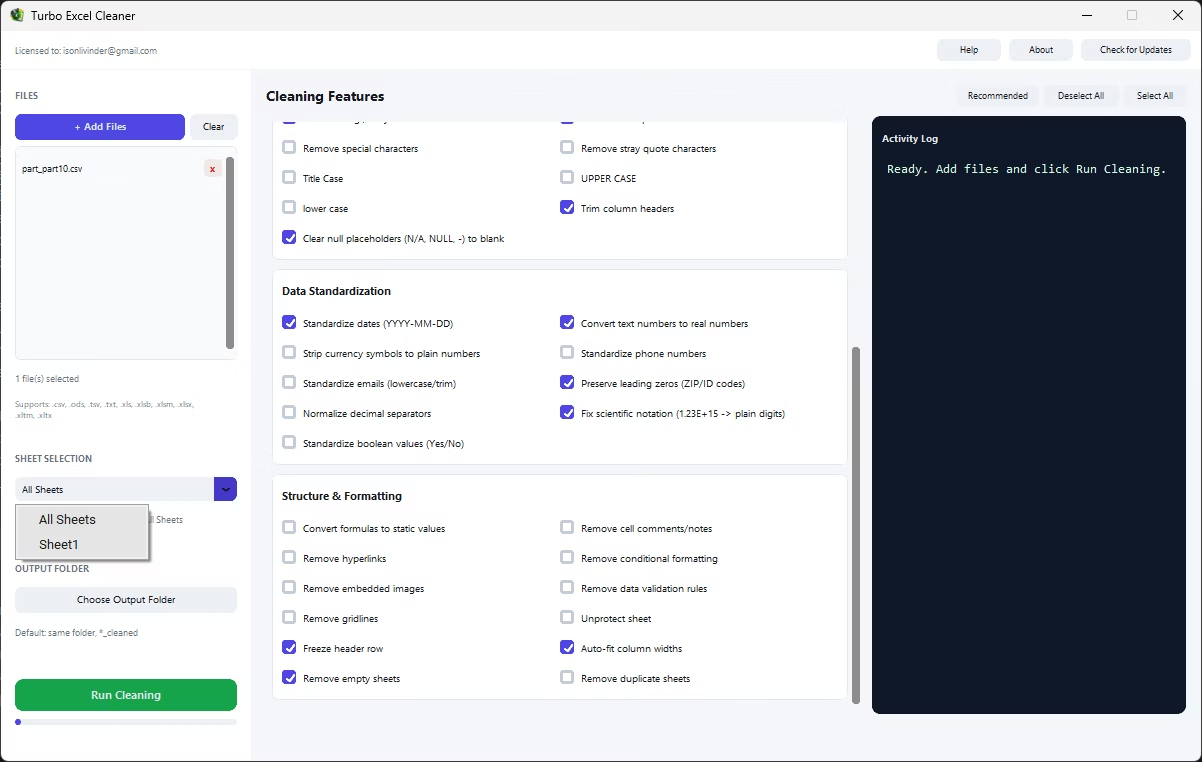
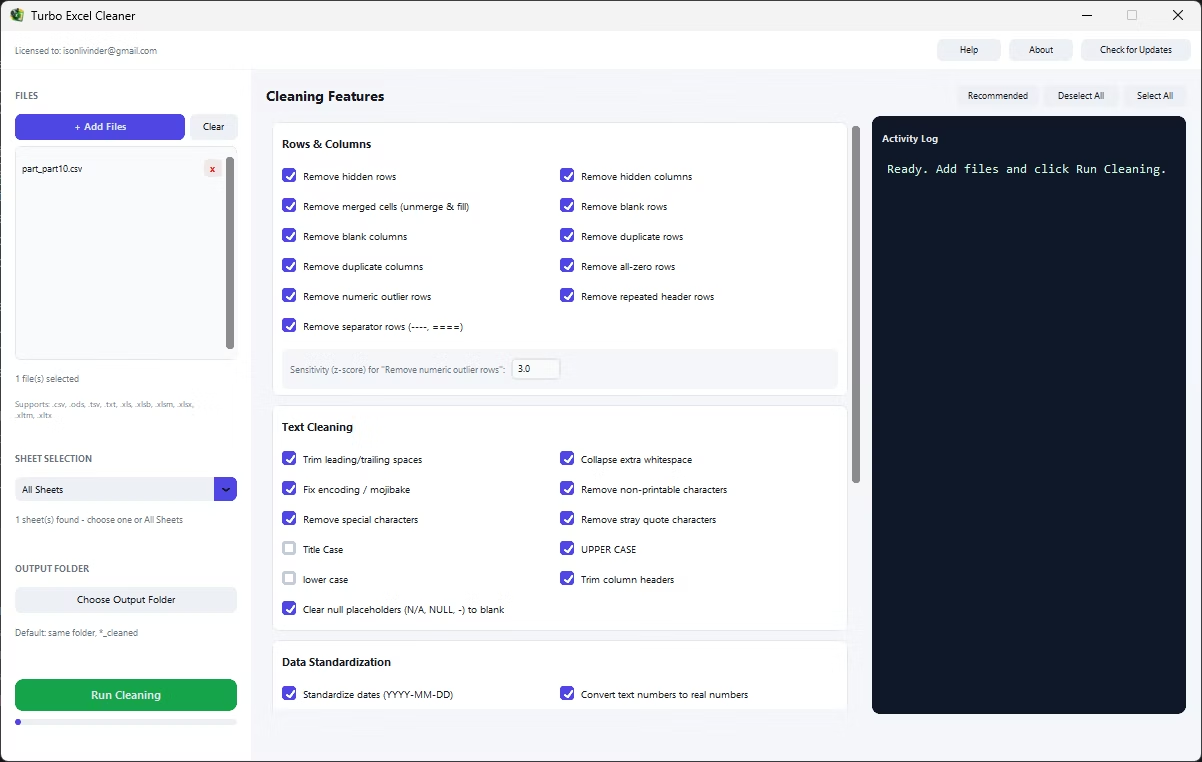
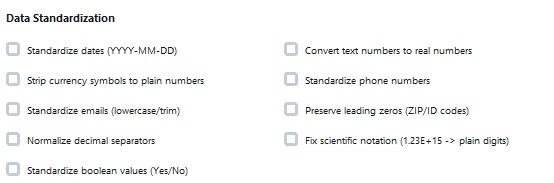
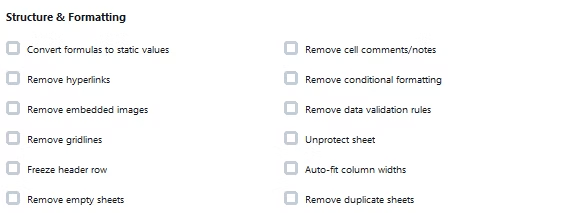
With 43 individual cleaning features covering rows and columns, text formatting, data standardization, and structure, you can select exactly the fixes your new spreadsheet needs and apply them in a single click, whether it is a single file or a whole folder of related workbooks.
- Covers cleanup for freshly created and long-used spreadsheets alike
- 43 individual features across four cleaning categories
- Handles Excel, OpenDocument, and delimited text formats
- Recommended preset gives new users a safe one-click starting point
- Fully offline, one-time purchase, no subscription
What file format should I save a new spreadsheet in?
XLSX is the standard modern Excel format and is compatible with nearly every spreadsheet tool, so it is the safest default choice unless you specifically need CSV or another format.
Do I need a template to create a spreadsheet?
No, a blank workbook is enough to get started; templates can save time for common tasks like budgets, but a simple grid with clear column headers works for most needs.
How do I avoid messy data as my spreadsheet grows?
Keep each column to a single data type, avoid blank rows or columns inside your data range, and periodically run a cleaning pass with a tool like Turbo Excel Cleaner if the file is edited by multiple people over time.
Ready to clean your spreadsheets in bulk, offline, with full privacy?