Select the Source Folder and Output Folder
You can add images to Turbo Pro in two easy ways:
- Drag & Drop a folder directly into the application window
- Or click Browse to manually select a folder from your system
Turbo Pro automatically scans the selected source folder for all supported image formats.

Choose Folder or Sub-Folder Mode
Turbo Pro gives you control over how deeply it scans your folders:
- Folder Mode — Converts only the images located in the selected folder
- Sub-Folder Mode — Recursively scans and converts images inside all sub-folders as well
This is ideal for large image libraries organized by categories or dates.
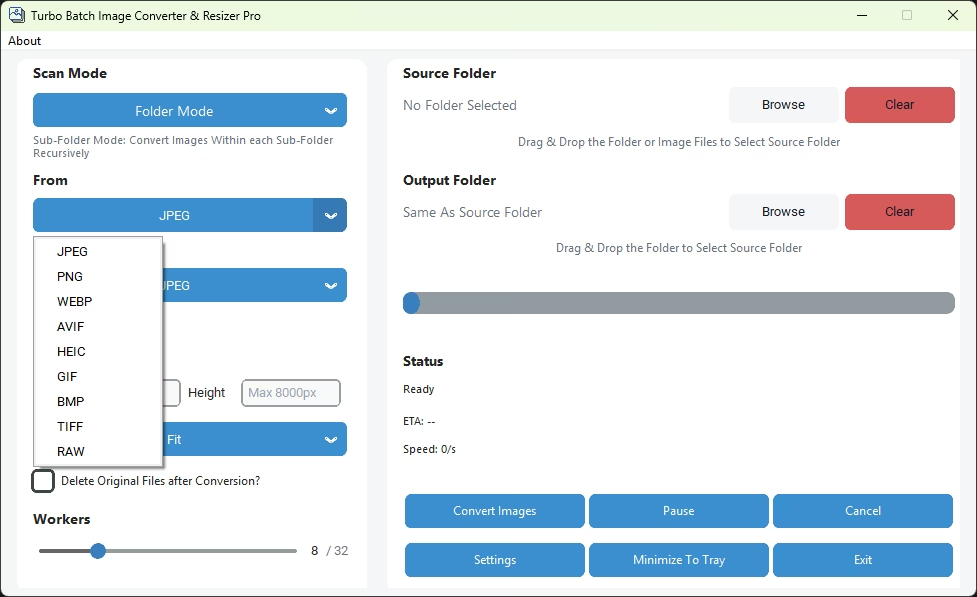
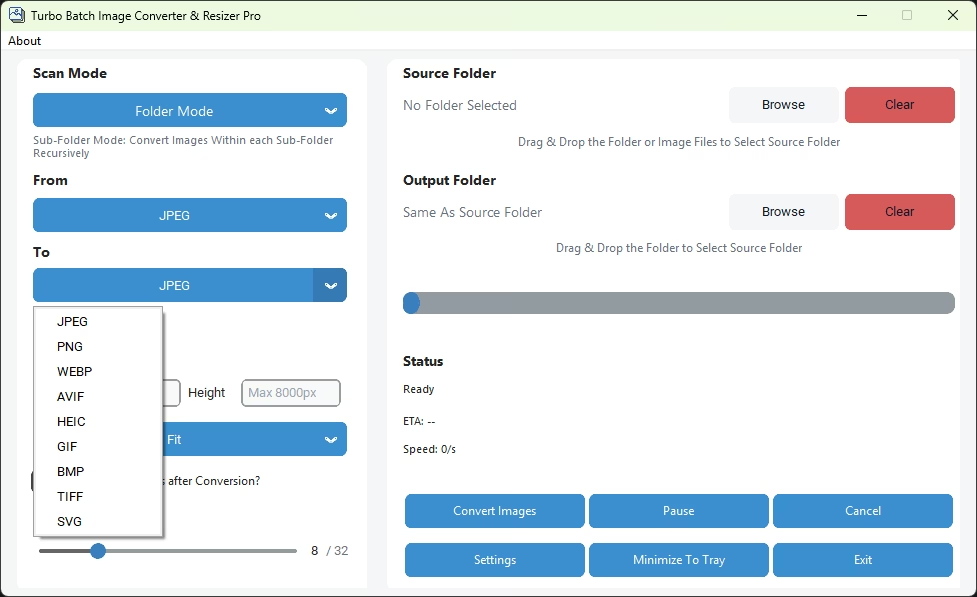
Choose Conversion Format
Select the desired input and output image formats from the supported list:
- Convert all images to a single format (e.g., JPG to WEBP)
- Choose modern formats like AVIF or HEIC for smaller file sizes
- Select lossless formats like PNG or TIFF when quality is critical
Turbo Pro applies the selected format consistently across the entire batch.
Optional — Resize Images
This is an optional and fully customizable feature. Enable Resize Images to activate resizing during conversion, then set your desired Width and Height (up to 8,000 px).
Fill — Fills the exact dimensions, cropping excess areas if necessary
Stretch — Forces the image into exact dimensions (may distort aspect ratio)
This allows you to standardize image dimensions, optimize file size, and prepare images for web, print, or platform-specific requirements — all during batch conversion.

Optional — Enable Delete Originals
This is an optional and user-controlled feature:
- When enabled, original files are moved to the Recycle Bin — not permanently deleted
- Allows easy recovery if needed
- Helps free up disk space after successful conversion while maintaining safety

Adjust Worker Thread Speed
Turbo Pro allows you to control how many CPU threads are used during conversion:
- Increase workers for maximum speed on powerful multi-core systems
- Reduce workers to keep the system responsive while converting in the background
- Auto-scale assigns the optimal thread count based on your CPU automatically

Set Output Quality
Control the balance between image quality and file size:
- Higher quality — for print, archival, or professional use
- Lower quality — for web optimization and faster loading
- Settings apply uniformly to all converted images in the batch
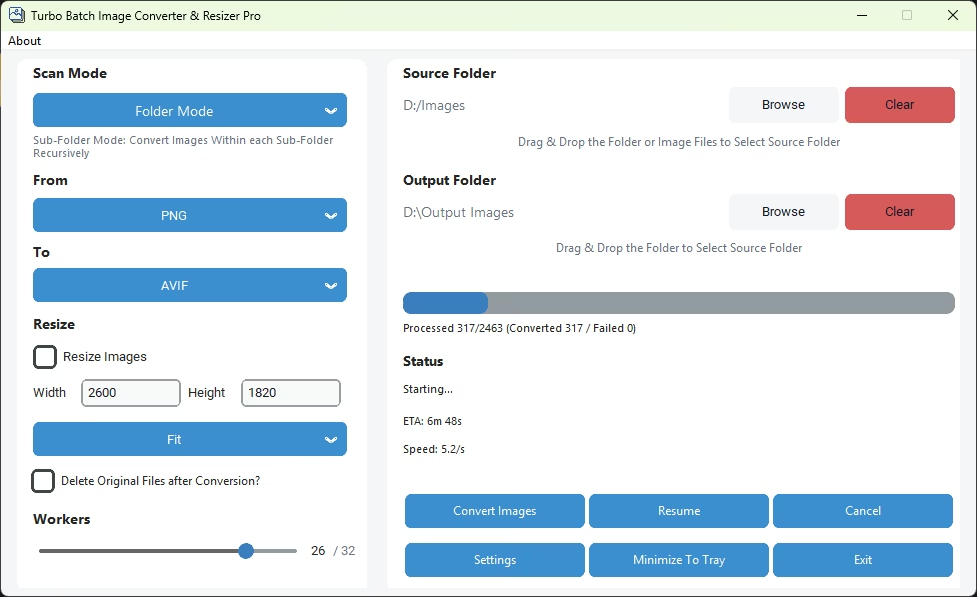
Click Convert
Once everything is configured, click the Convert button to start processing:
- Live progress bar, file count, and ETA are displayed in real time
- Individual file errors are logged without stopping the batch
- You can safely let Turbo Pro run in the background or unattended
- Use Pause or Cancel at any time
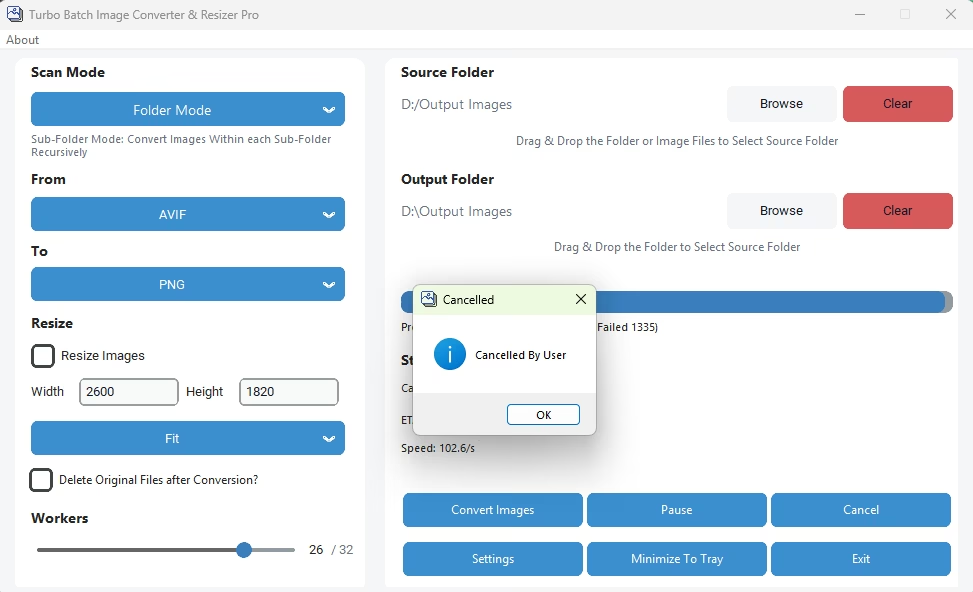
What Happens Next
✓ Original folder structure is preserved
✓ Any failed files are skipped and reported
✓ Turbo Pro ensures a smooth, predictable, and safe conversion experience